

Deploying Resources on Azure Via Windows Power Shell (using Terraform and VS Code)


Hey guys!!! Let's do something fun...Let's deploy resources on Microsoft's Azure cloud using terraform but this time from the windows powershell in conjunction with Visual Studio Code. I'm saying instead of deploying resources using the azure portal (which is also an option), we'll be using windows power shell. First thing you'll need to do is to install the Visual Studio Code, this would enable us run our code more easily (and personally I just think it is fun to use and aesthetically pleasing, instead of running the code in the terminal of the power shell in Azure's cloud shell). So, lets do this!
Click on the windows logo and look for windows power shell (preferably windows powershell 7). Please note that you'll need to open as an administrator in order to smoothly run some commands that require permission.
Now run this command:
Invoke-WebRequest -Uri aka.ms/installazurecliwindows -OutFile .\AzureCLI.msi; Start-Process msiexec.exe -Wait -ArgumentList '/I AzureCLI.msi /quiet'; rm .\AzureCLI.msi
You should see something like this:

 The next thing you want to do is to login to your azure account through the windows power shell terminal using the following command :
az login
You should get the following:
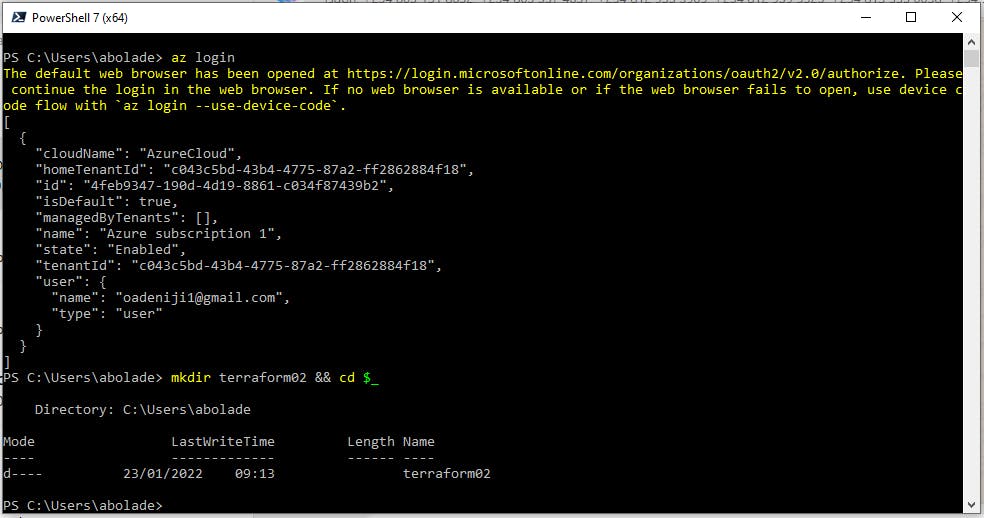
It would then take you to the azure portal where you must key in your email and password to sign in
Next step is to install chocolatey. This enables you to seamlessly run terraform on windows. To do this, copy and paste this on your windows powershell 7:
Set-ExecutionPolicy Bypass -Scope Process -Force; [System.Net.ServicePointManager]::SecurityProtocol = [System.Net.ServicePointManager]::SecurityProtocol -bor 3072; iex ((New-Object System.Net.WebClient).DownloadString('https..)
Please note that this is to enable the installation of terraform, you need not do this if you already have terraform installed on your windows and have used it before.
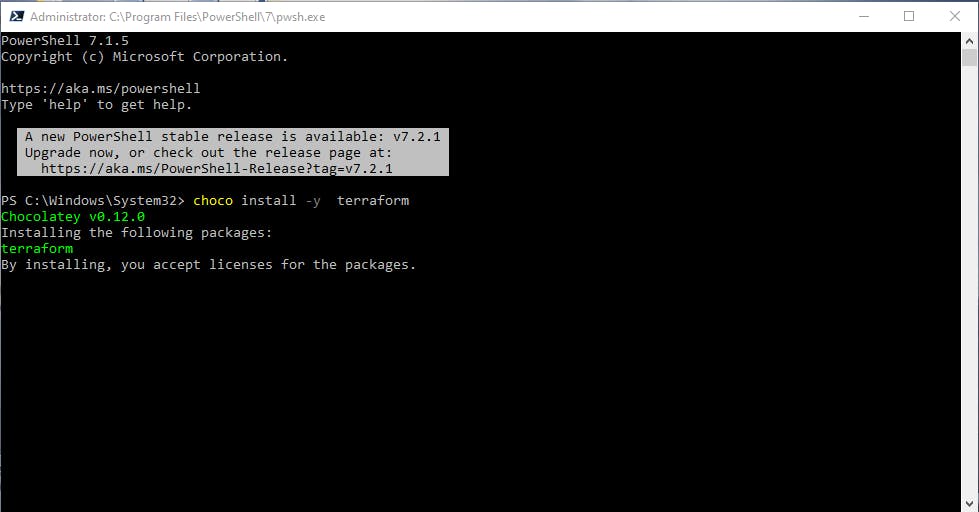
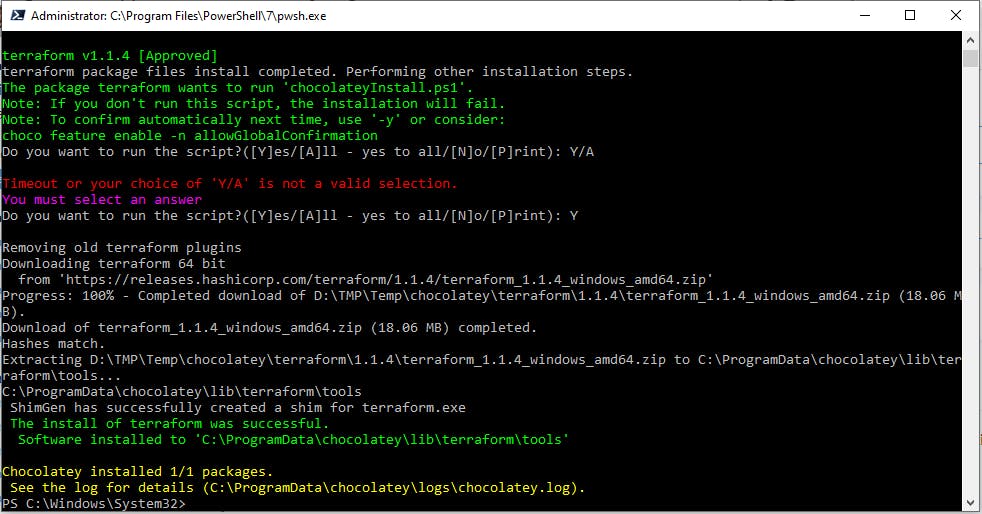
Once chocolatey has been installed, you can then install terraform by using this command
choco install -y terraform
Using this command should install the latest version of terraform. Also the -y is placed there because it ensures you have already agreed to the licensing requests in advance, and makes the installation process faster.
It should look like this:
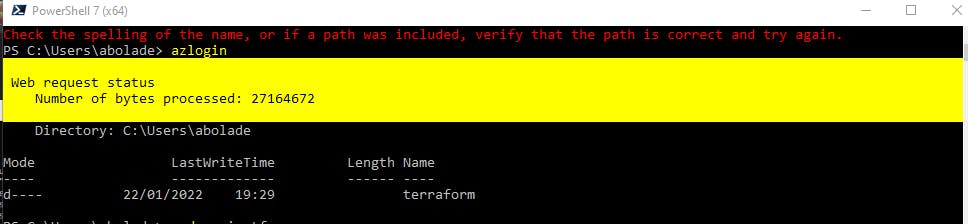
Next is to create a terraform directory and change directory. Do that using this command
mkdir terraform && cd $_
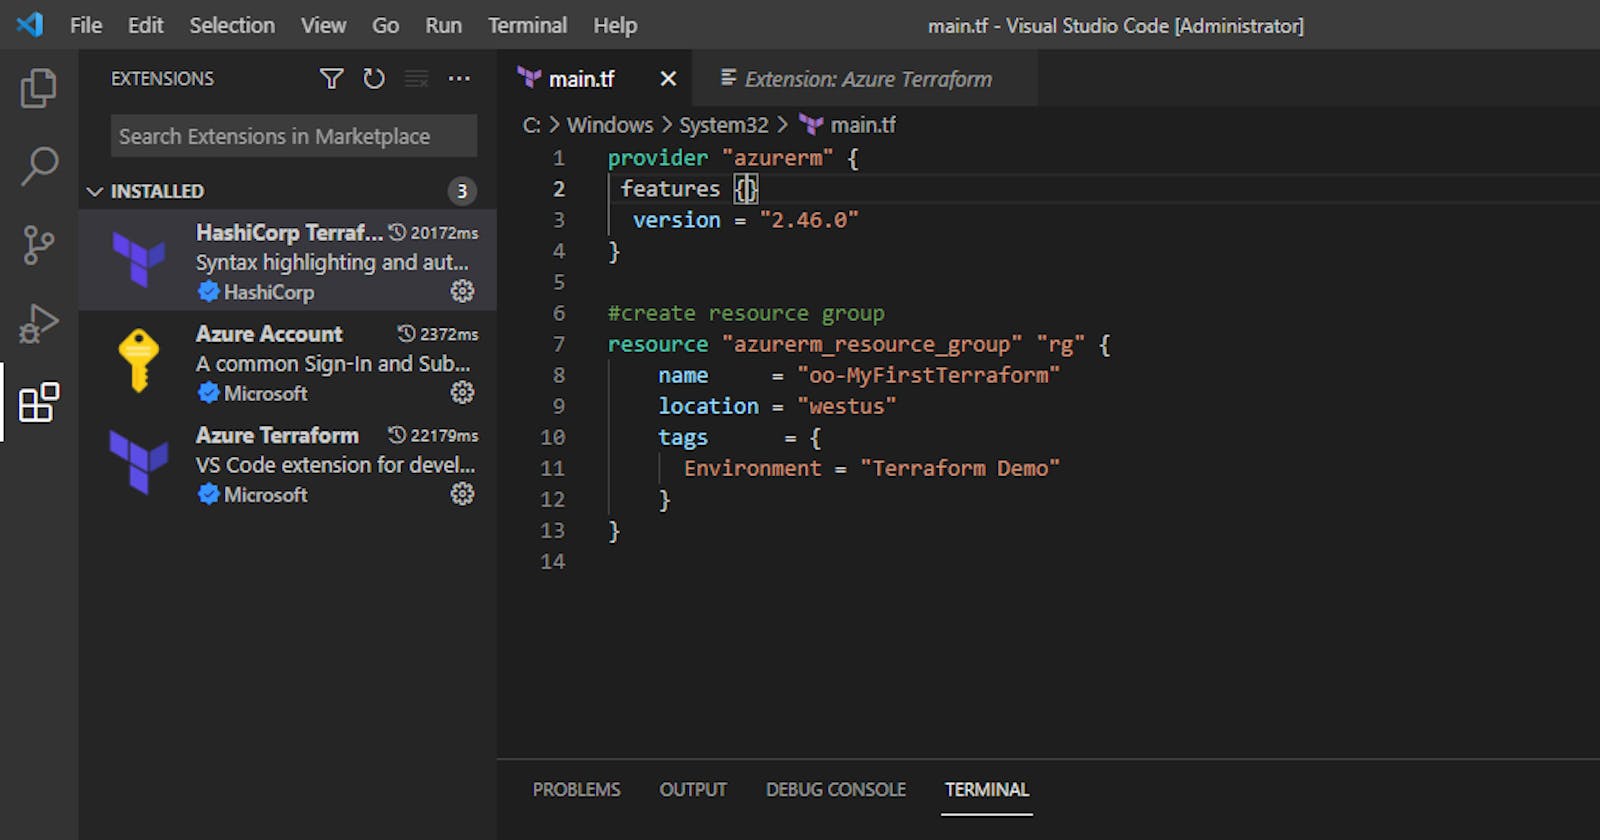
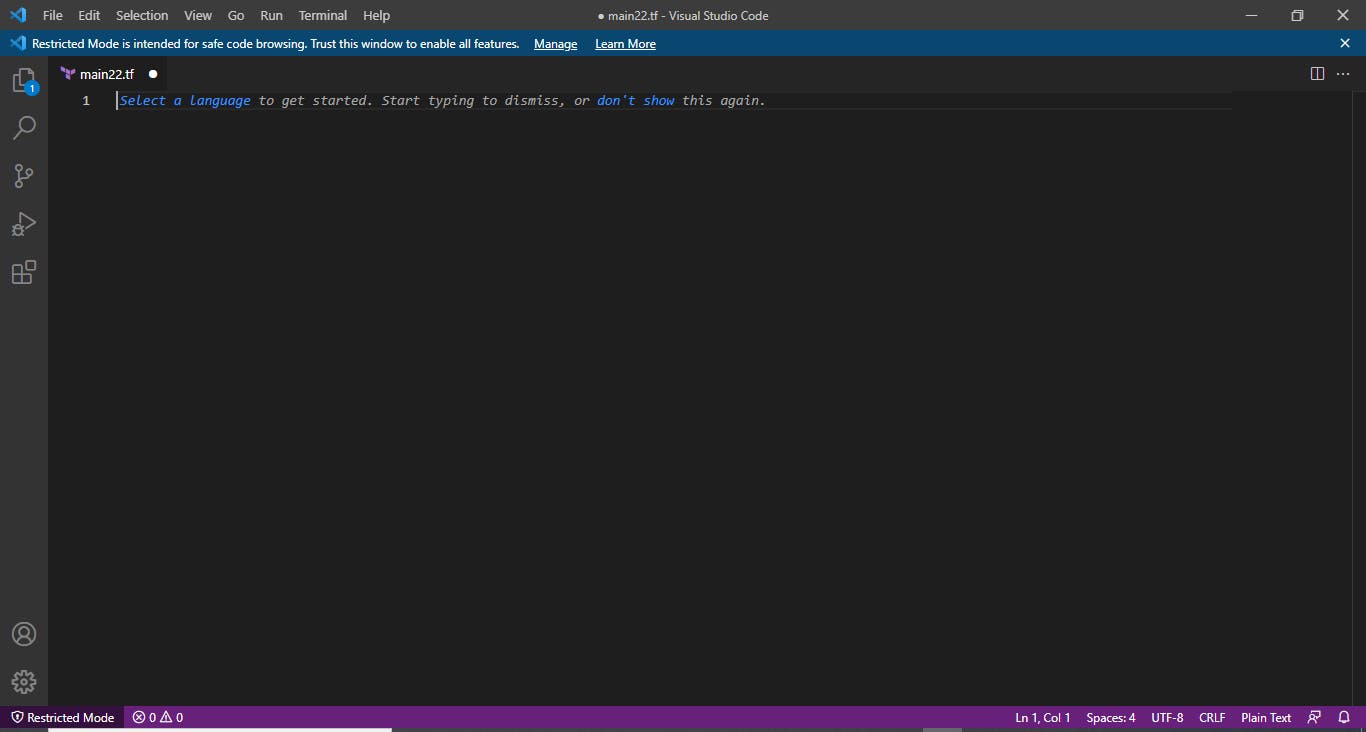
Then you can create a file by using the command Code Main.tf to enable you insert and run your code as quickly and as easily as possible.
Please note that you can name your file whatsoever pleases you. I have just chosen to use that.
Using this command automatically takes you to the Visual Studio Code terminal.
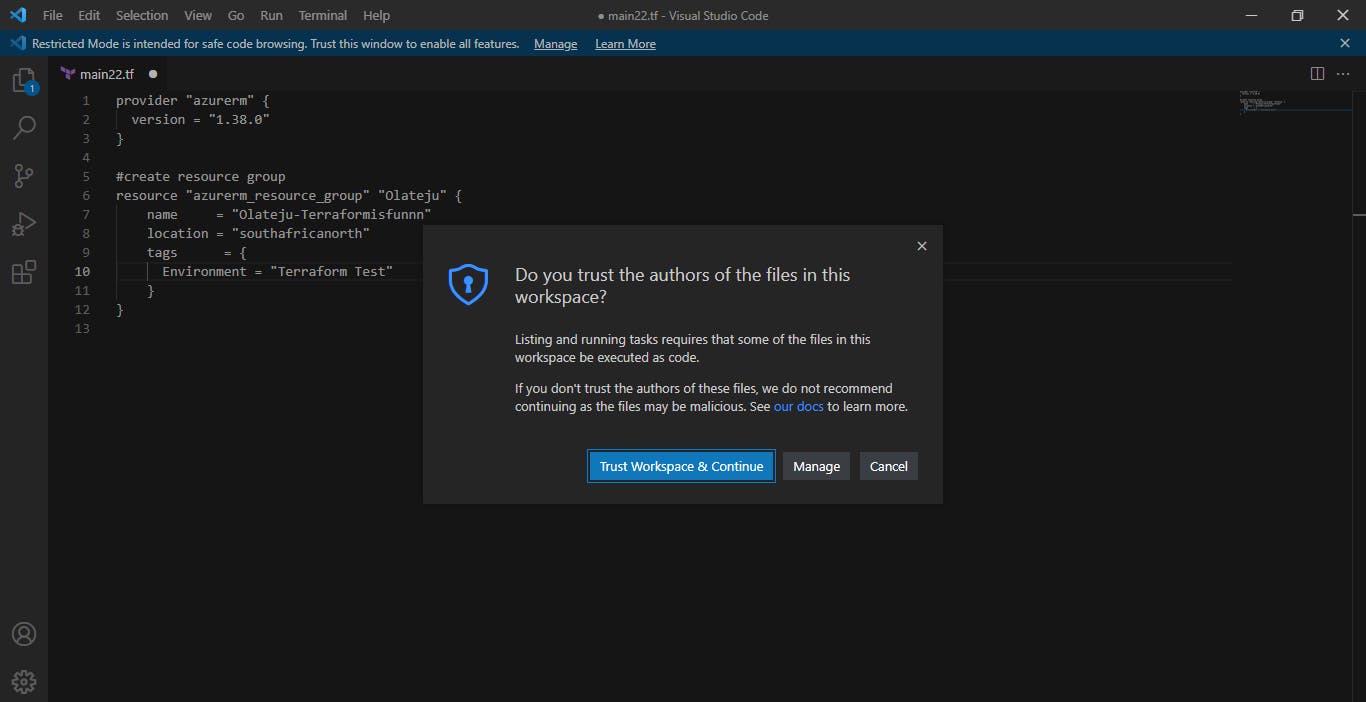
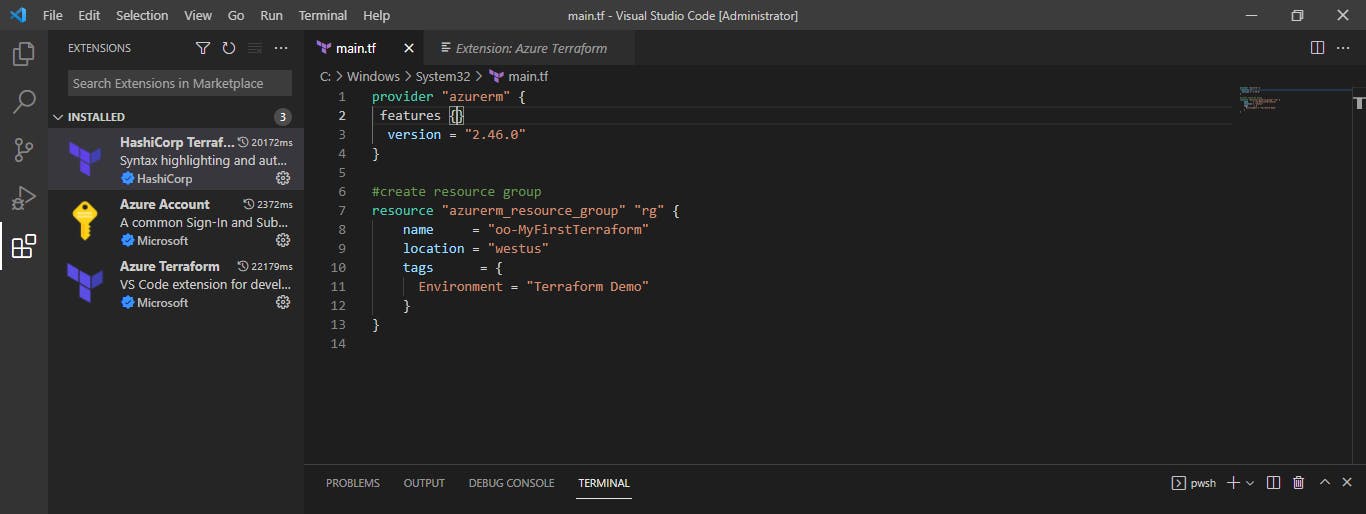
However, ensure you download the Hashicorp terraform extension therein to enjoy the many benefits of terraform. You can now go ahead and paste your code inside the open file, and save the file.
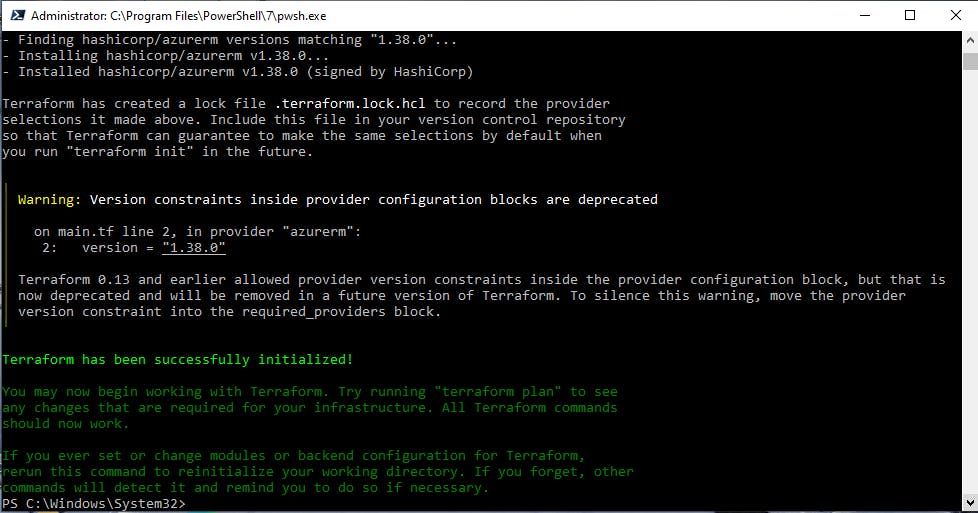
Initialize using the terraform init command
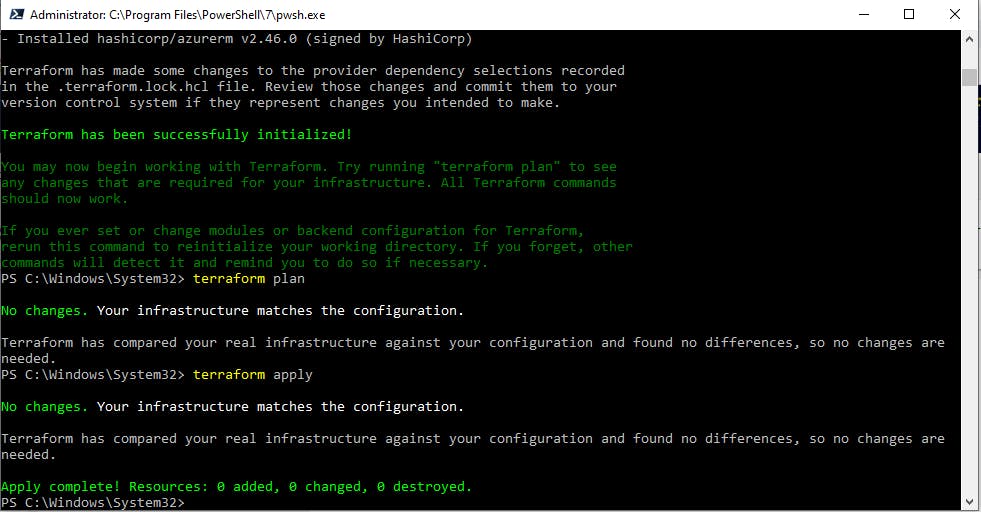
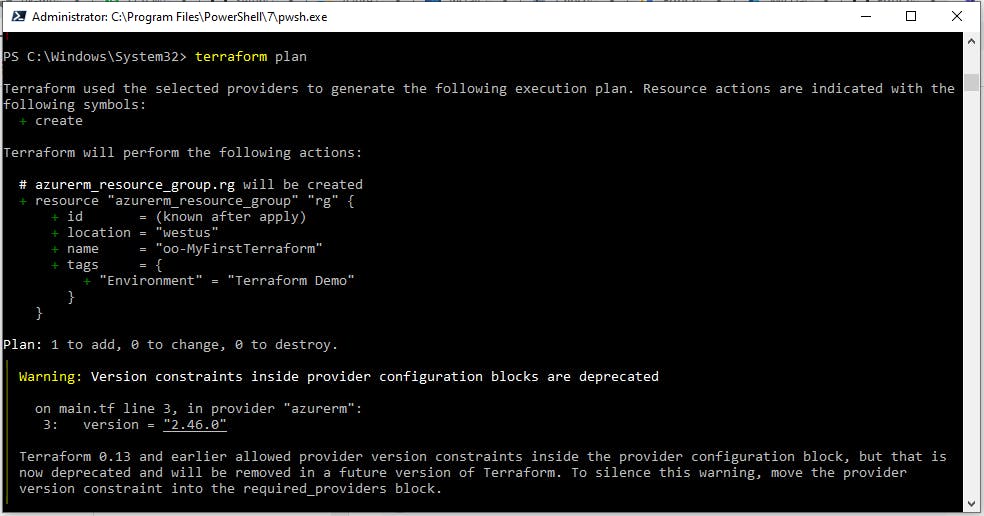
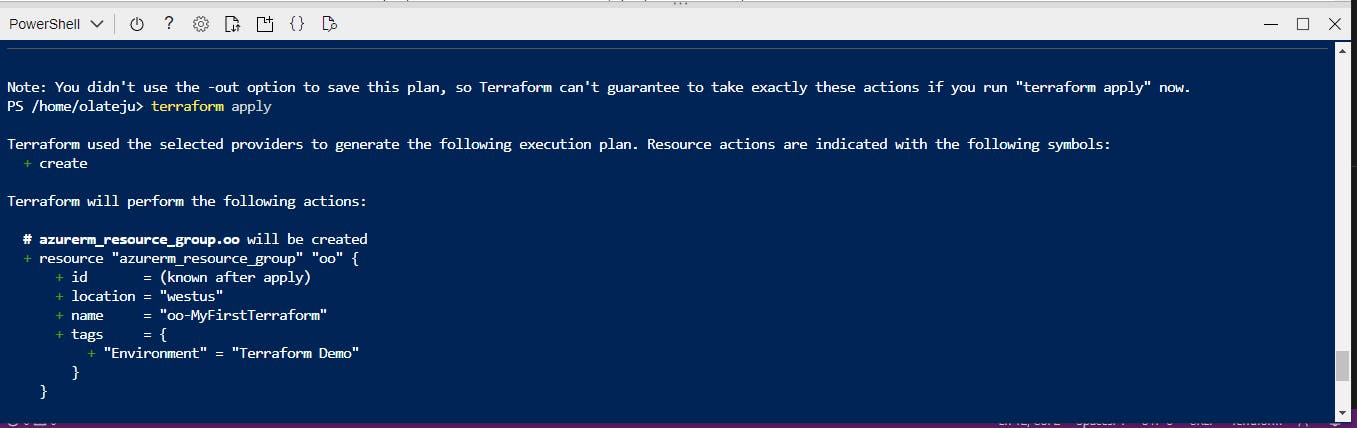
Next is the terraform plan command
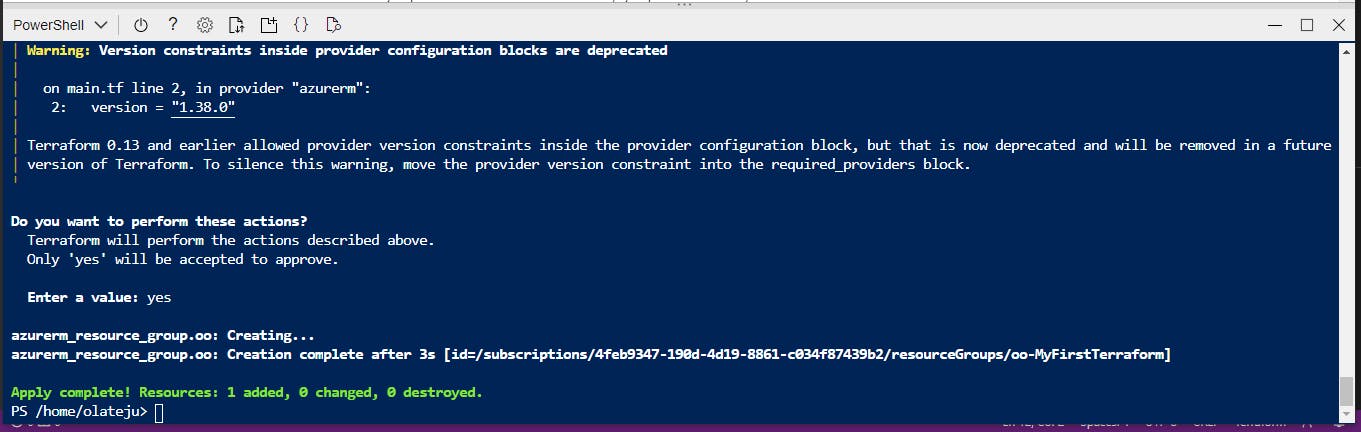
Finally, run the terraform apply command
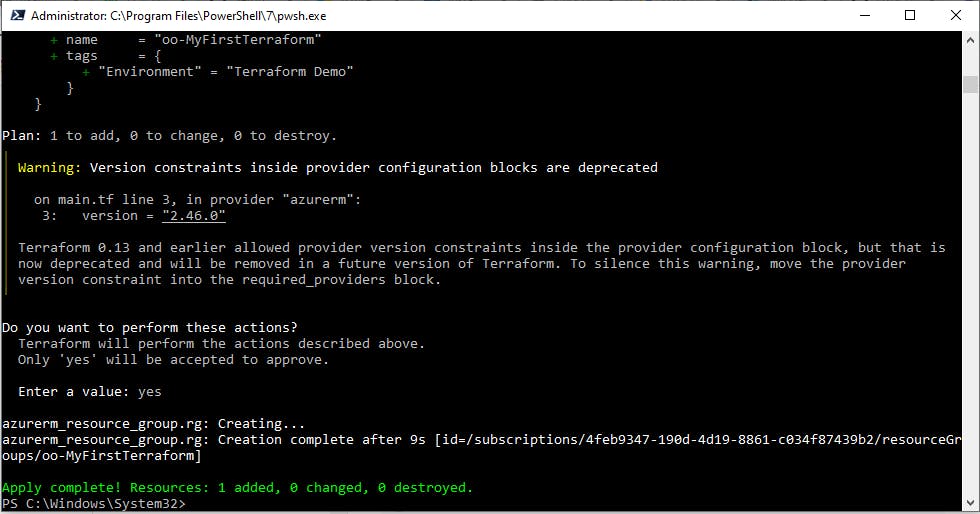
Now check your portal to view the resource(s) you have deployed.
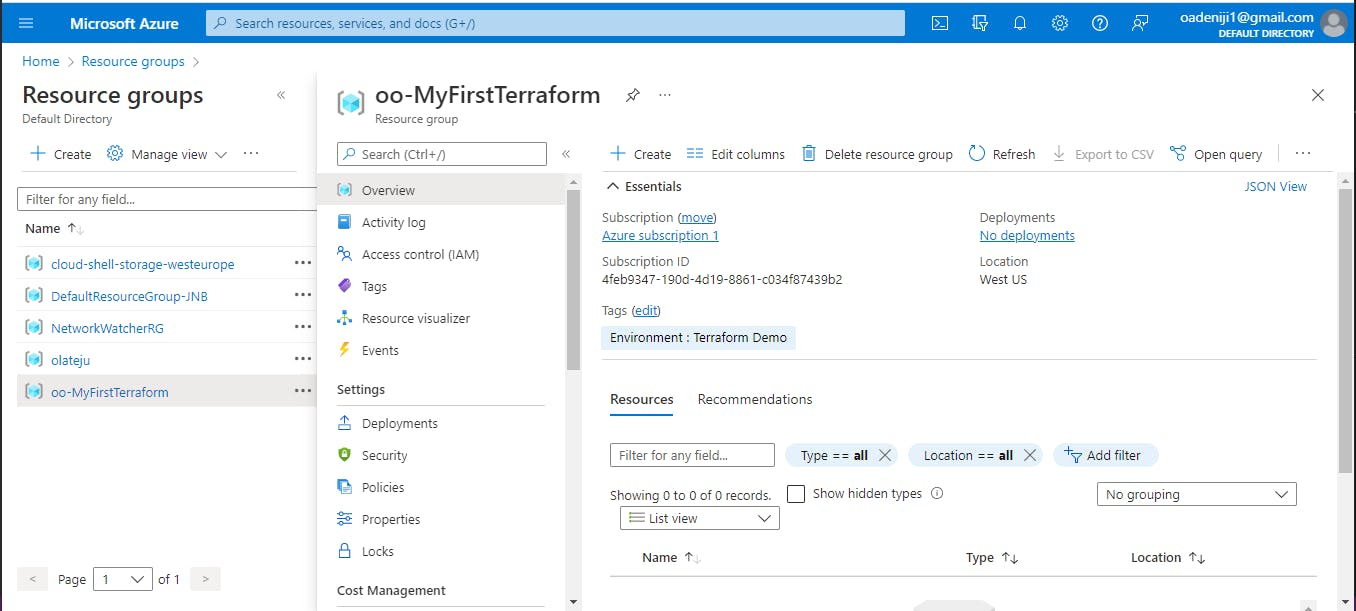
Pretty cool right?!
Should you choose to use the powershell in your cloud shell, it is a similar process.
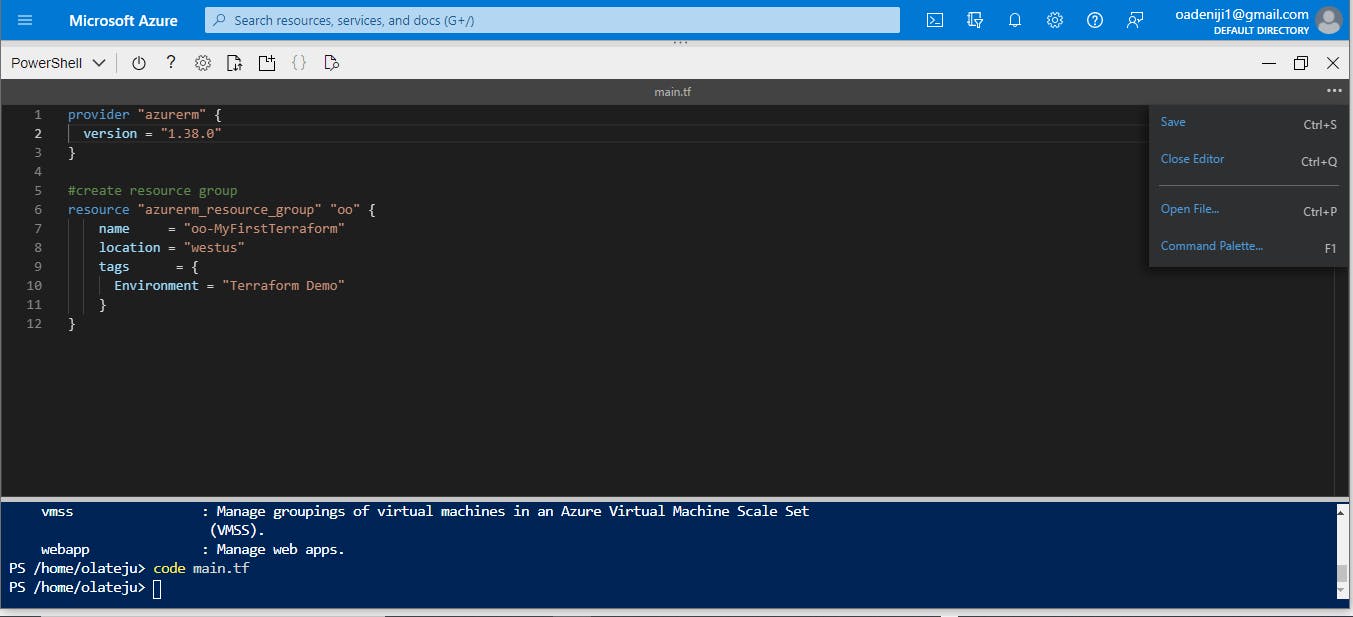
Open your cloud shell, and select powershell,
You type in code main.tf in the terminal, it would open the extra window to paste your code.
After pasting your code, save and close editor
terraform init
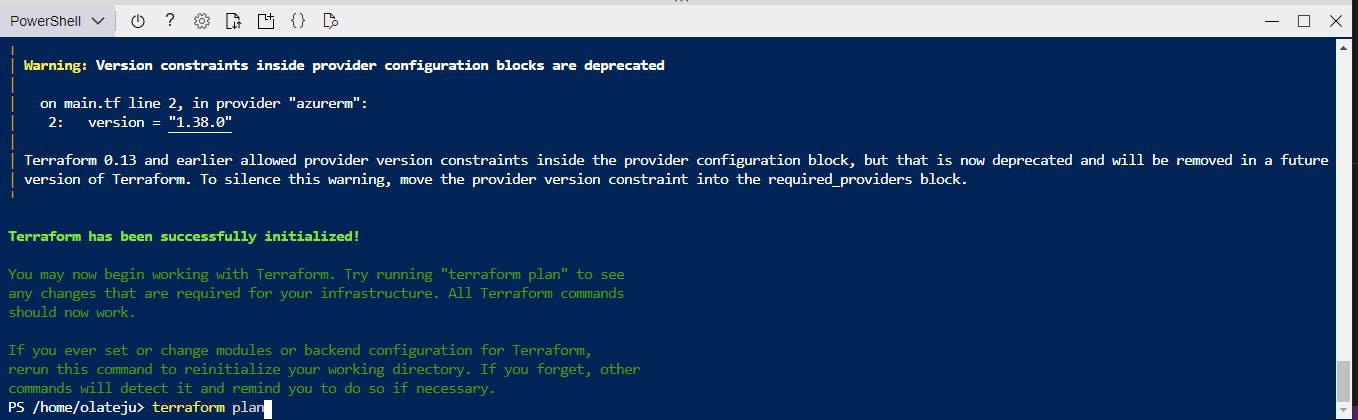
terraform plan
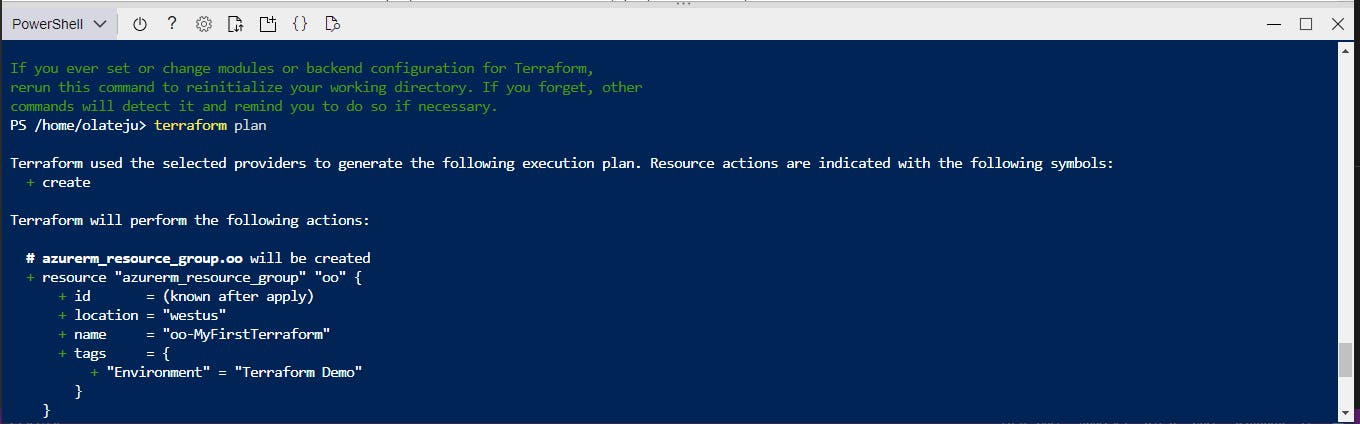
terraform apply
Your deployment is complete!