

Hey guys... I'd like to show you how to deploy resources on the Amazon Web Services platform using terraform. If you'd like to see how, then please keep reading...
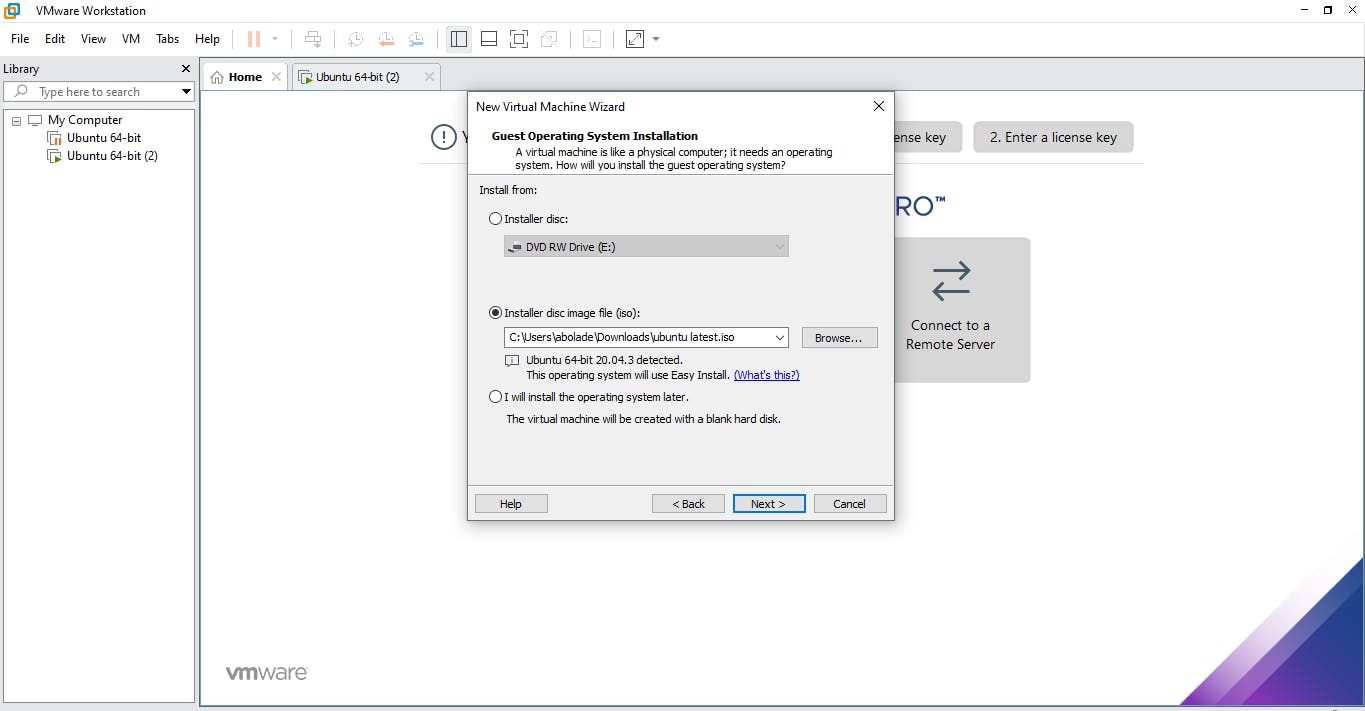
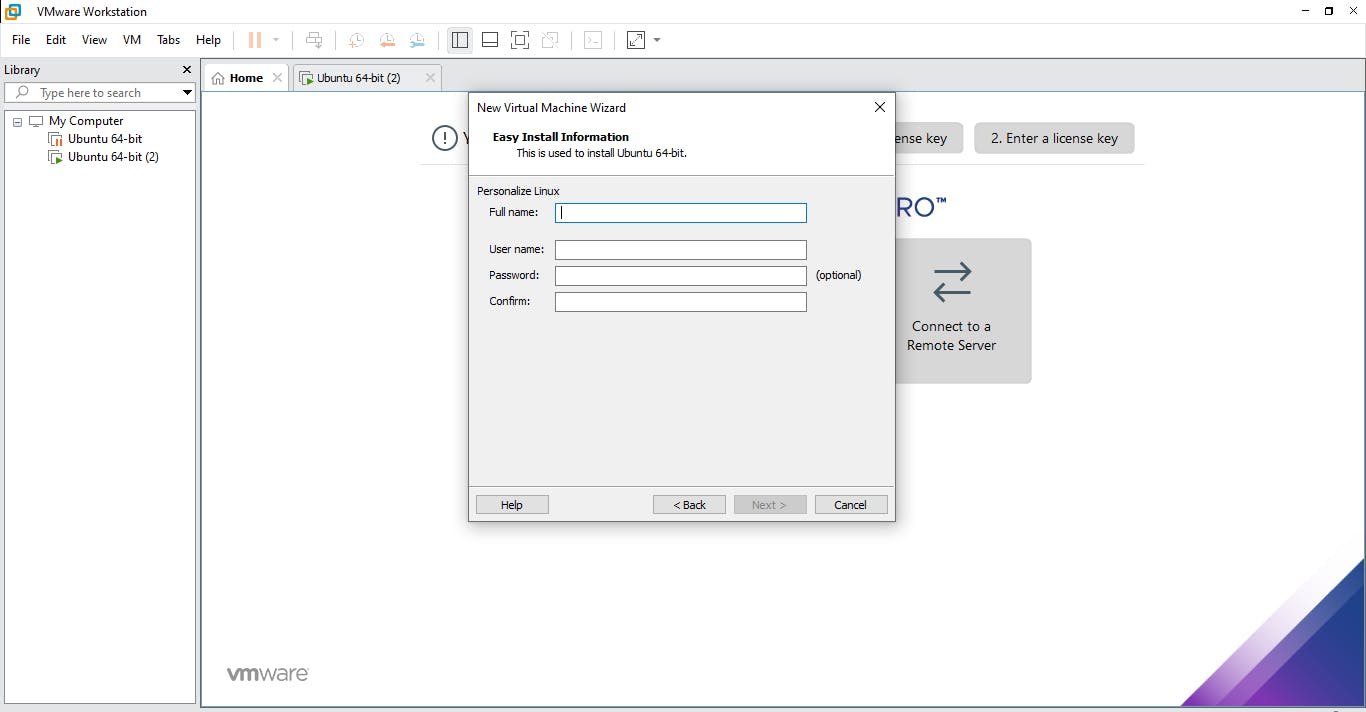
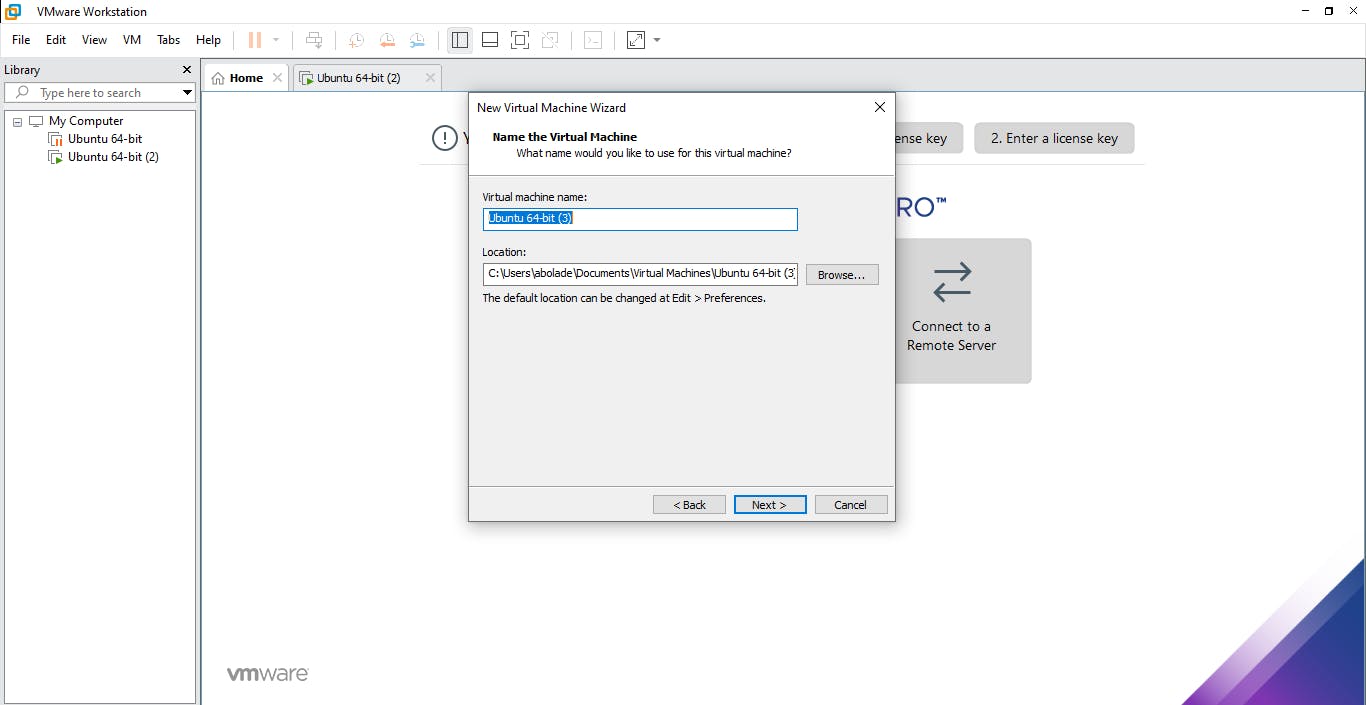
Kindly note that you would require an AWS account for this tutorial. So, if you haven't opened an account yet, please do so. You would also need to download a good VMware workstation, and Ubuntu image file in order to run your virtual machine, as I would be using the Ubuntu VM for this tutorial. After downloading a VMware of your choosing, open the application and click on create a new virtual machine.
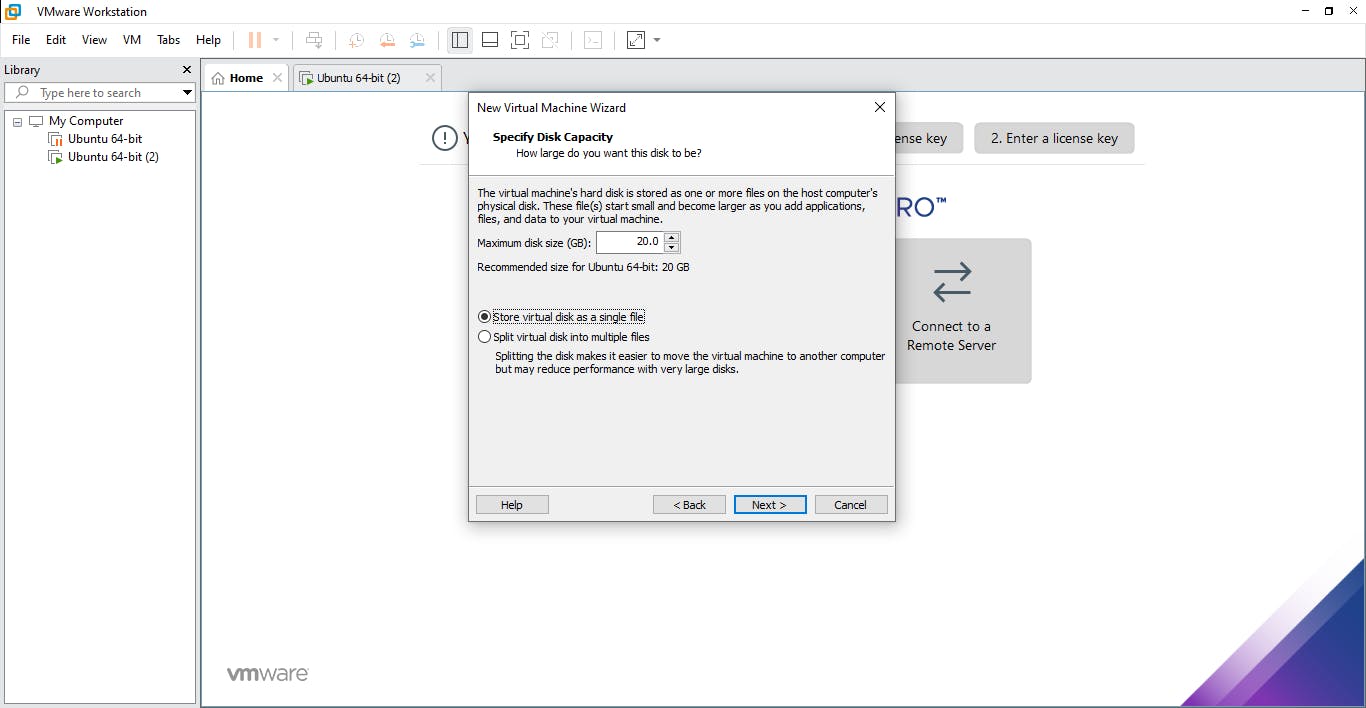
Follow the prompt until the machine is downloaded and powered on (on the VMware).

Upon successfully installing the VM, you should see this:
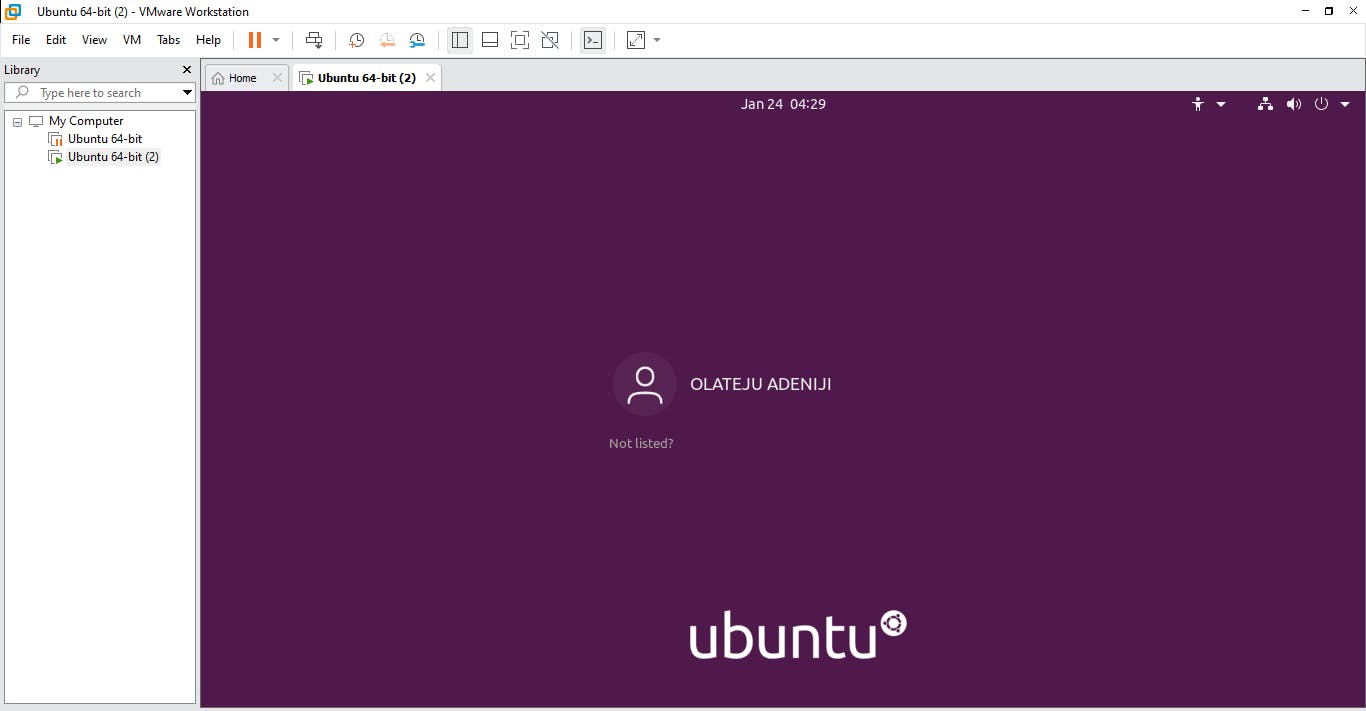
Login to the computer, as you would your traditional machine after powering up
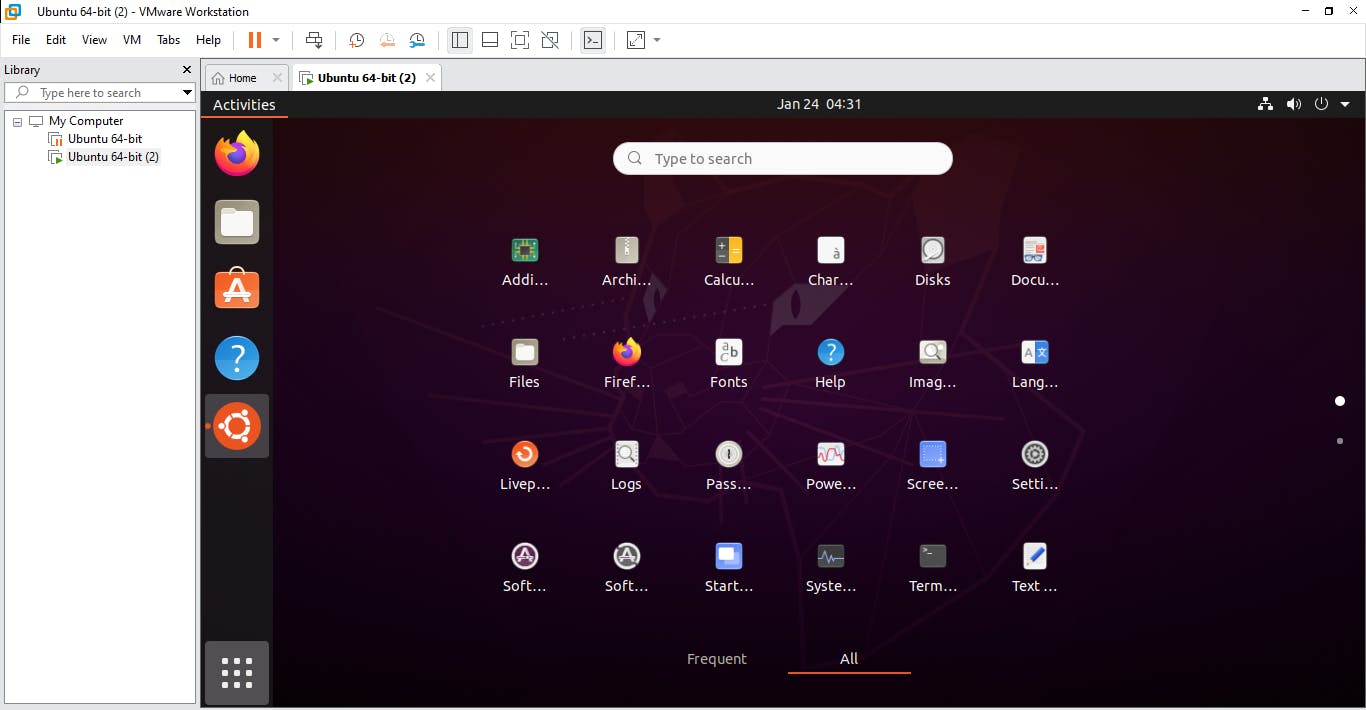
Open the terminal. For this, you can either press Ctrl+Alt+T or search for the terminal in applications.
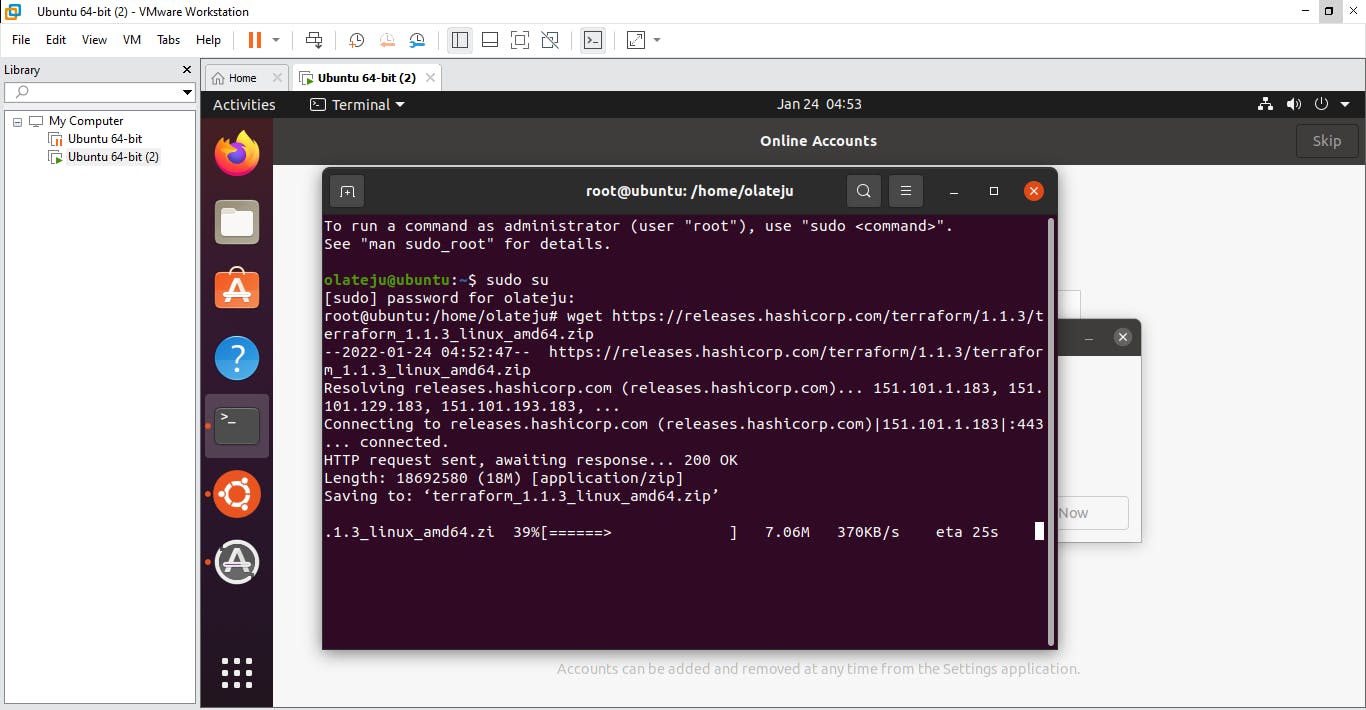
Once your terminal is open, take control by typing in the sudo su command, this makes you a super user and gives you absolute permission on the system (an alternative to this is typing "sudo" in front of every command, before execution). You would be prompted for your password, which you should type in. Do not worry if your password does not display as you type, I am told it is a security feature in Linux systems, to minimize password leakage.
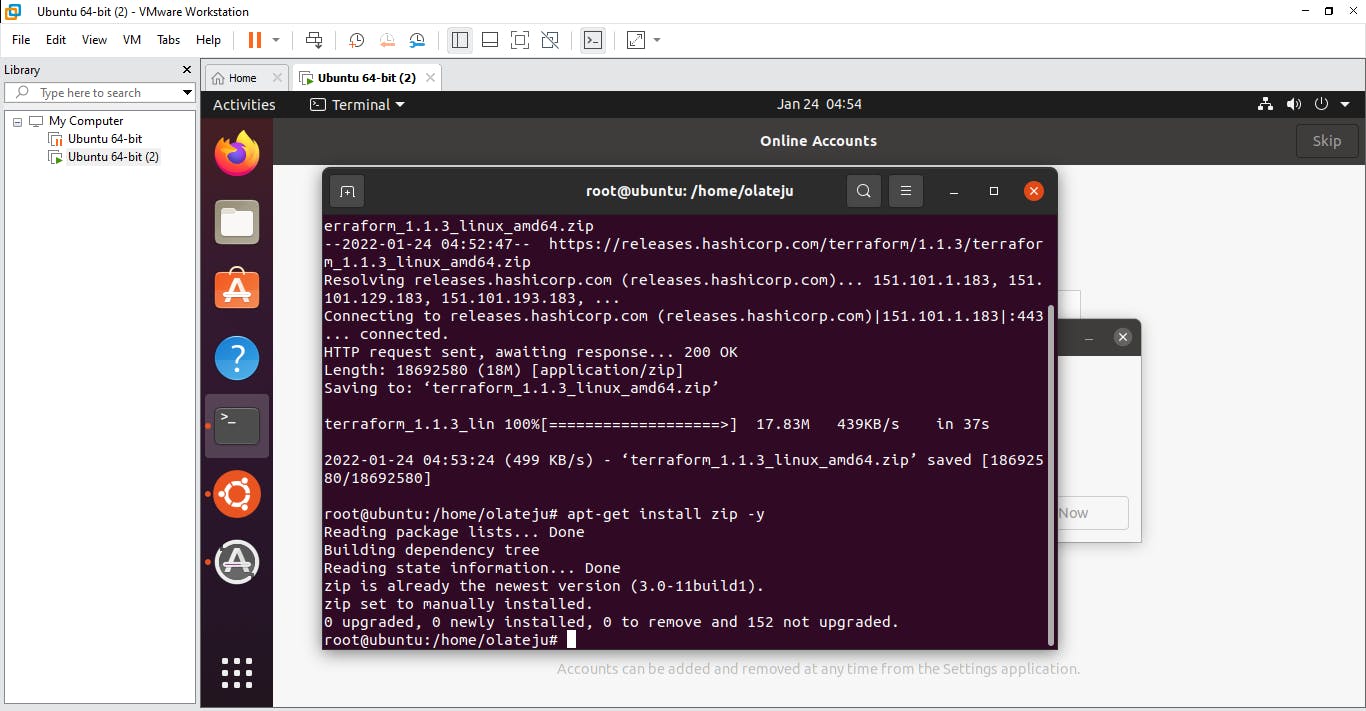
Next, type in the following command: wget releases.hashicorp.com/terraform/1.1.3/terr.. This should download terraform onto your system.
Now type apt-get install zip -y this is so that terraform which has already been downloaded can be installed.
Now, you'll unzip terraform, using the following command: unzip terraform.zip*
The next command is mv terraform /usr/local/bin This is done in order to move terraform from the downloads directory into the usr/bin directory so that terraform can be easily accessed.
Next, create directory with mkdir /terraform and change it using cd /terraform
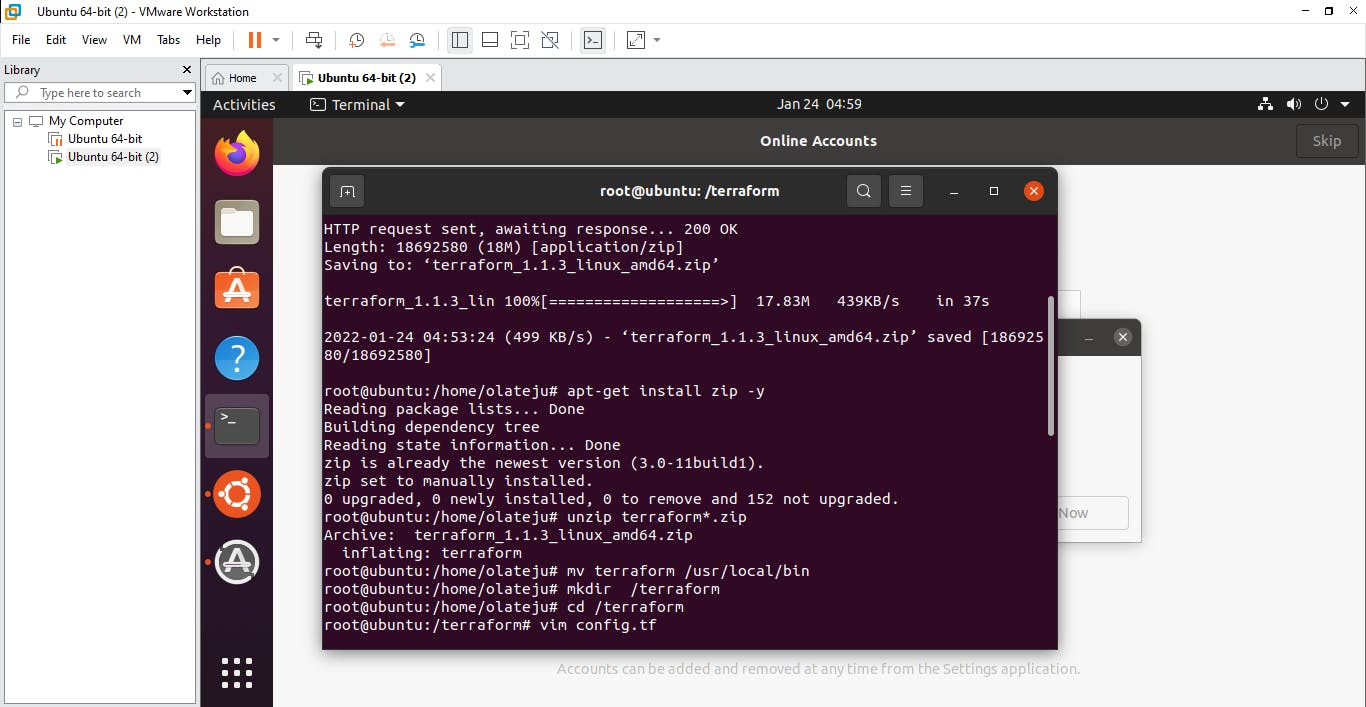
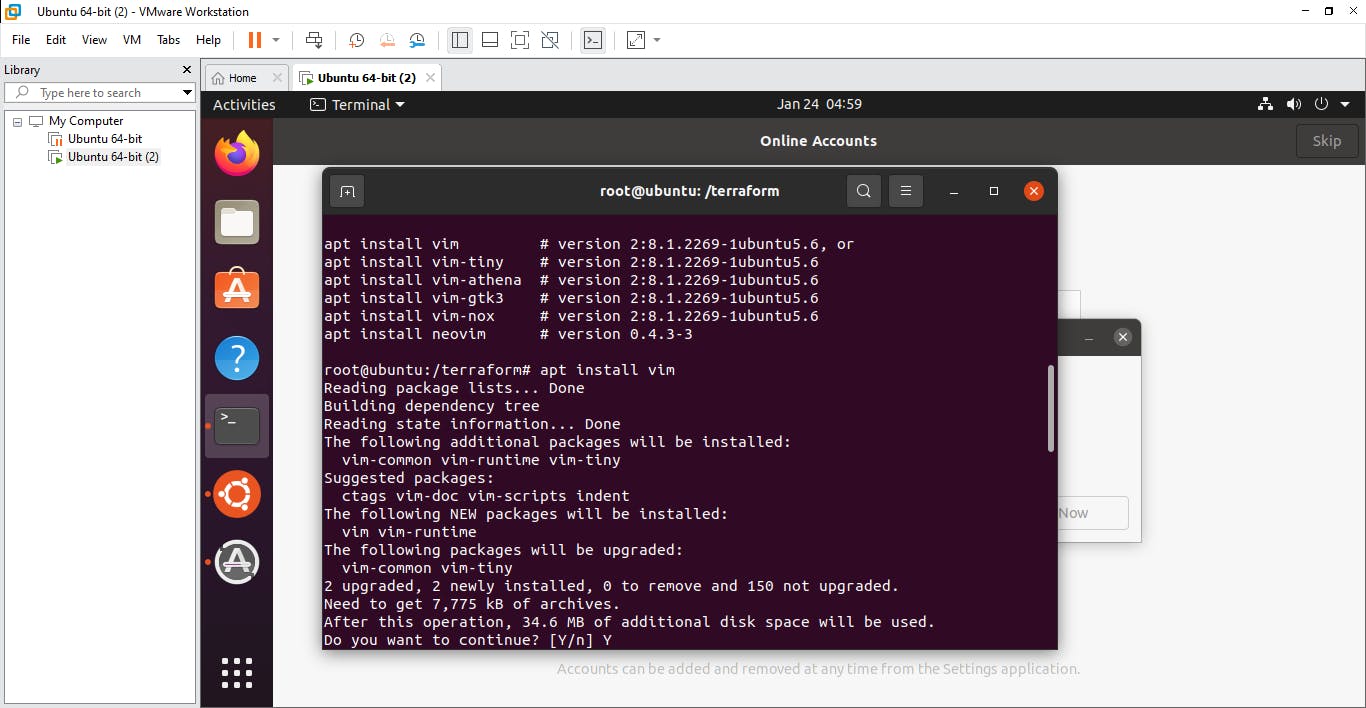
Then install the text editor using the command apt install vim
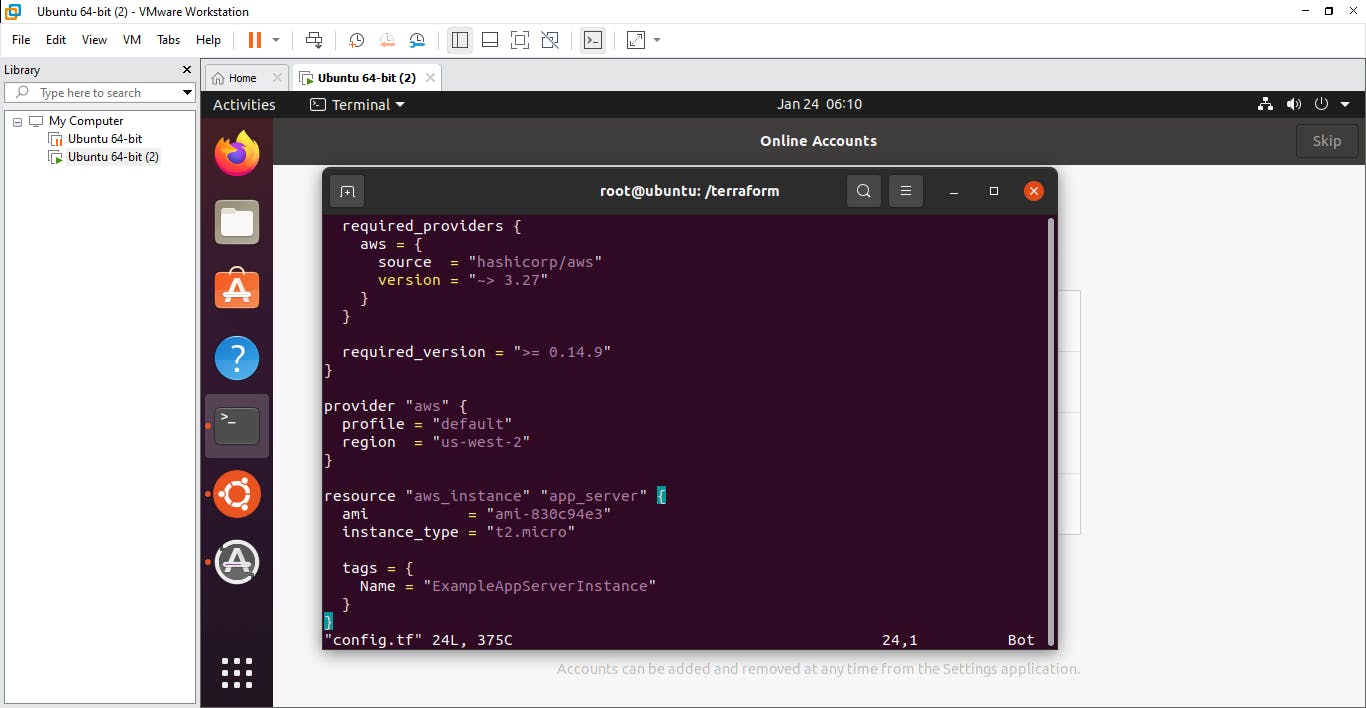
Using the vim config.tf command, open the text editor, and press i to edit or insert text.
Copy the following text inside:
terraform { required_providers { aws = { source = "hashicorp/aws" version = "~> 3.27" } }
required_version = ">= 0.14.9" }
provider "aws" { profile = "default" region = "us-west-2" }
resource "aws_instance" "app_server" { ami = "ami-830c94e3" instance_type = "t2.micro"
tags = { Name = "ExampleAppServerInstance" } }
and use esc shift:wq enter to save and close the file.
(Please indent it as it is in the photo below)
Next install aws using snap install aws-cli --classic and configure it using the aws configure command. If done, you should see this:
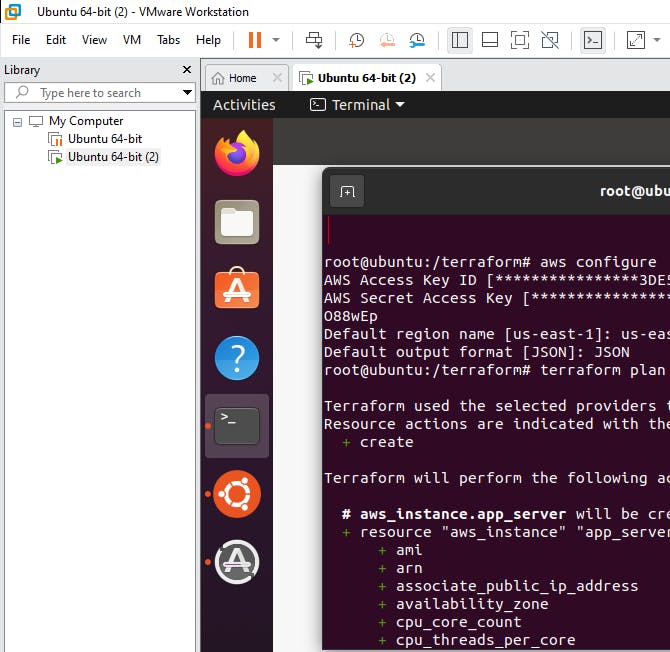
To configure AWS, you need to go to your actual AWS account, click on your name/profile and on the drop down, click security credentials. There, you'll download your access keys and secret keys. Be sure to keep the secret key safe, otherwise, once you lose it, it's lost forever and you would need to download fresh keys. The system will ask you for the access and secret keys, as well as your default region name and default output format (for default format, type in JSON) so please take note of those.
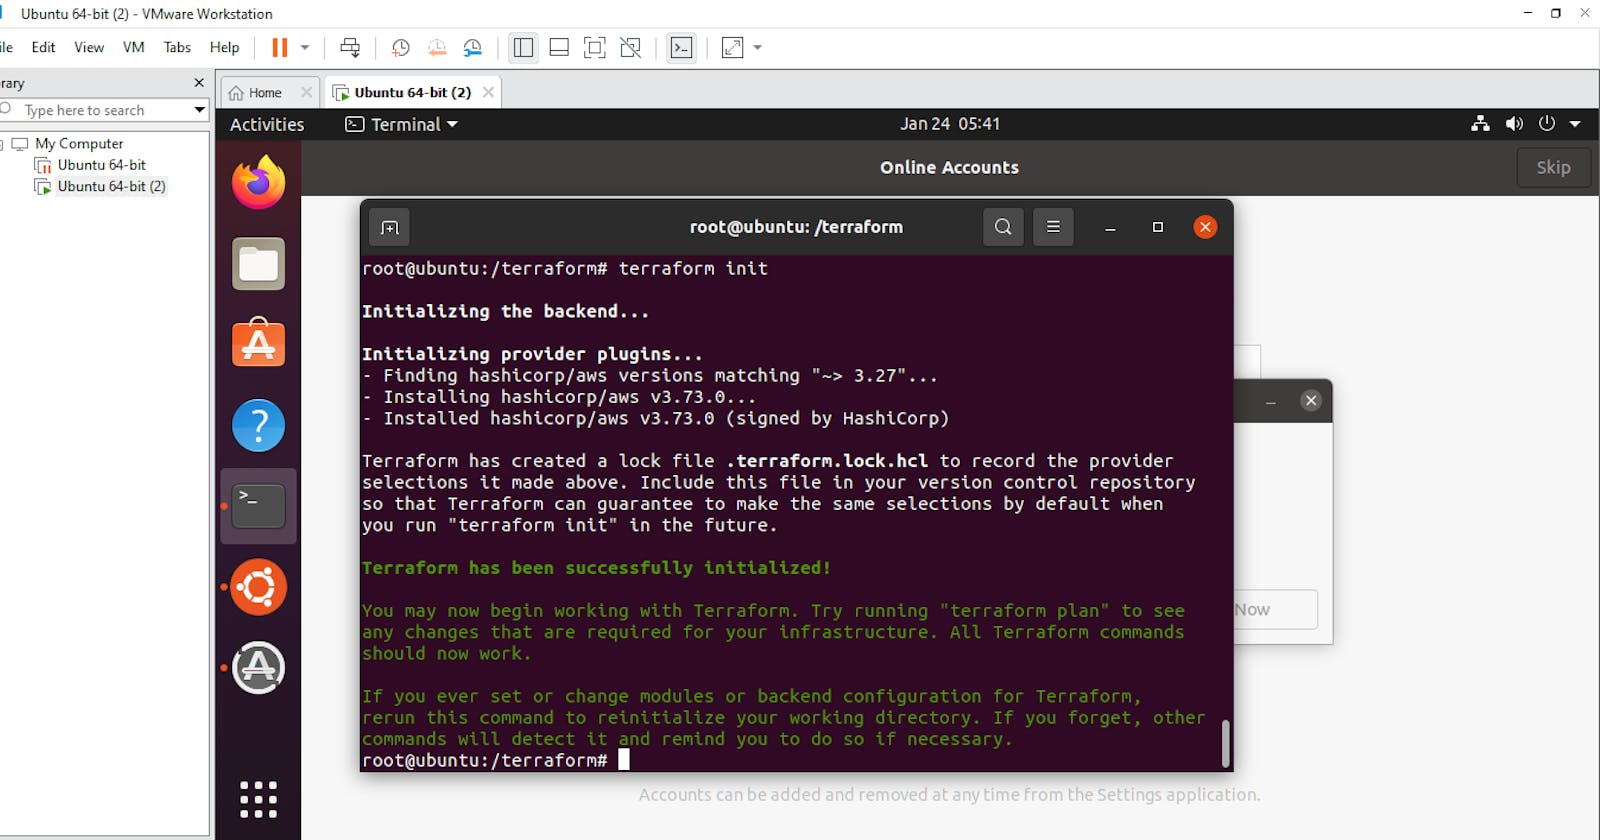
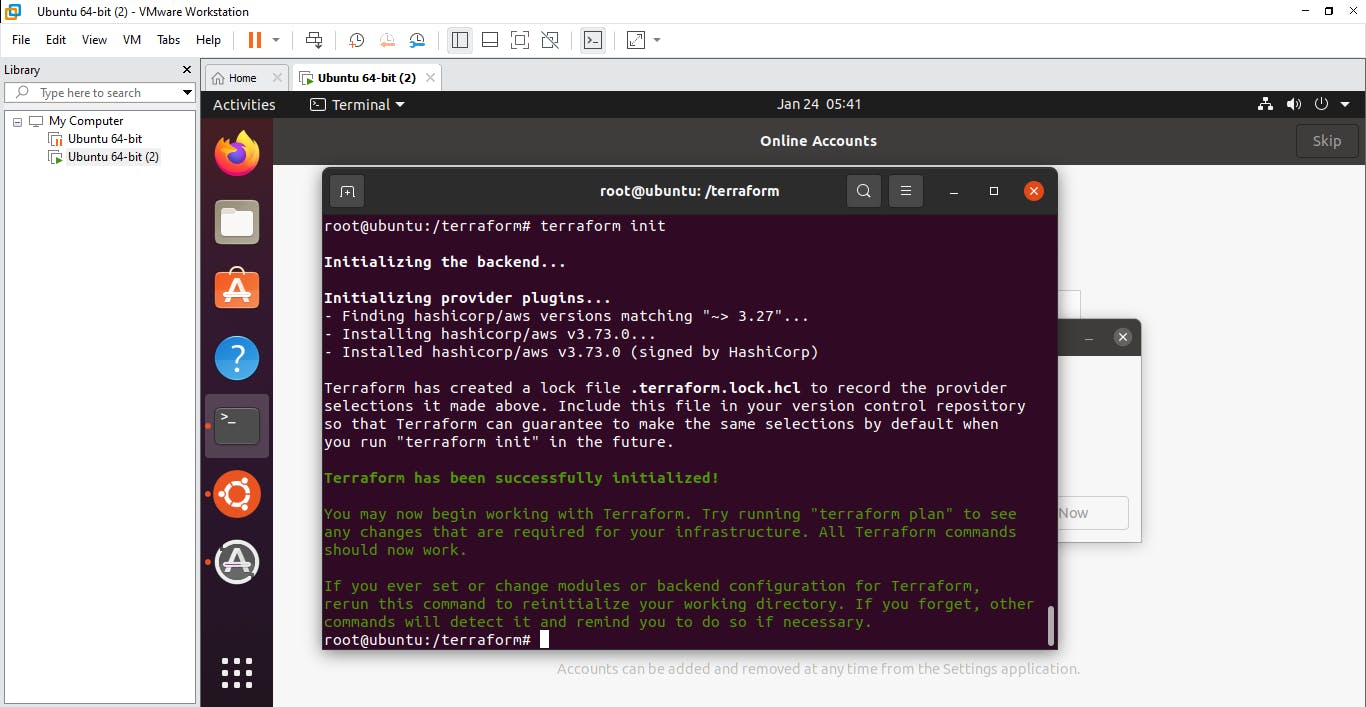
You can now initialize using the terraform init command
Followed by terraform plan
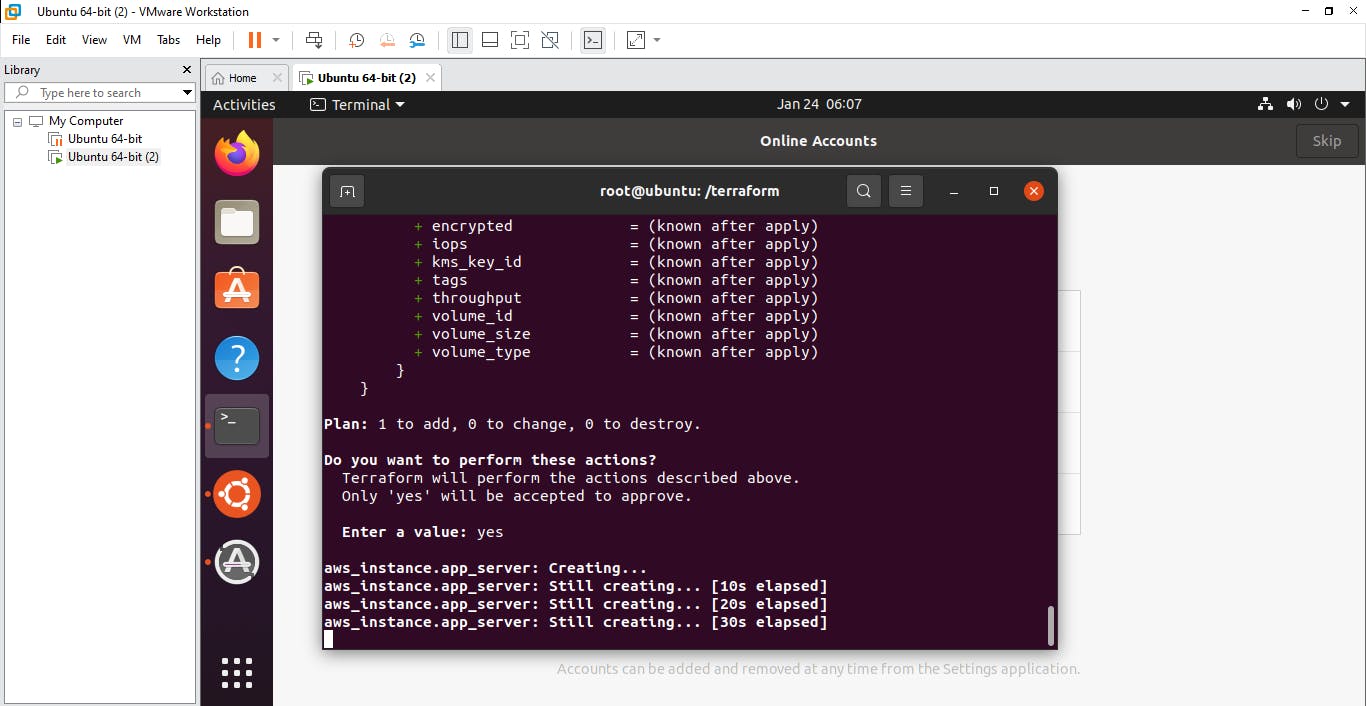
Finally, apply using the terraform apply command
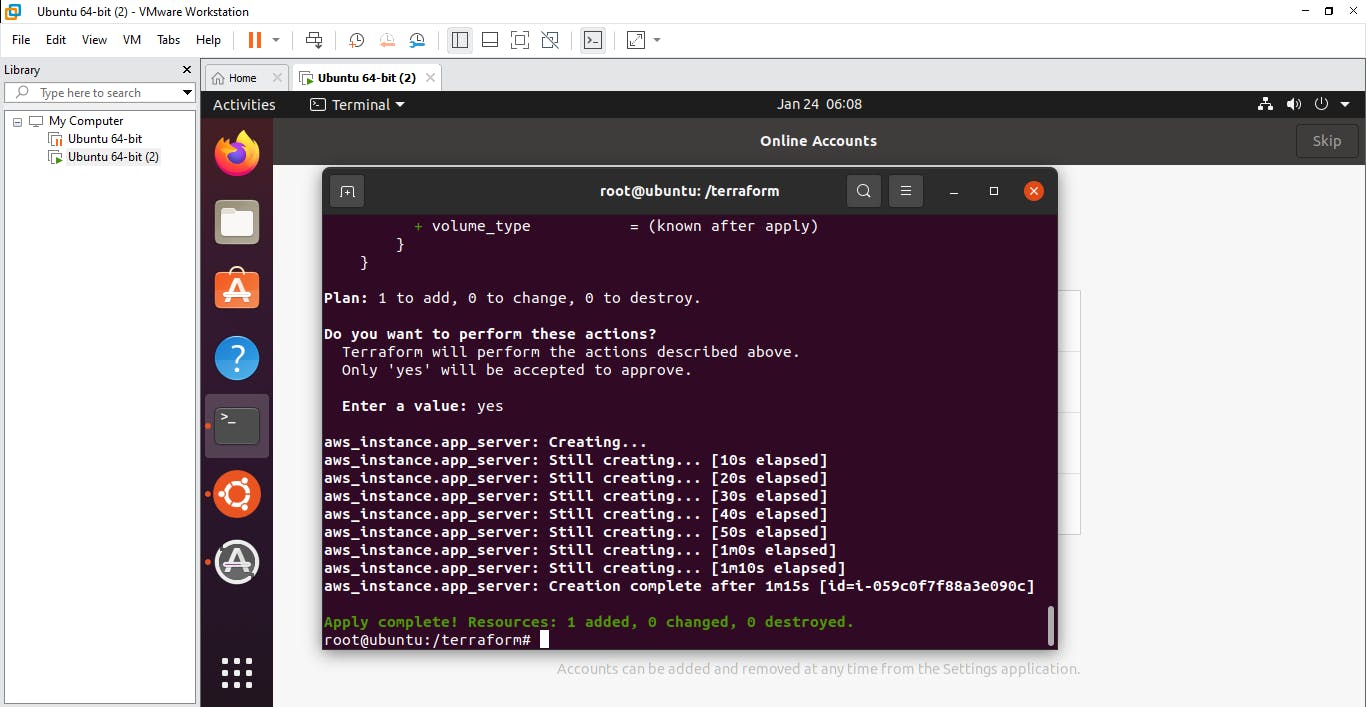
Voila! Following these steps, you have successfully deployed resources on aws using terraform. You may now proceed to the portal to check out your deployed resources.