How to create an SQL Virtual Machine and connect it to Microsoft's SQL Server Management Studio


Hello guys! Want to learn how to create an SQL virtual machine and connect it to Microsoft's SQL Server Management Studio? Then please follow this tutorial. Please note that you need to download Microsoft's SSMS 18, and AdventureWorksLT2019.bak (sample database).
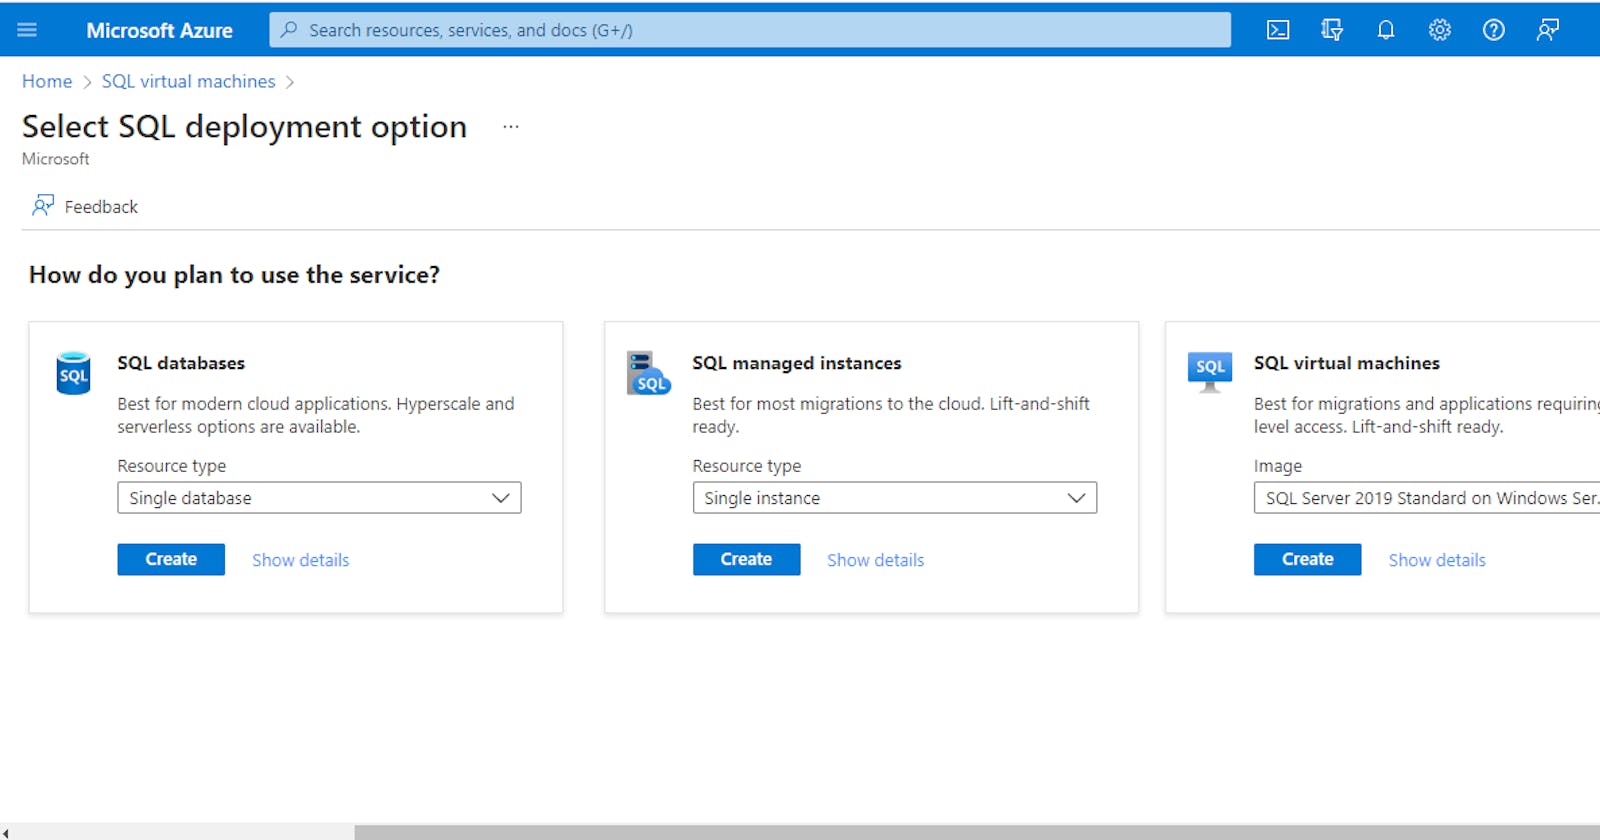
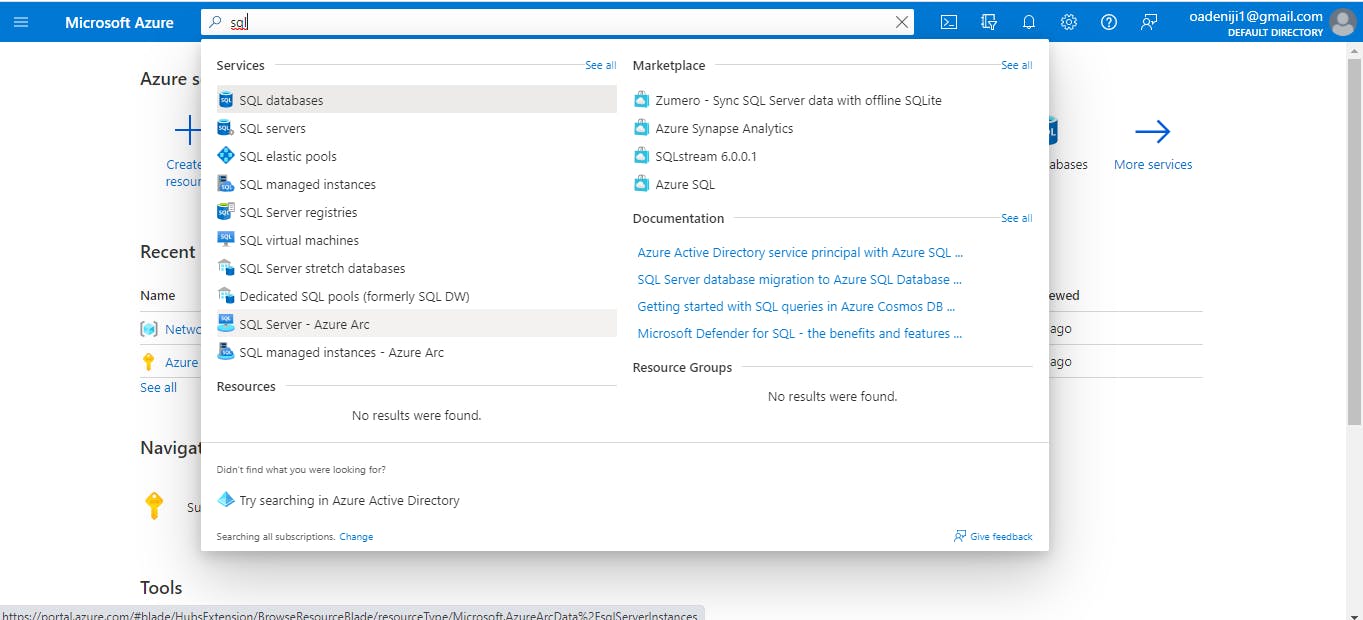
The first thing you want to do is go to the portal of your preferred cloud provider (for this tutorial, I would be using Microsoft's Azure platform). On the search bar, type in SQL Virtual Machine and click it.
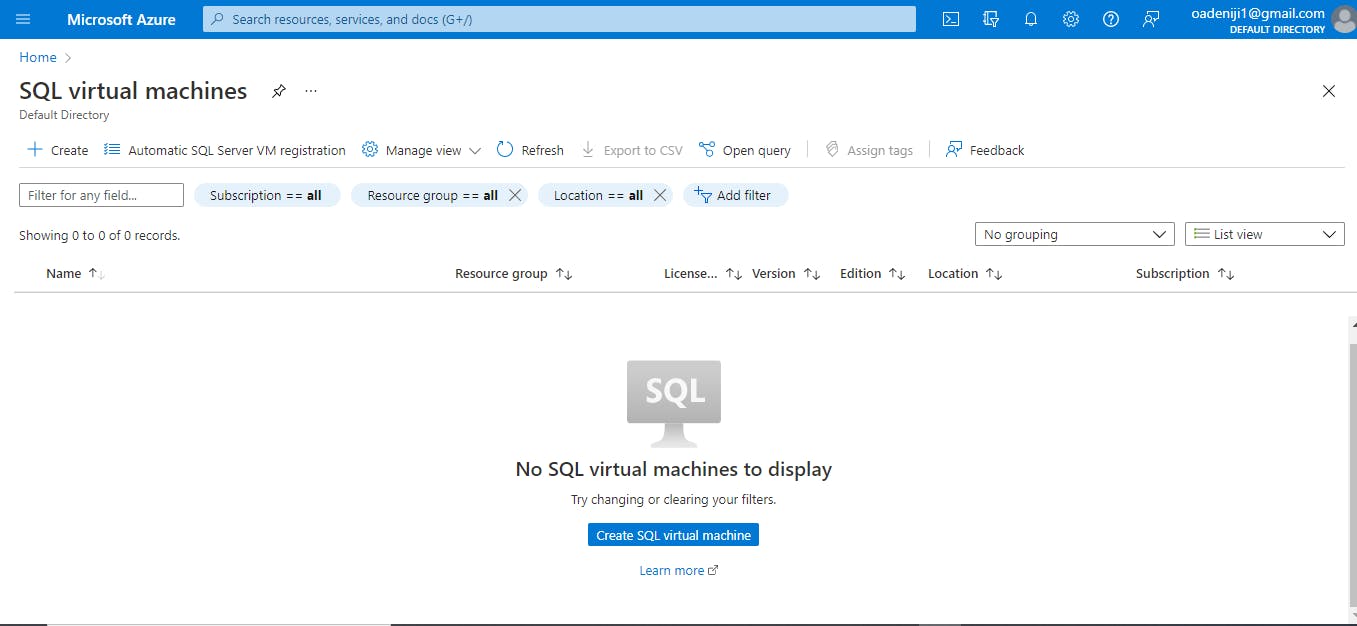
Then, click create SQL Virtual Machines
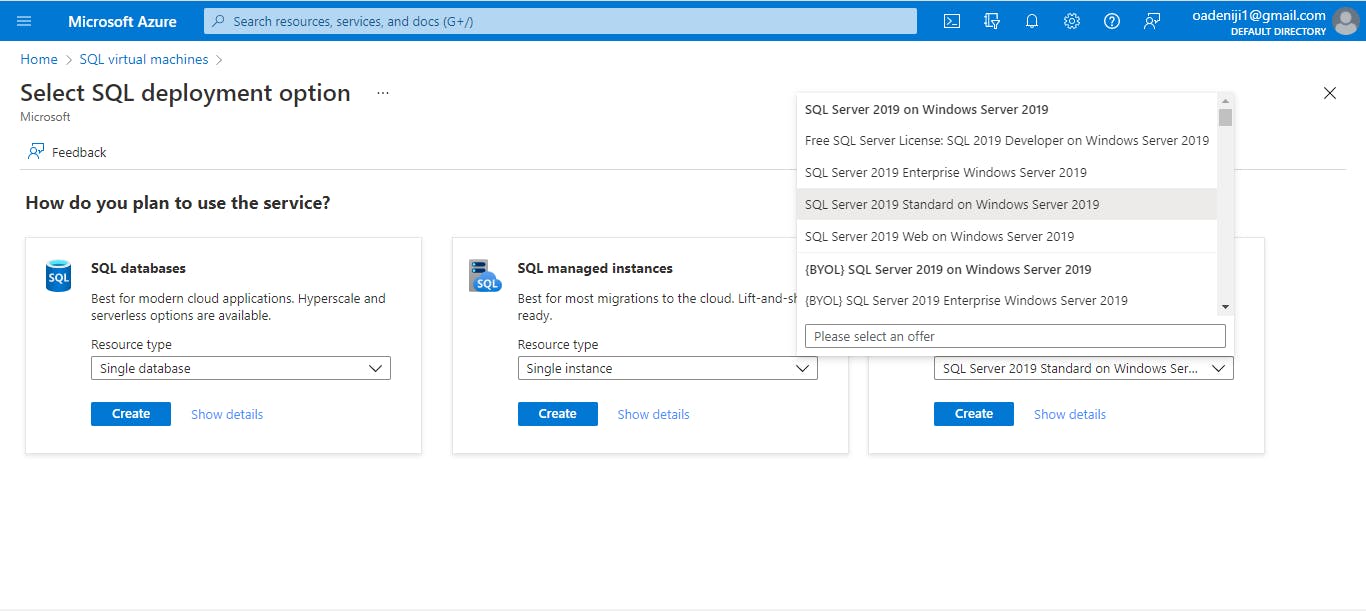
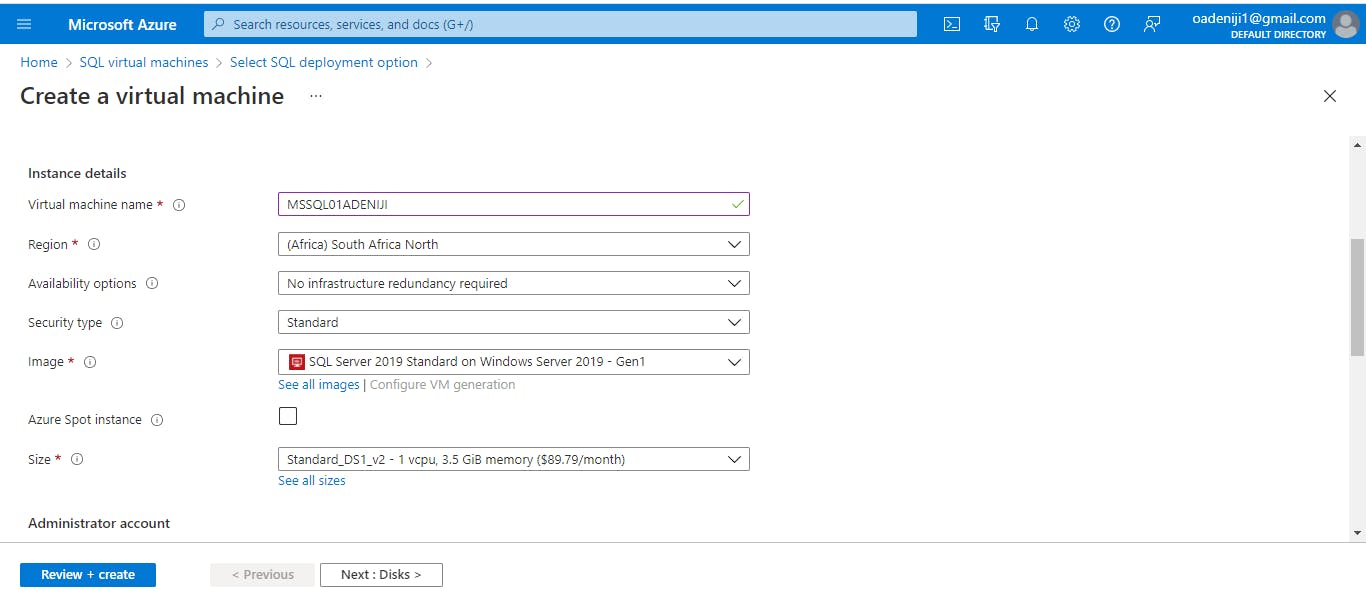
For the image, select SQL Server 2019 on Windows Server and click create.
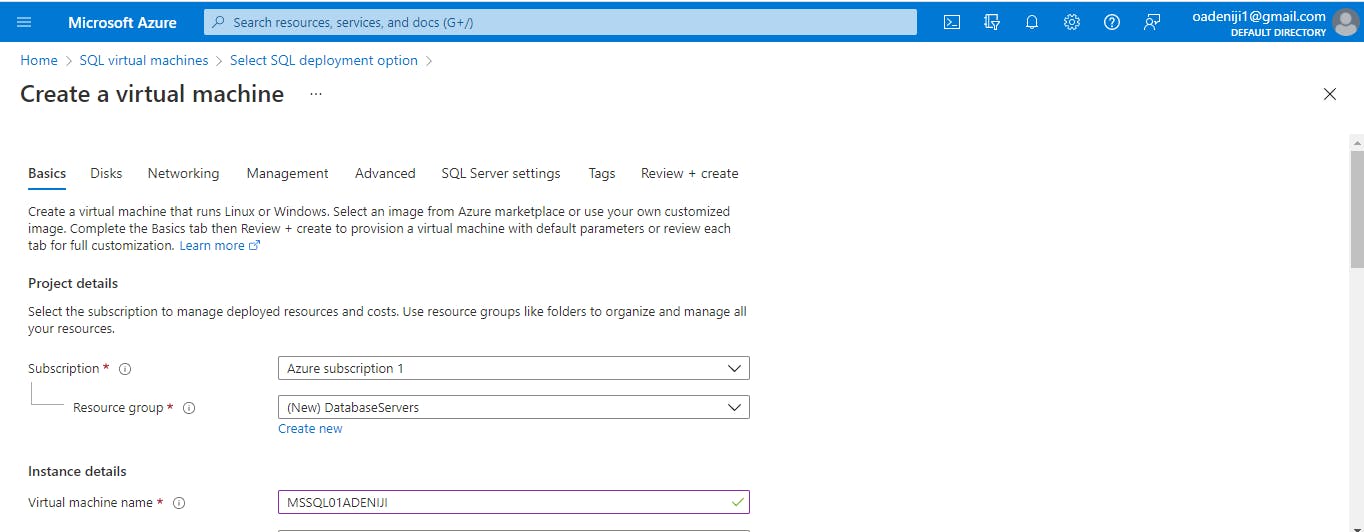
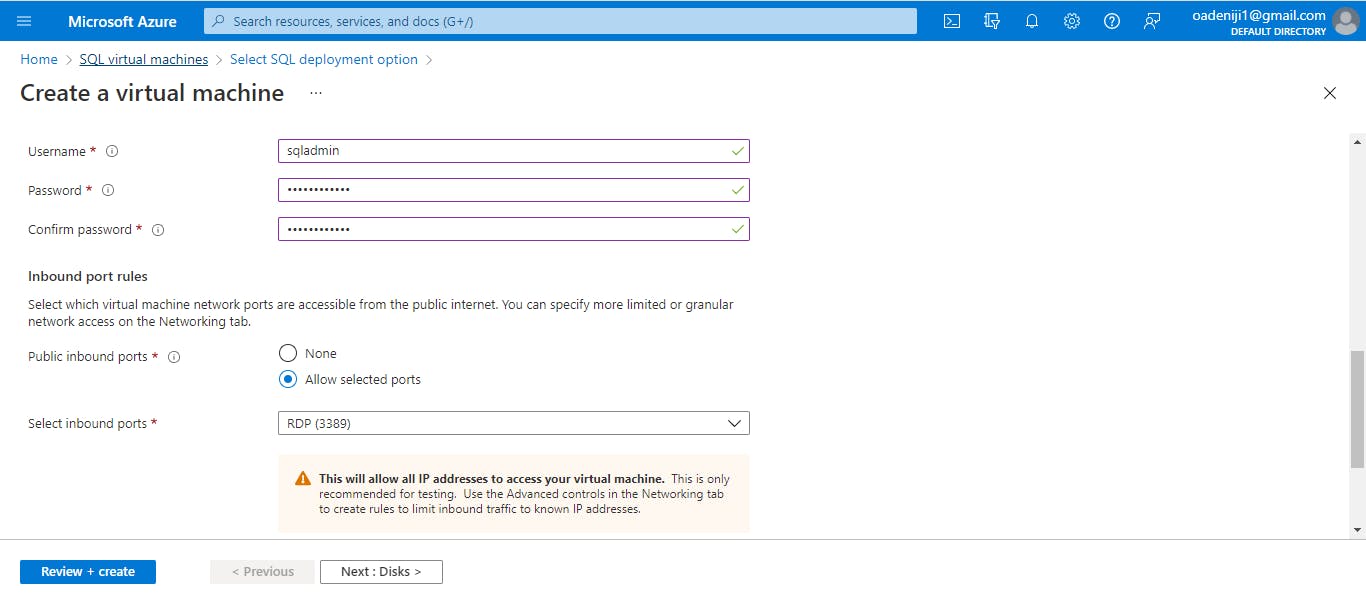
Now, key in the following: Resource Group: Create a new resource group and name it DataBaseServers Virtual Machine Name: MSSQL01 Availability Options: No infrastructure redundancy required (As this is strictly for test purposes, I have set it as such, but you might choose to calibrate it as demanded by the situation) Image: (Default) Size: Standard_DS1_V2(1 vcpu, 3.5 GB of memory) Username: sqladmin Password: (set one that meets the displayed requirements) Public inbound ports: Allow selected ports Select Inbound Ports: RDP 3389 Do not click check box for use existing license

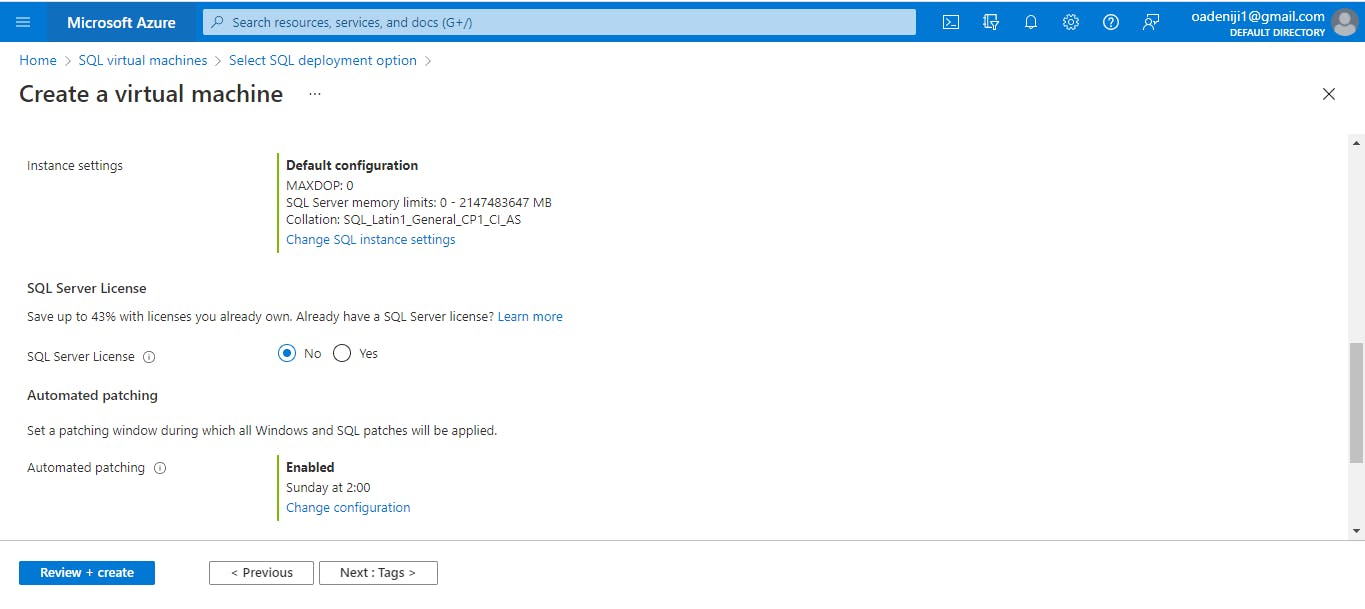
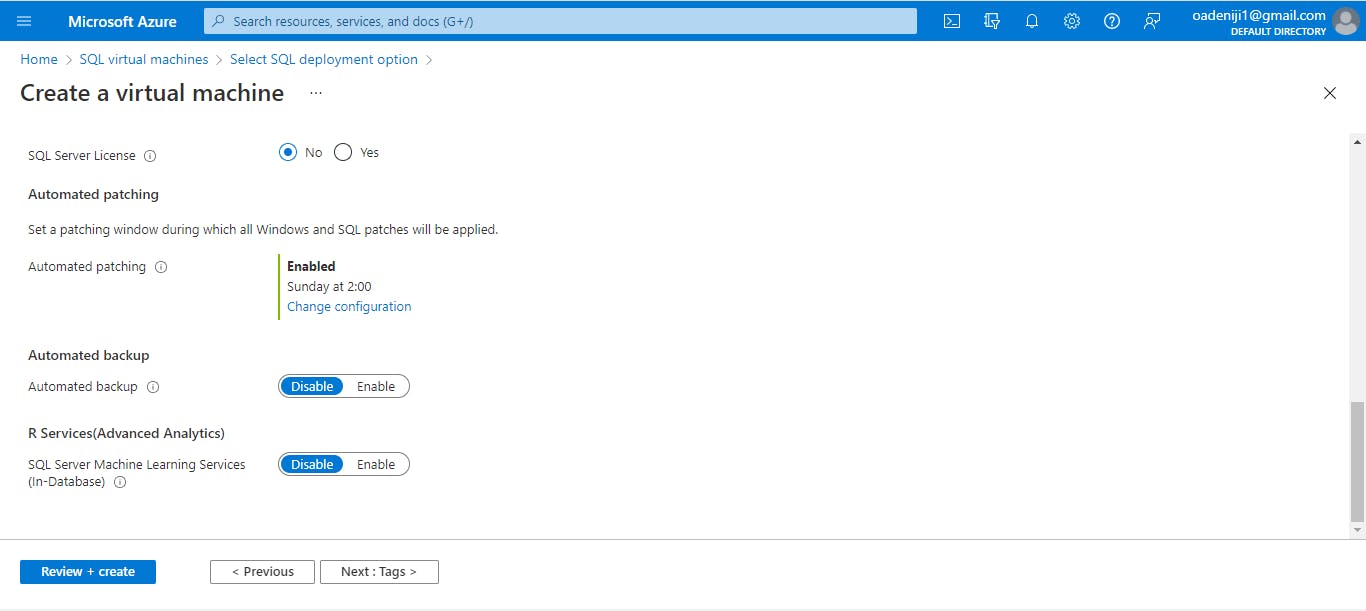
Now, navigate to the SQL server settings tab at the top and enter the following: SQL Authentication: Enable Login name: dbadmin Password: (Meets the requirements) SQL Server License: No Automated backup: Disable

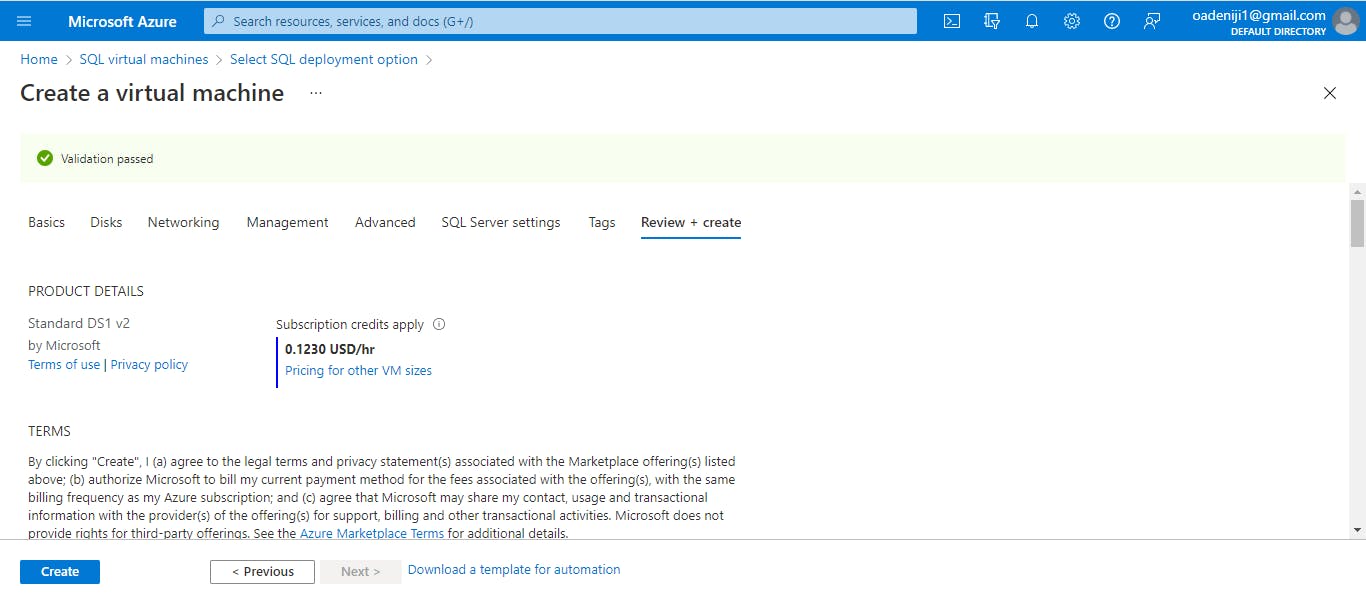
Next, click on the Review and Create button in order to finish up with the process of deploying the resource
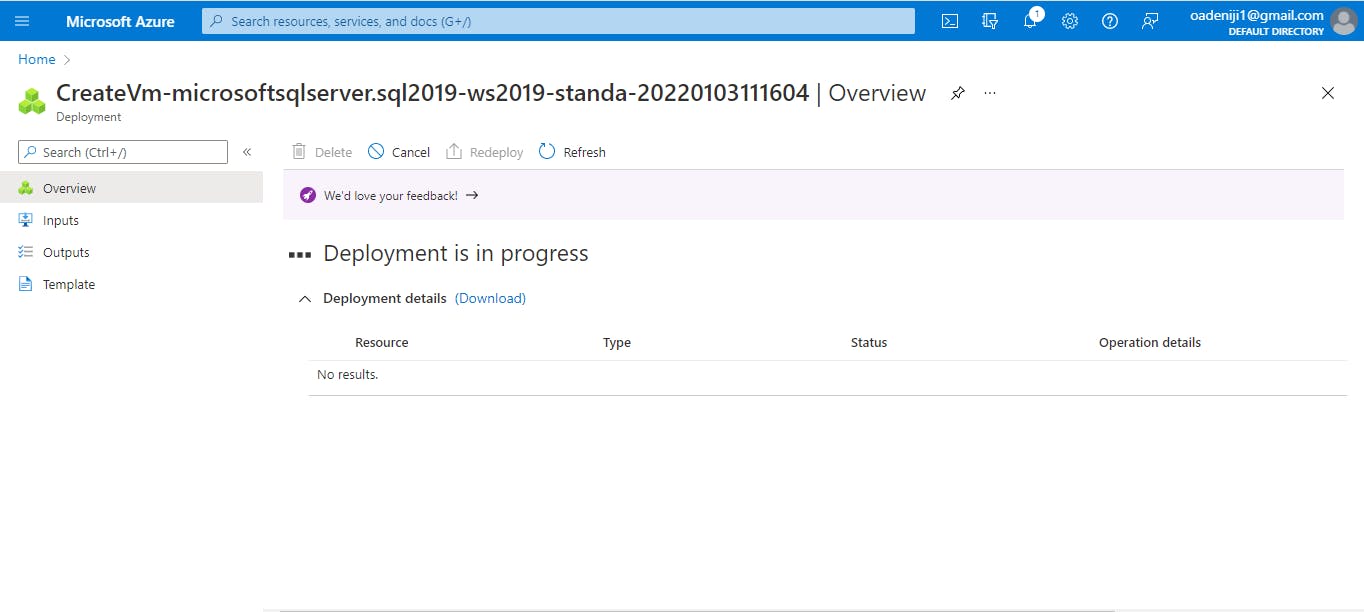
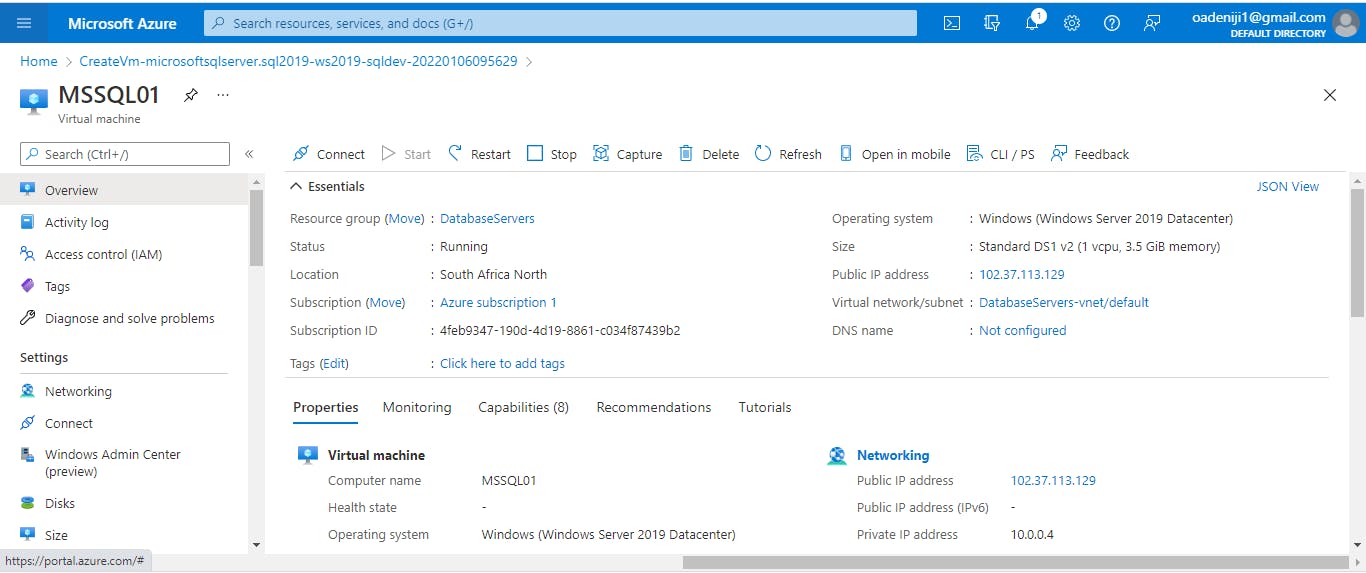
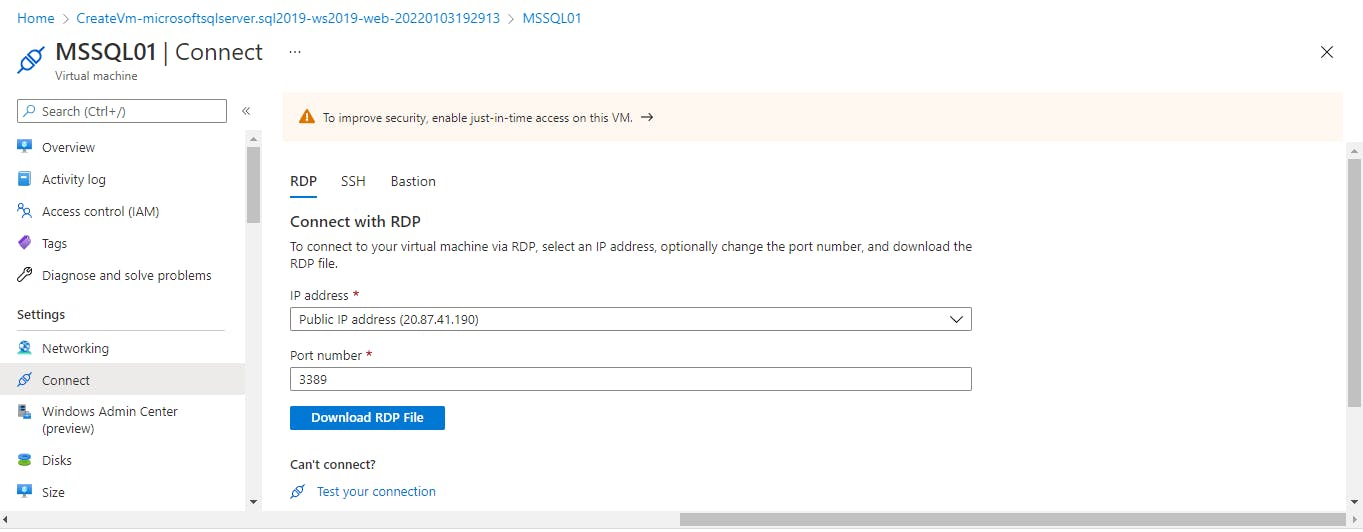
Once deployment is complete, click on go to resource and copy out the public ip address of your SQLVM, you would need it for later. Click on connect and select rdp
Click on rdp and download the rdp file for connection
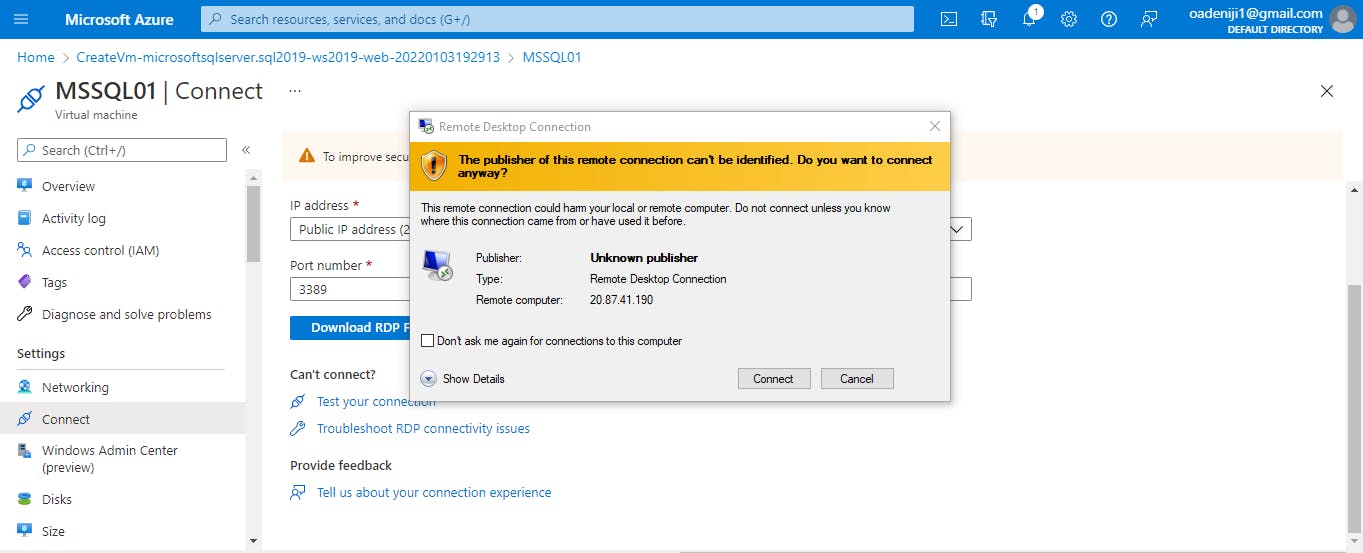
Open the downloaded rdp file and click connect, then impute your username and password (use the same credentials as the one you chose during the configuration of your SQLVM on the azure portal)
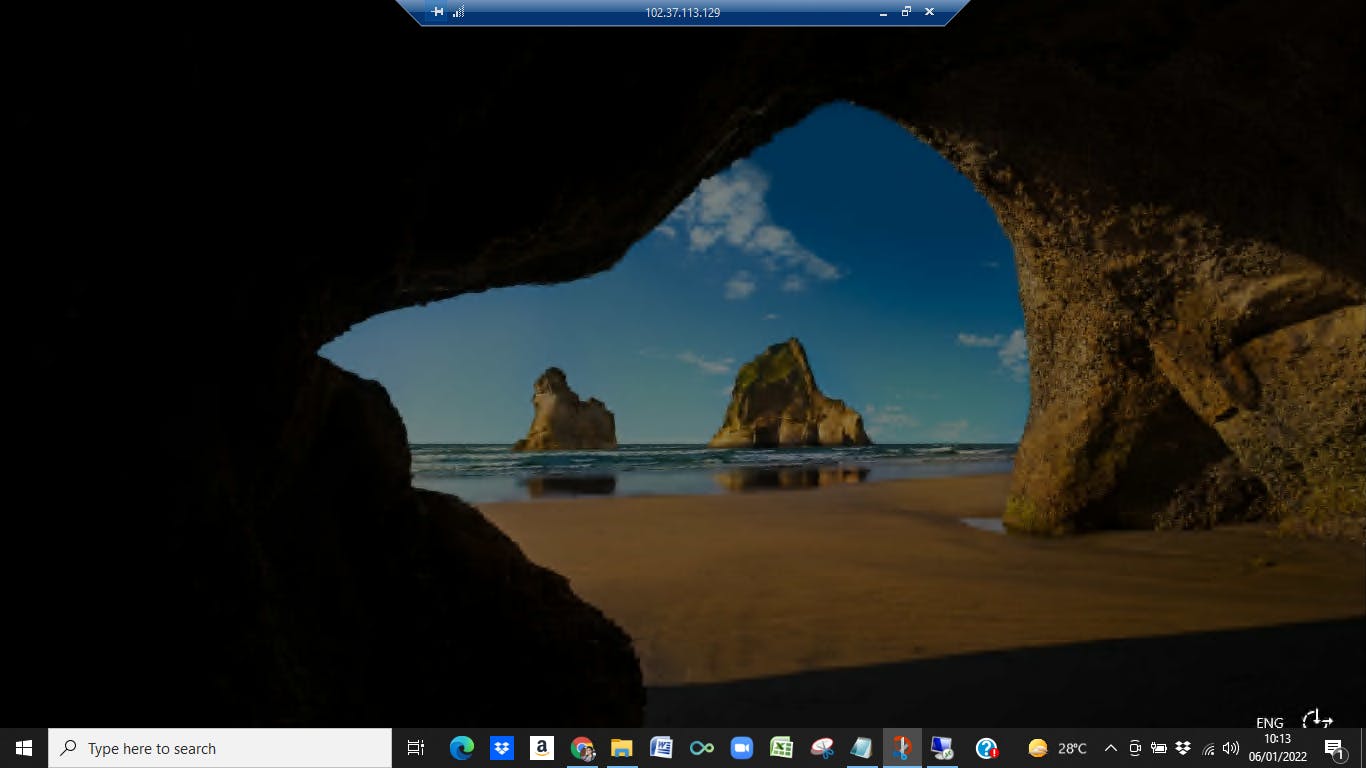
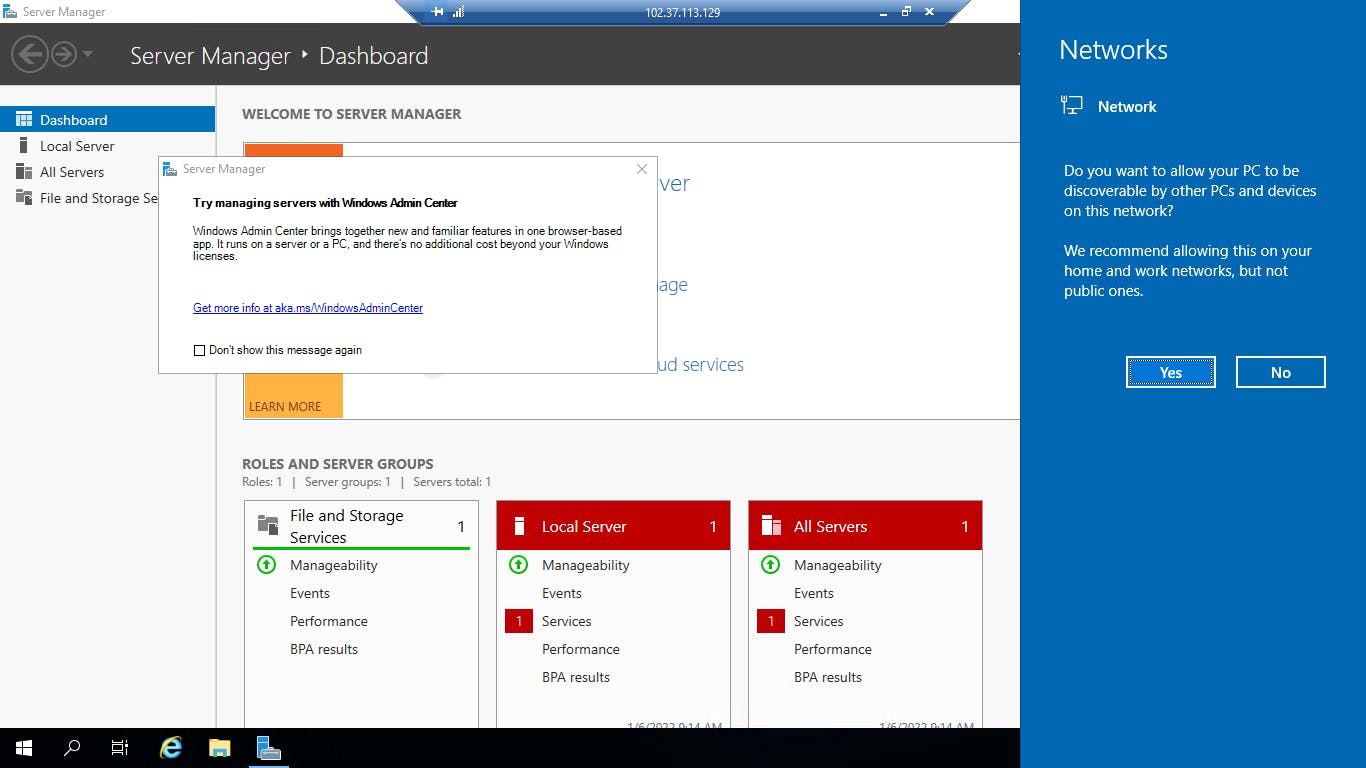
Your SQLVM is ready
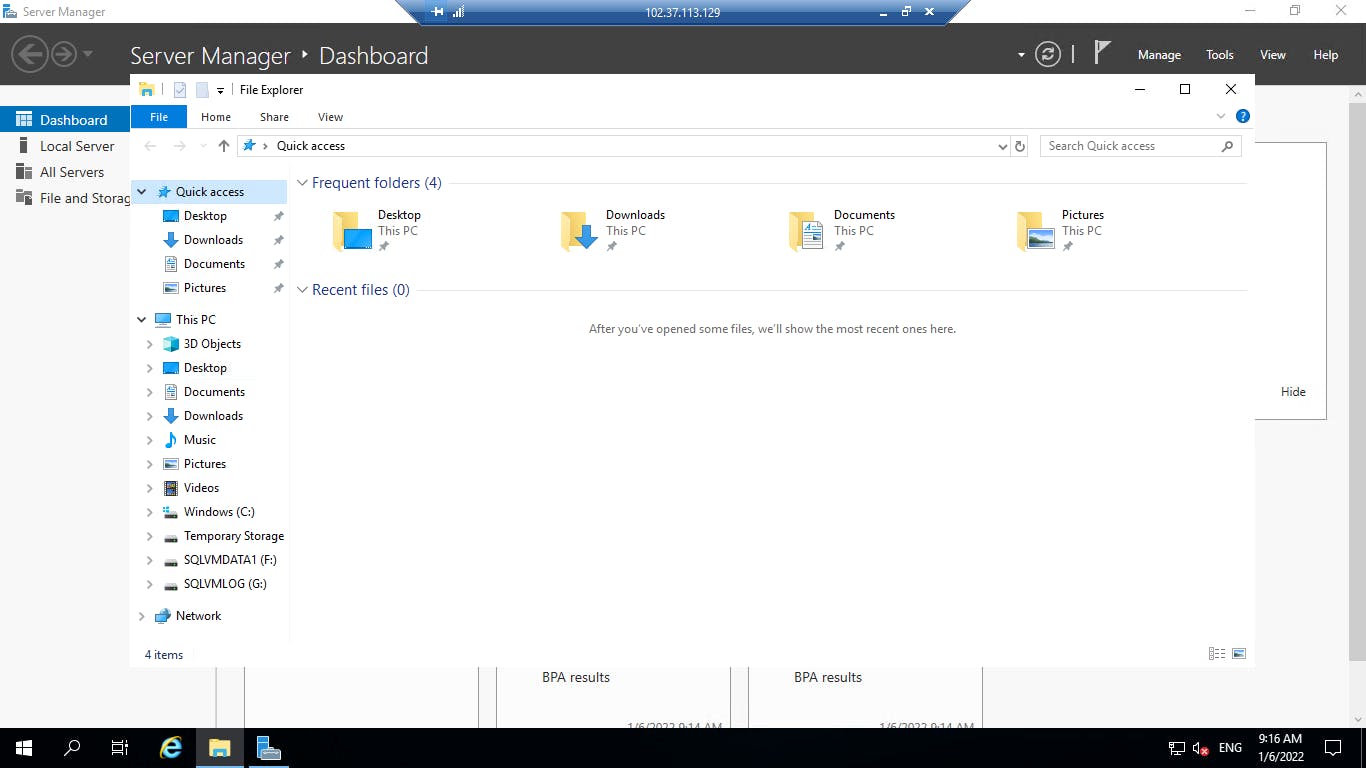
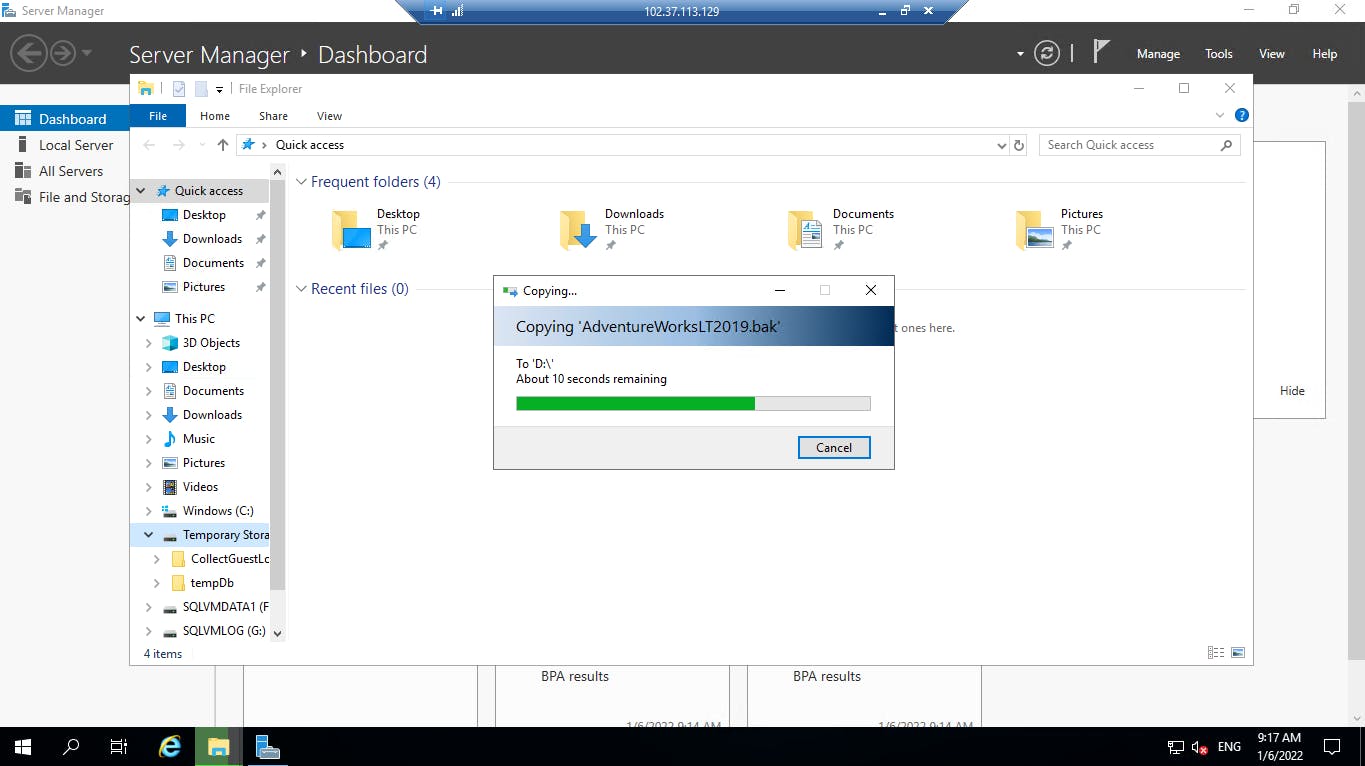
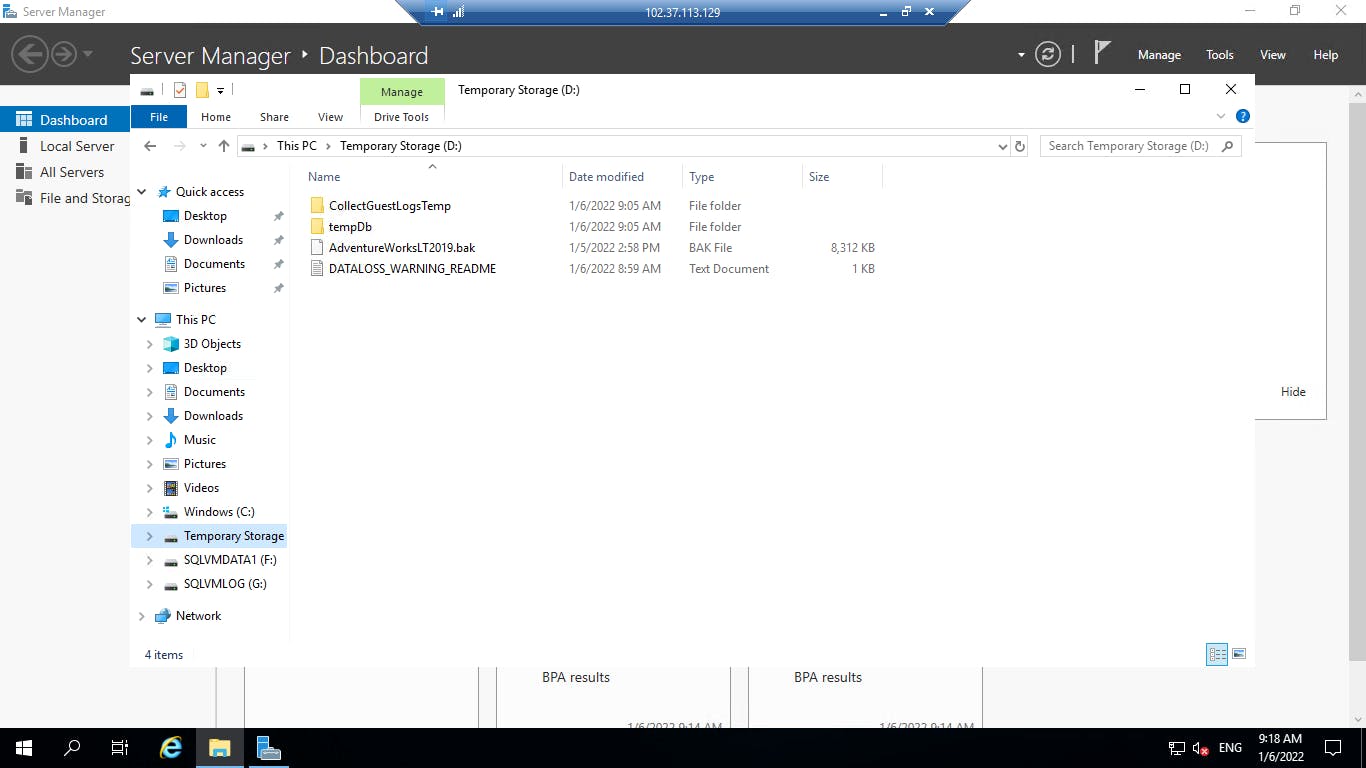
Paste the AdventureWorksLT2019.bak file you downloaded earlier into your temporary storage
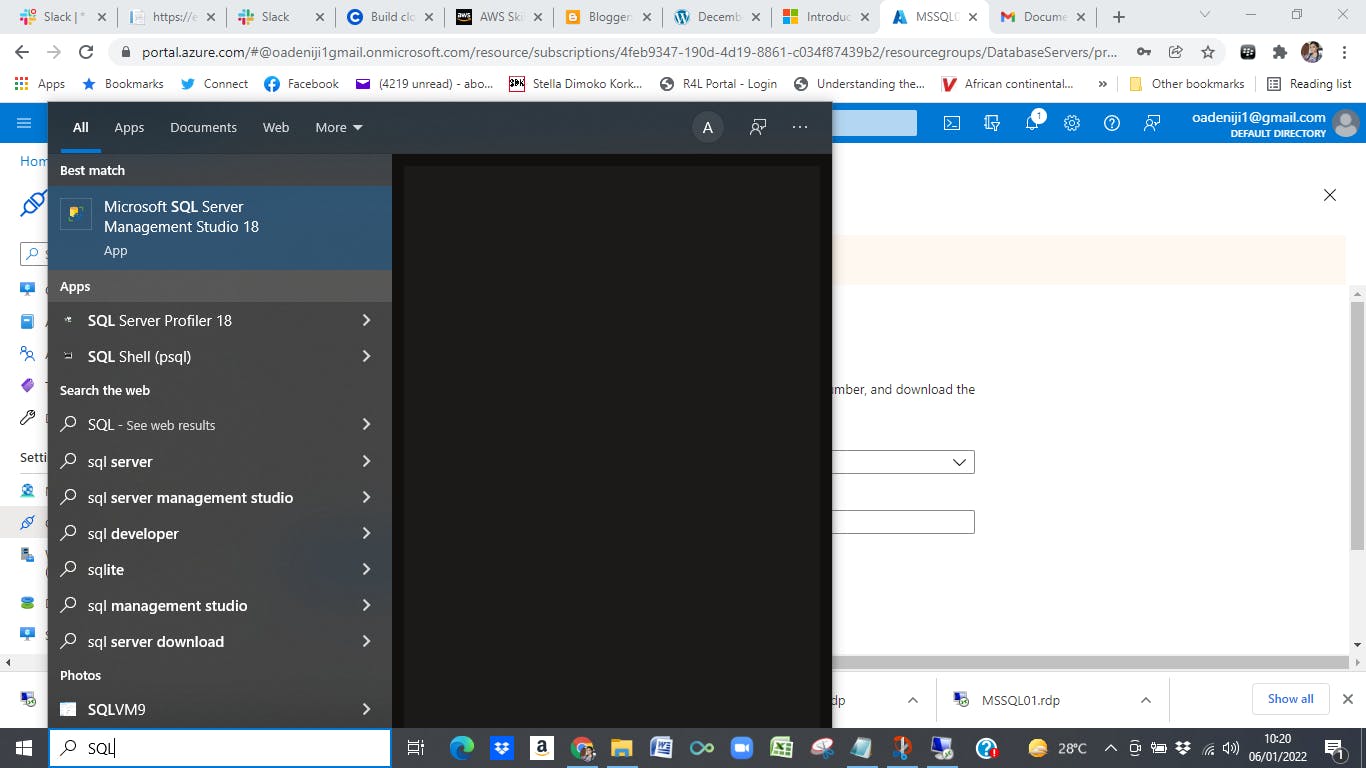
Download the SQL server Management Studio 18 app on your local machine
Click connect once the SSMS opens and you should see a pop up window that looks like this then impute the following details Server type: database engine Server name: Impute the public ip address of the SQLVM which you copied earlier, follow it with a comma, and ass the port number you choose during configuration of your SQLVM it should follow this format 102.37.113.129,1401 Authentication: SQL Server Authentication Login and password: impute the same details you put in under the SQL server settings then click connect
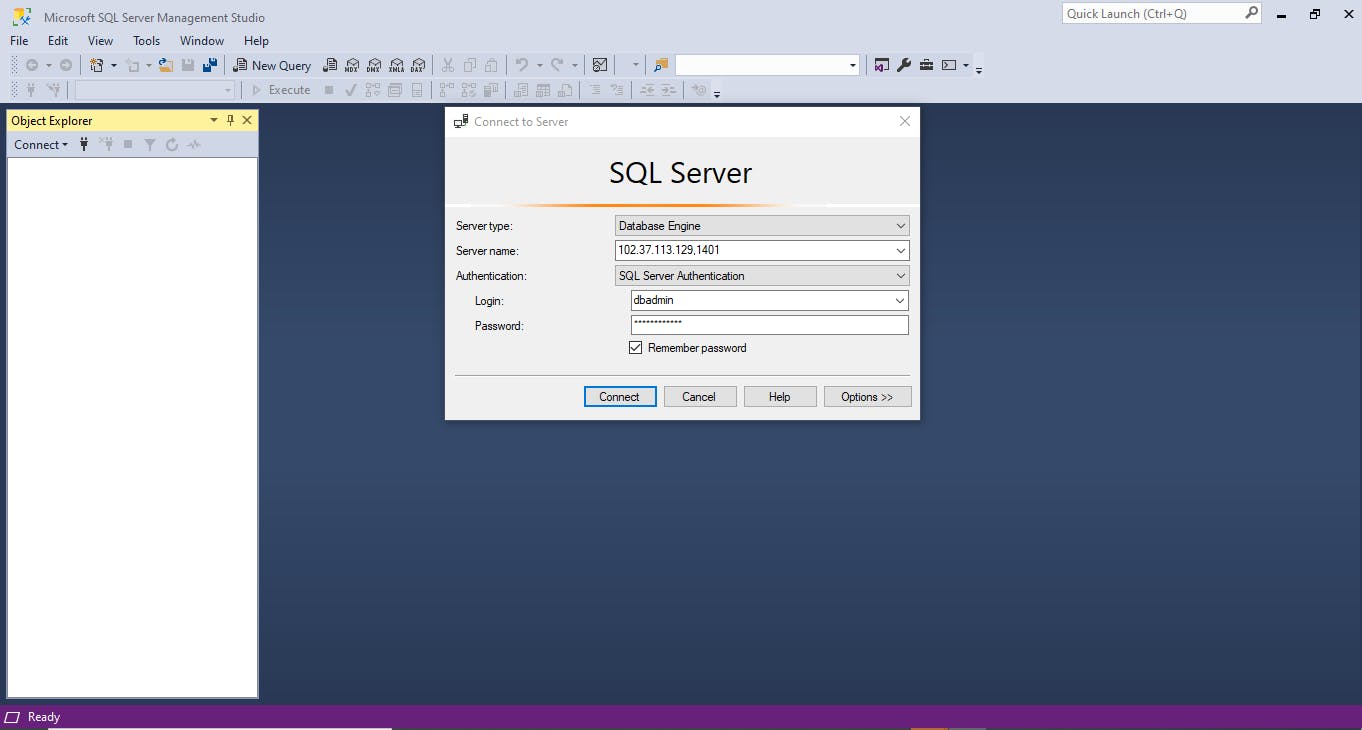
Once you do that, you should see this:
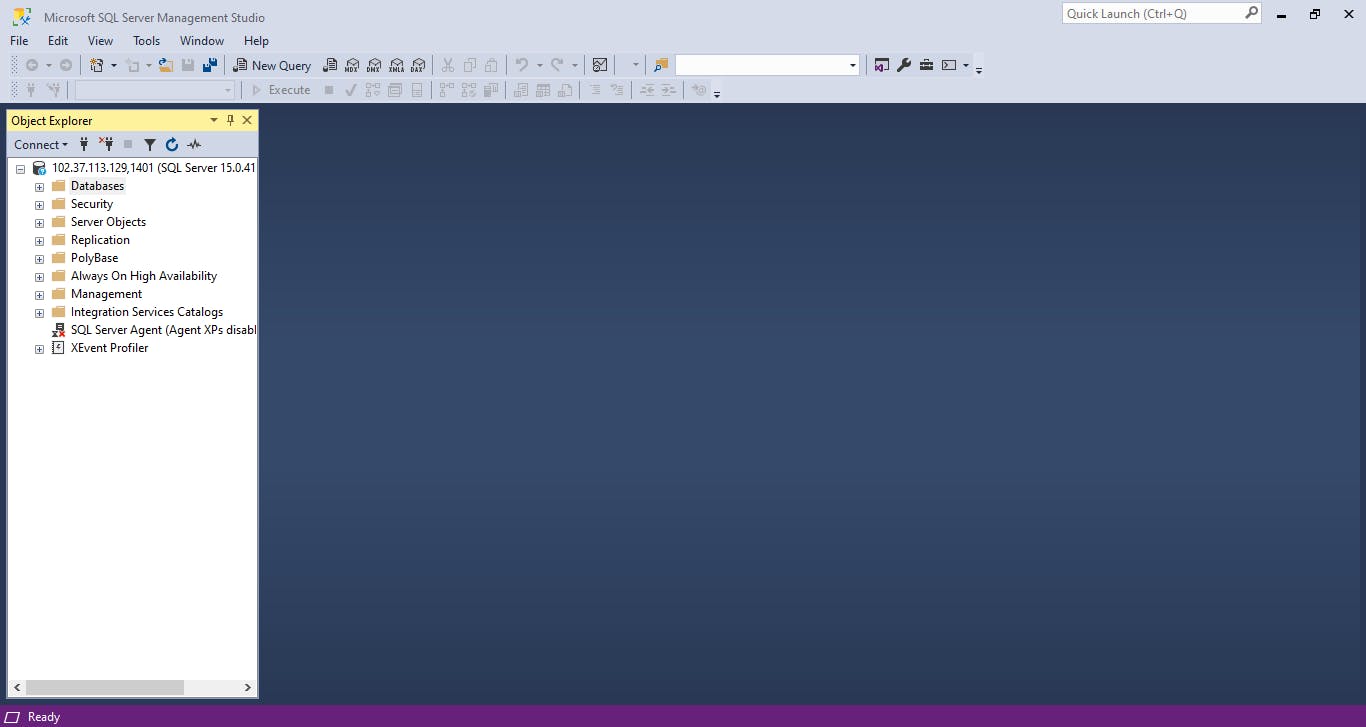
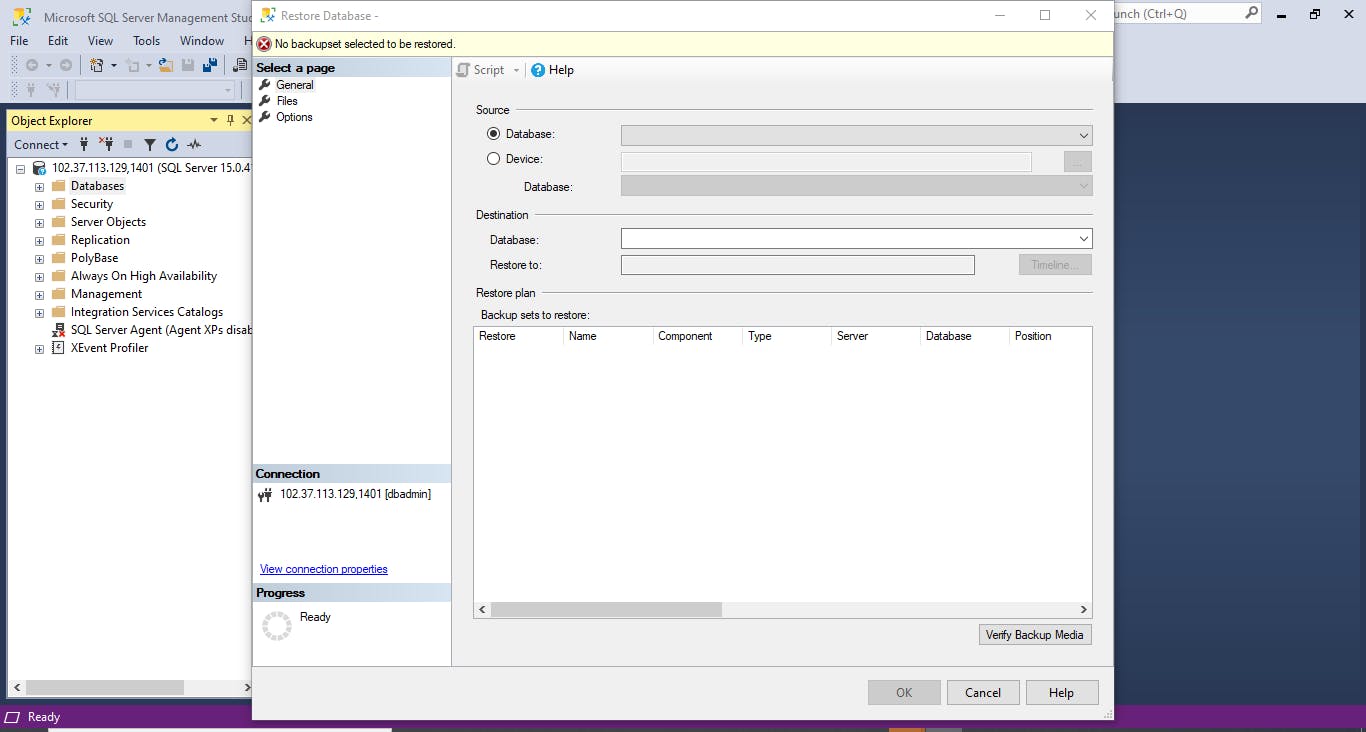
Right click on the database button and click restore database
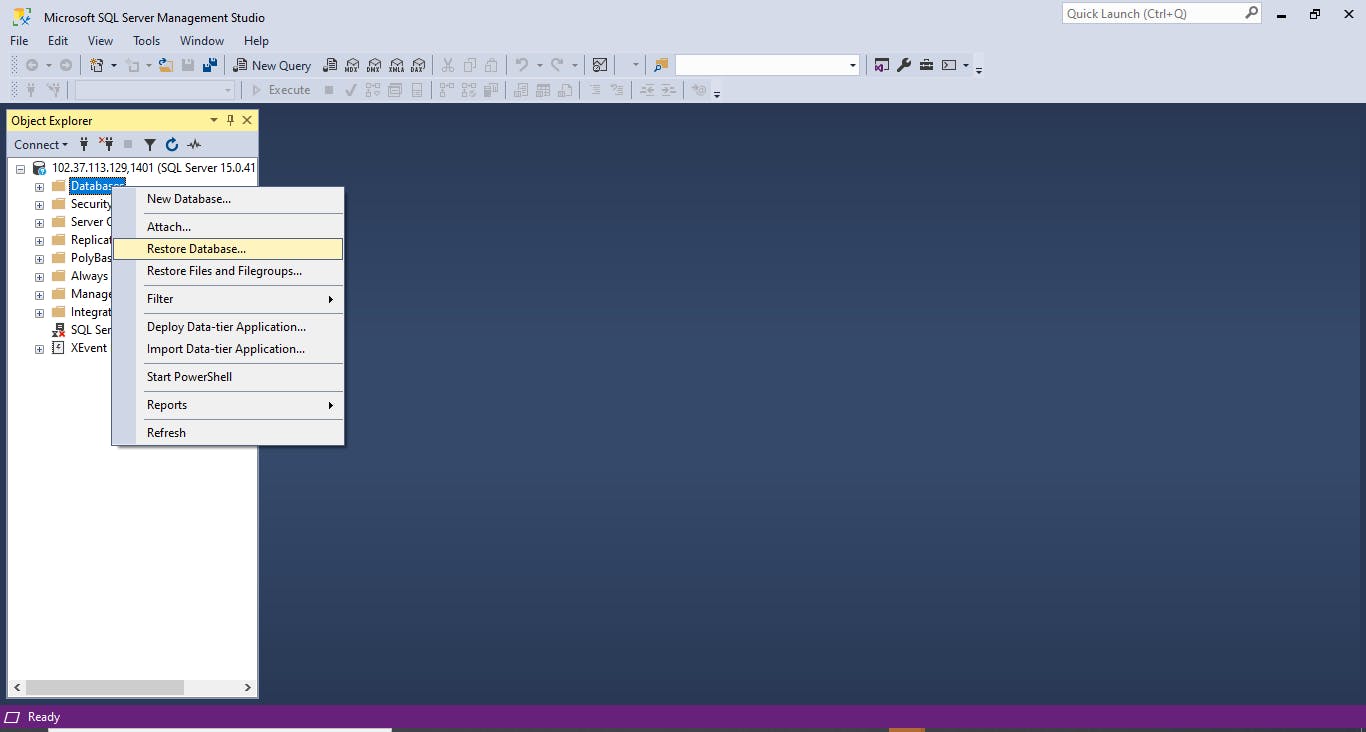
You should see this:
Then click the round button to the left of devices, and the button that has the 3 dots to the right of "devices"

It should pop up an extra window
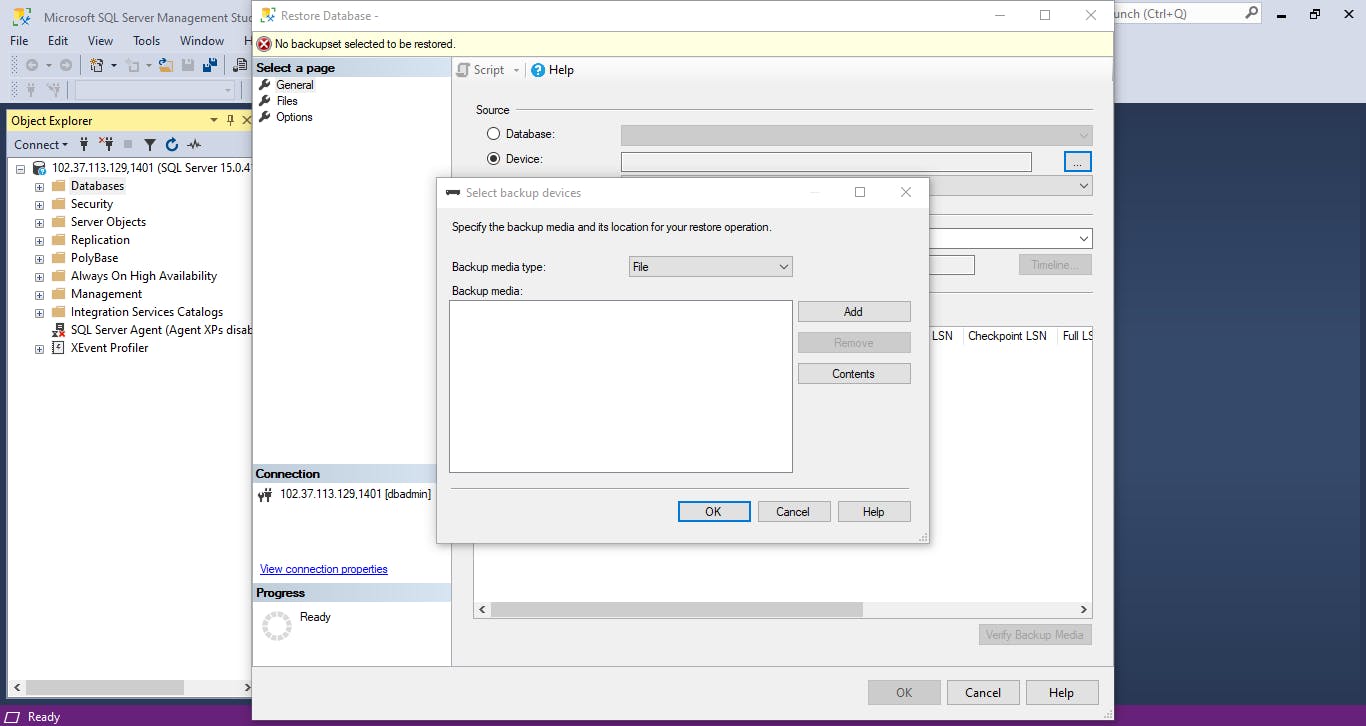
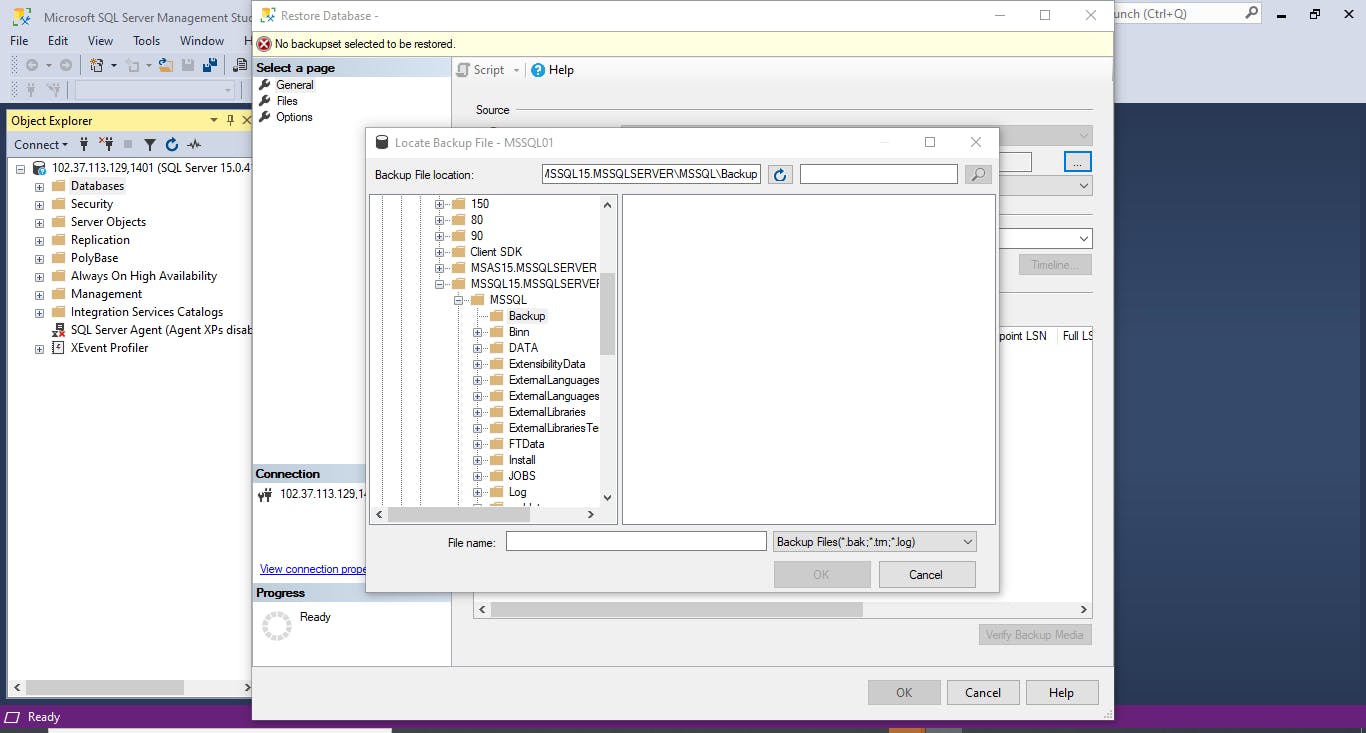
On the pop up window, click the add button and it should take you to this window. You can now search for the AdventureWorksLT2019.bak file and add it
Click on it and click "OK"
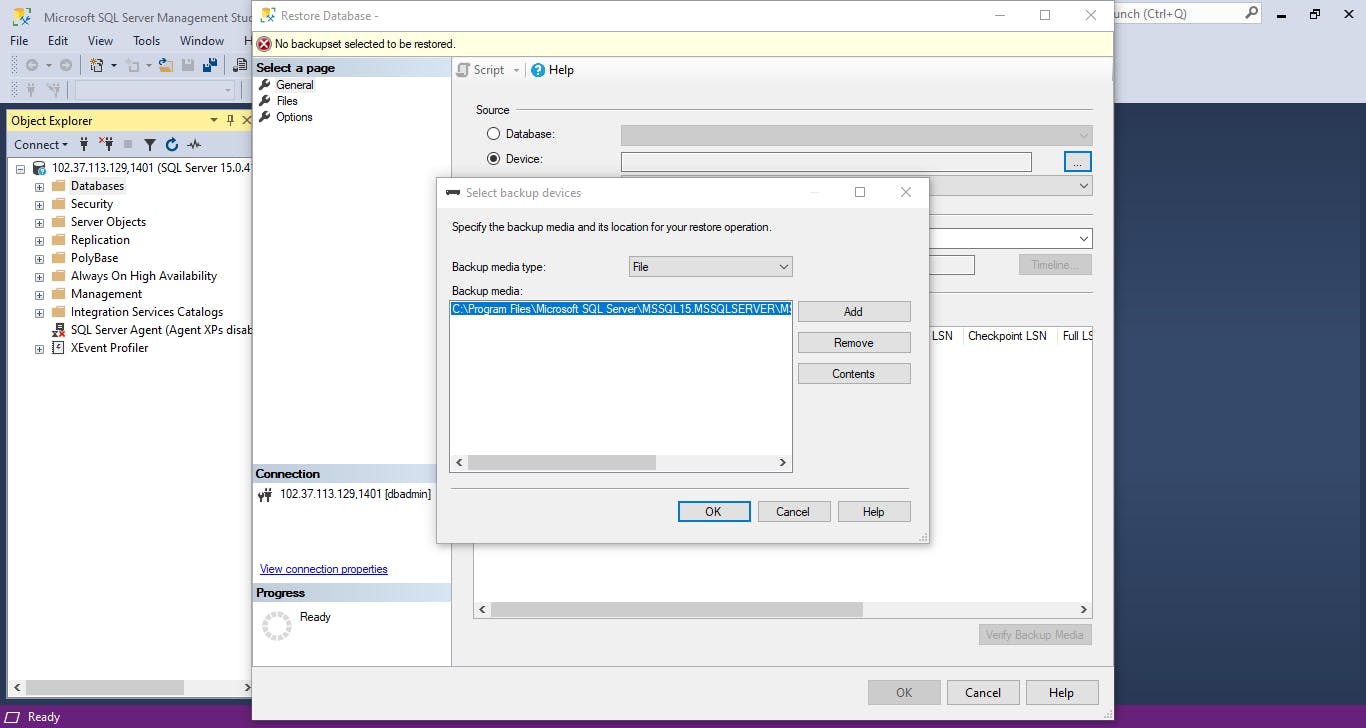
You should get the following message "Database AdventureWorksLT2019 restored successfully"
That my dear friends is how you create an SQLVM and connect it to Microsoft's SSMS to restore databases.