How to Upload into your Azure Storage Account using Azure Storage Explorer


Guys today we'll be using an azure storage explorer to manage your cloud storage account. For this illustration, I will be using Microsoft's cloud platform, Azure. Their cloud storage offerings, come in form of blobs -binary large objects- (for images, videos, and massive unstructured data), files (for file shares, which can be accessed from wherever), queues (for sending messages between applications at undefined intervals), tables (where, you can store your noSQL data), and finally, disks (usually virtual hard disks, where data can be stored).
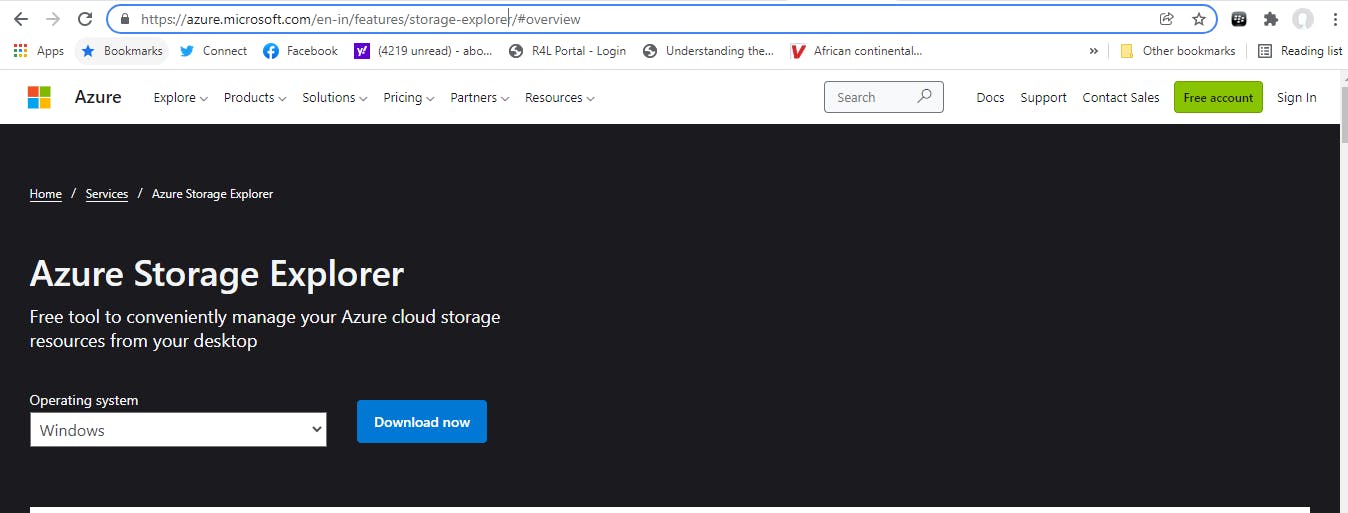
The first thing we need to do is to download Microsoft's Azure storage explorer. You can do so using this link azure.microsoft.com/en-in/features/storage-.. Select your preferred OS from the dropdown (mine is windows), and click on the download button.
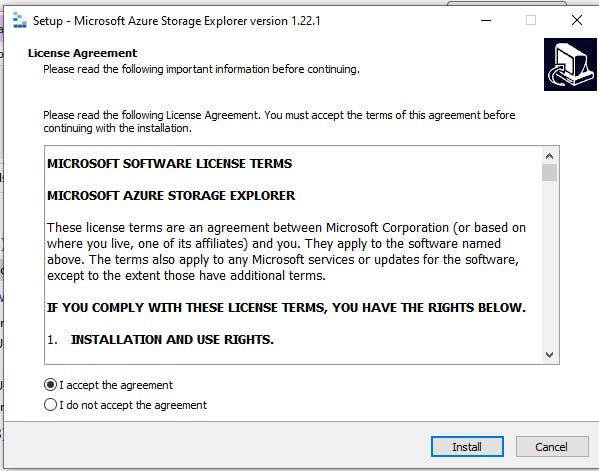
Open once download completes, and it should prompt you to install

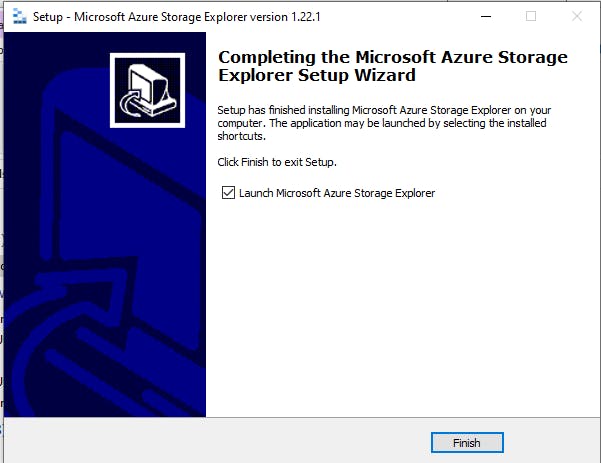
Once installation has been completed successfully, you should see this:
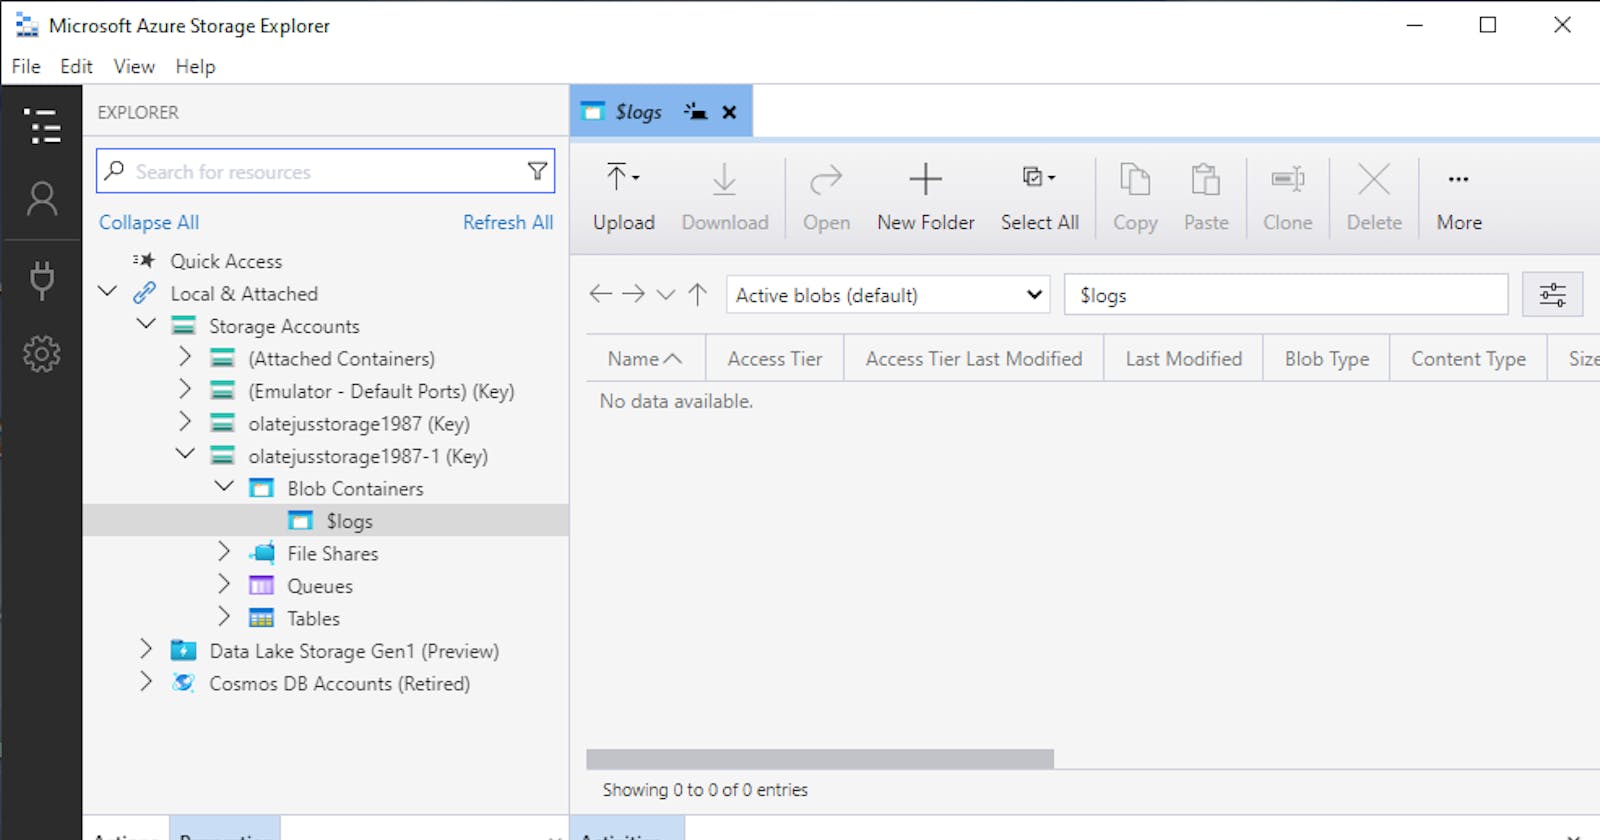
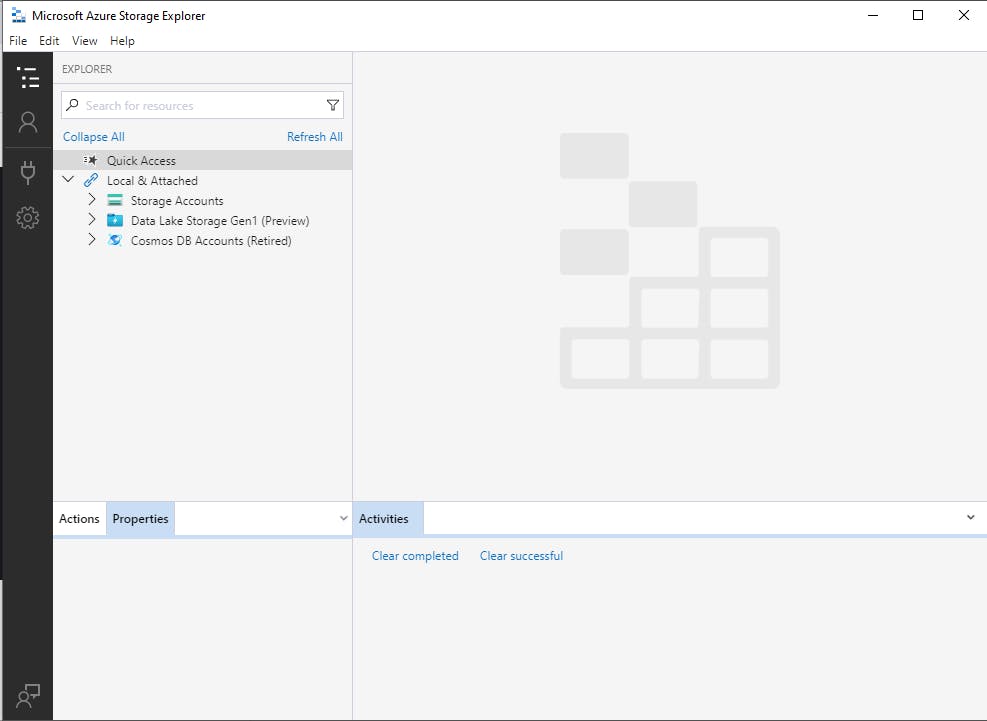
The application should look like this once opened:
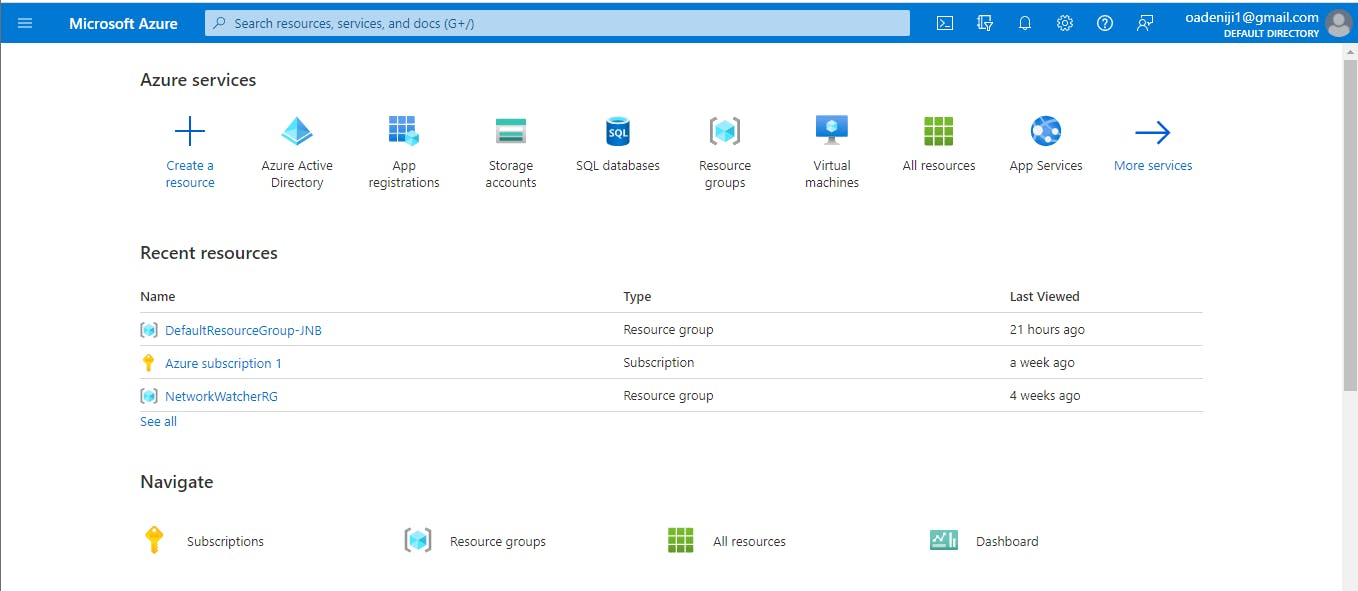
Now go to Microsoft's azure portal to create a storage account.
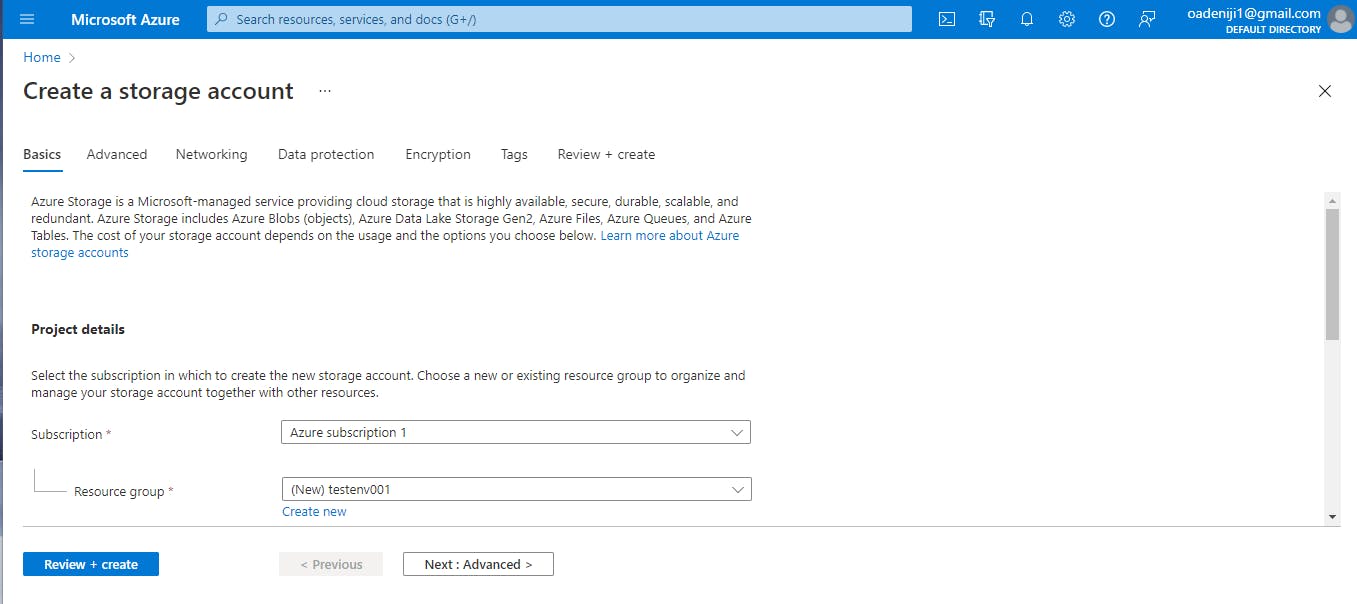
On the create an account platform, select your preferred subscription. You should also select your preferred resource group (you can create one if you currently do not have any).
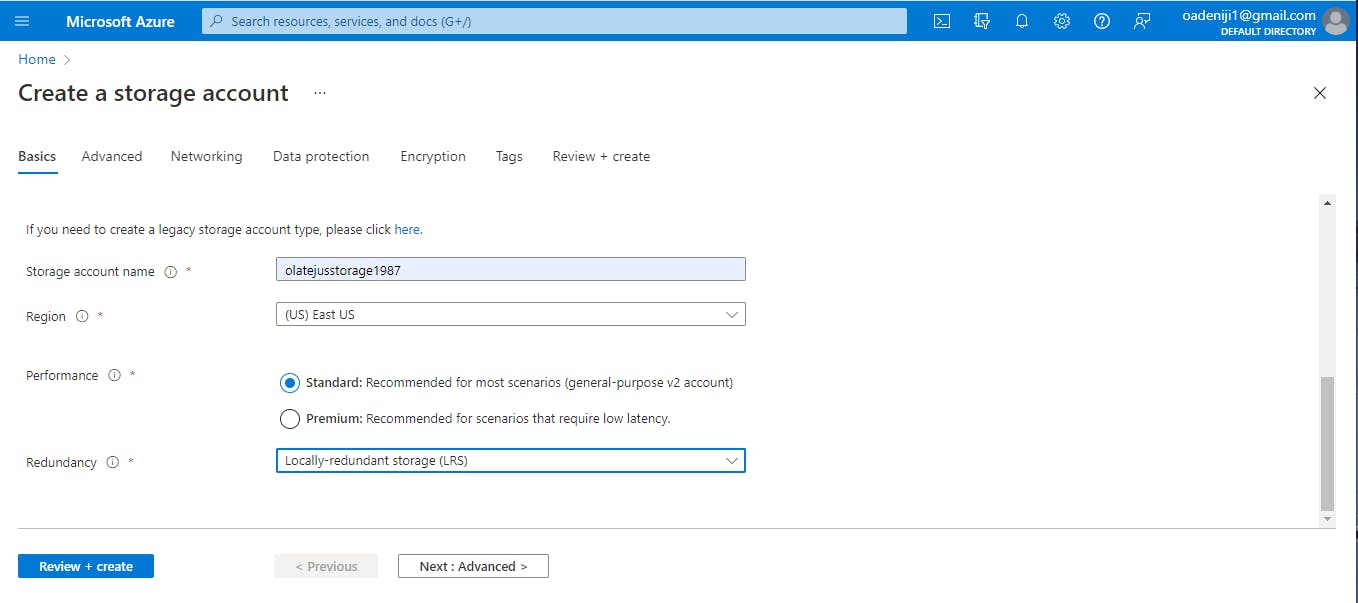
Next, you should create a storage name that is unique across all of azure. This is the requirement, so try to be creative with your name selection.
Next is to select a region. I usually advise using regions closest to you for reasons of low latency, and data residency purposes.
In the performance option, you should select whether you want standard or premium performance. The standard option is more general purpose inclined, while the premium performance is targeted at situations where low latency is of utmost priority.
Under redundancy (which directly relates to high availability), you are given 4 options: Locally redundant, Geo-redundant, Zone redundant, and Geo-zone redundant. Use the Geo-redundant option if you want your data replicated in a secondary region, to prevent the stoppage of work in situations of regional outages. Choose Zone redundant if you want your data replicated across availability zones (data centers), to prevent the outage in a one data center affecting the availability of your application. You should choose the Geo-zone redundant option if you want replication both at the availability zone and regional levels. I choose the locally redundant option because this tutorial is for illustrative purposes only. It provides redundancy within a single availability zone, by replicating the data across servers within that same data center, so that if there is an outage on a particular server, work can still go on.
Next, click on the advanced option and ensure you enable storage account key access. This is to ensure connection between the azure storage explorer and the azure storage account.
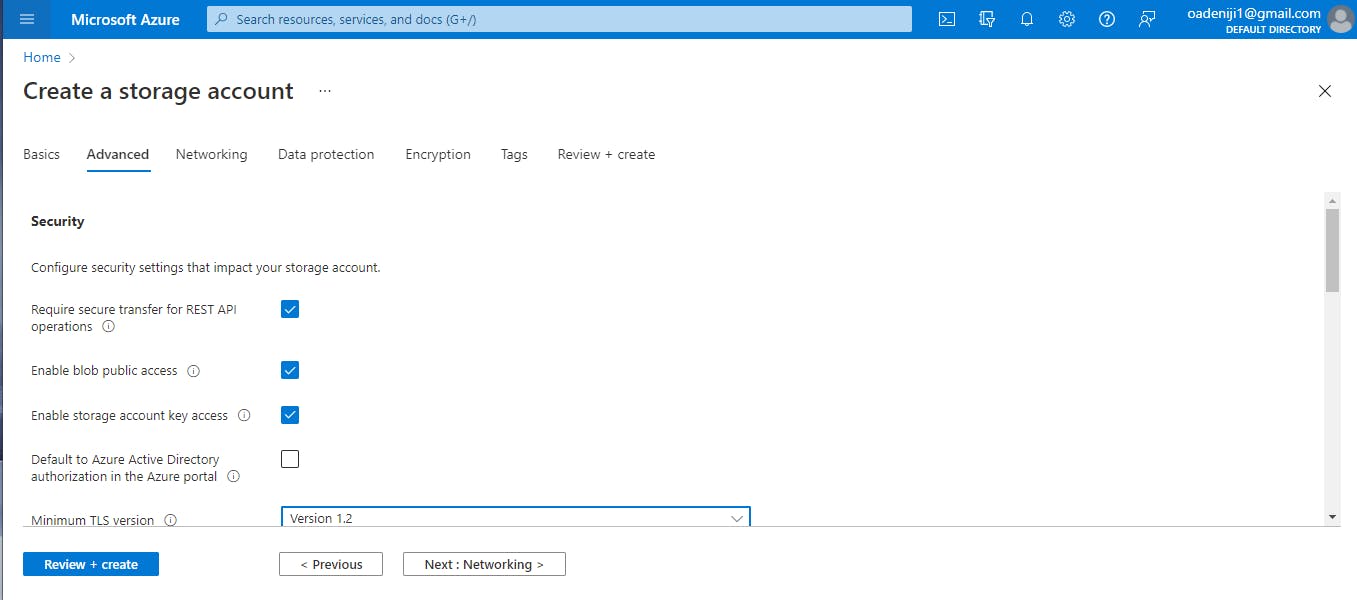
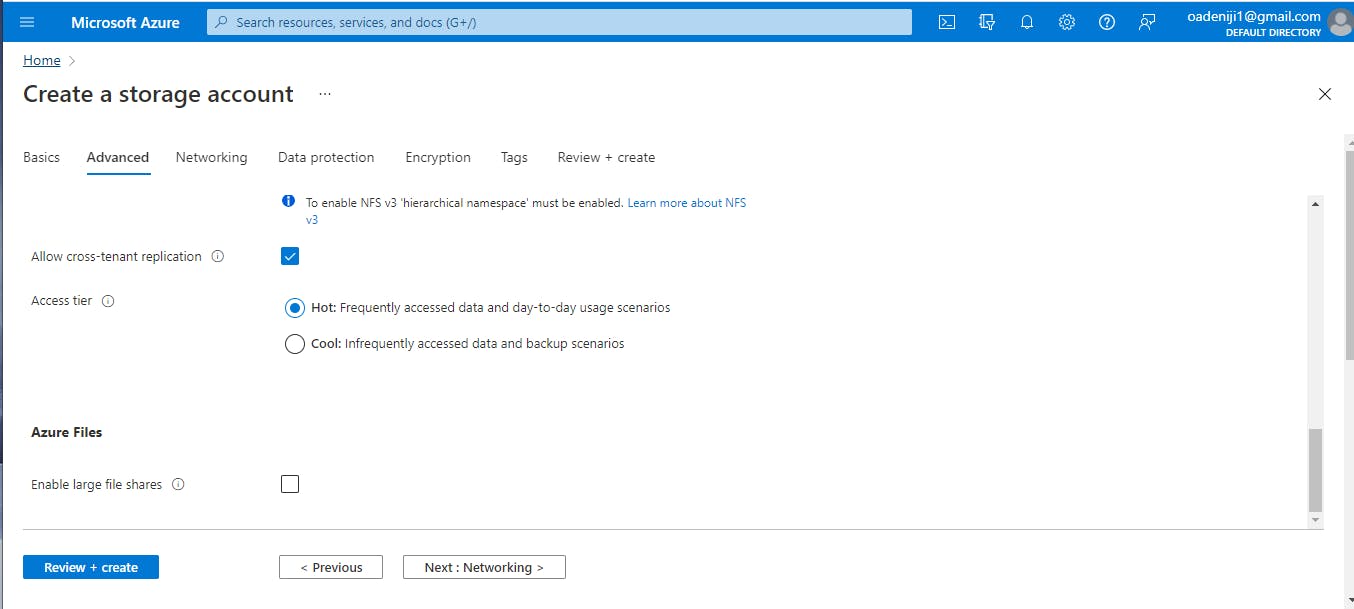
Under that same advanced options, you would see the access tier options either hot or cold. Select either of them based on the frequency of your access to the data. Hot, being the option for frequently accessed data, while cold for infrequently accessed data.
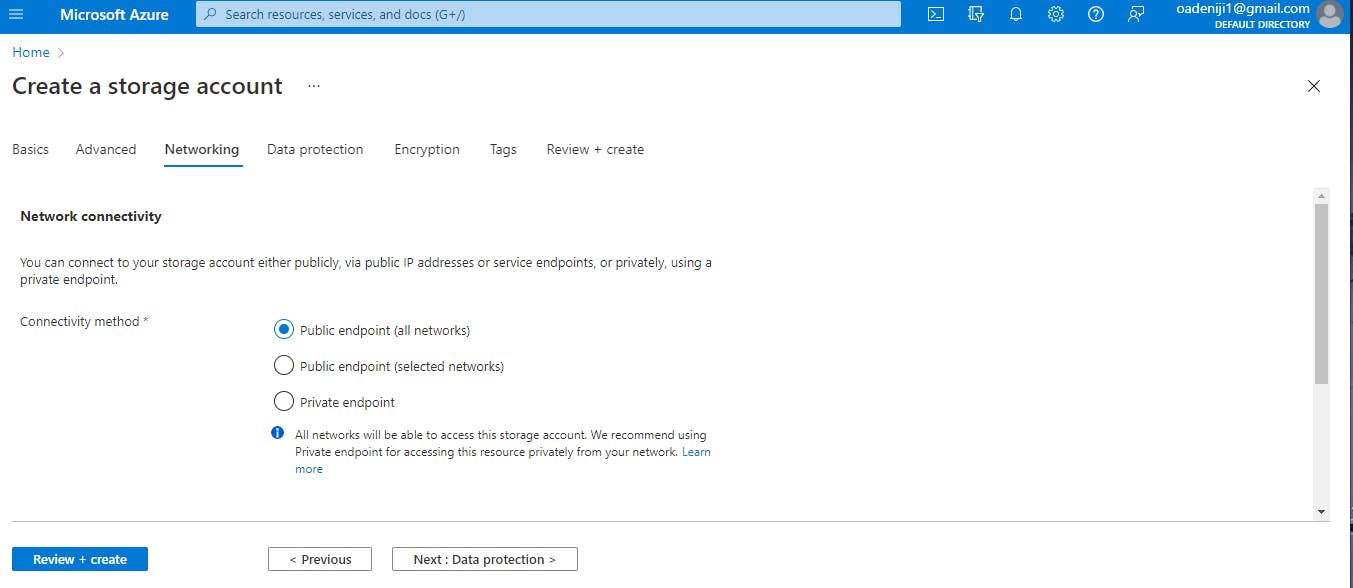
Next, move to networks and select the level of accessibility you want for your data or resource. Do you want all networks, to be able to connect to it? Do you want only selected networks? Or would you prefer to go private, wherein your resource can not be publicly accessed? The choice is yours. Again, I am choosing the public (all endpoints) option because this illustration is for test purposes only. It is not advisable to choose this option in live environments, for data security purposes.
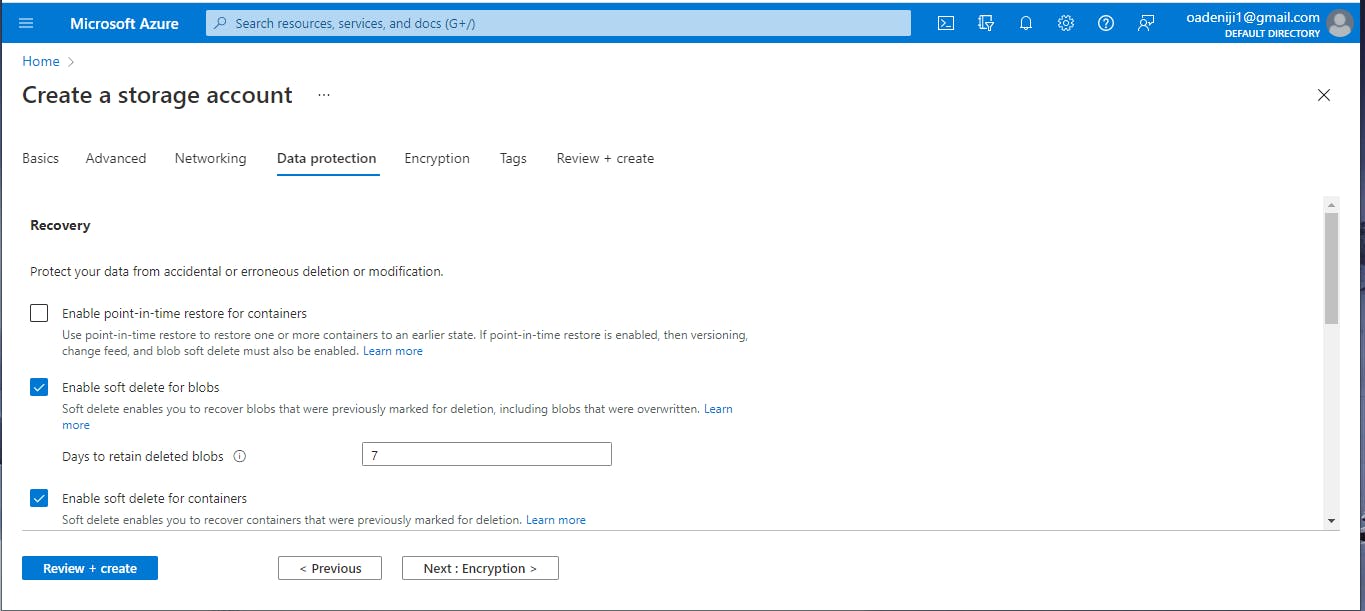
I left the data protection options in default, but you can choose what settings you require to protect your data from unintended deletion or modification.
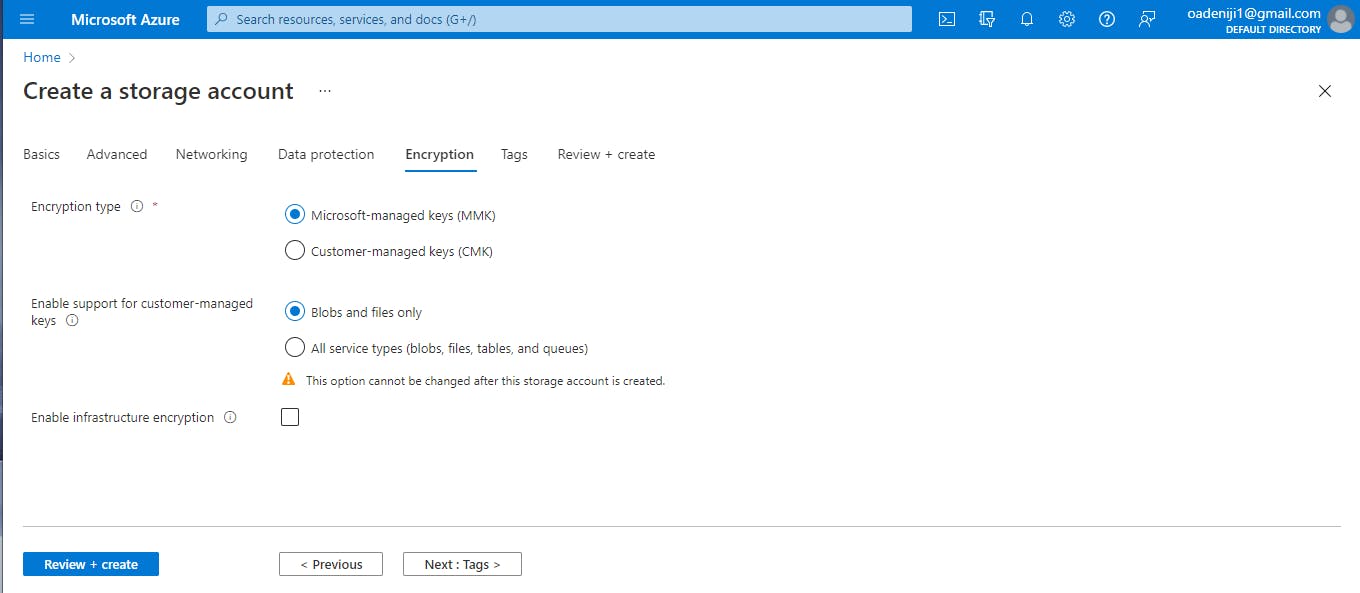
Under the encryption tab, you are given the option of either choosing microsoft's managed keys, or for you as the customer to create and manage your own keys.
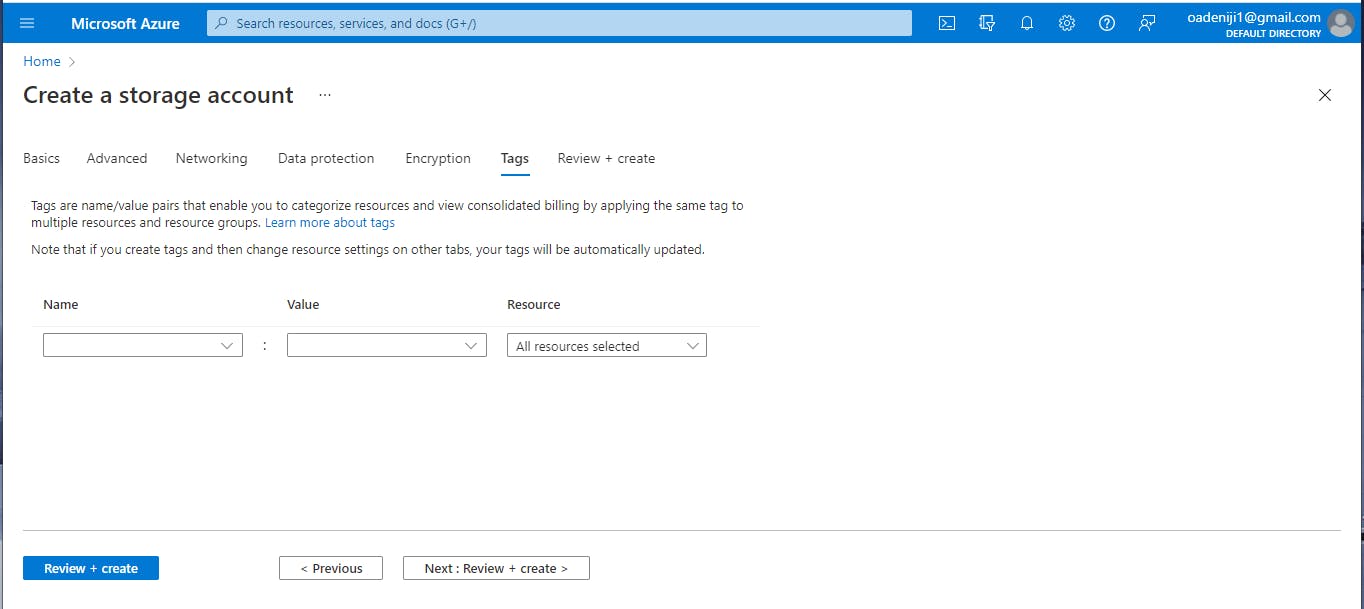
Choose tags, for ease of identification, especially in scenarios where a large number of people are attached to the azure account. This helps you identify what person used what resource and how much they may have racked up from the use of it.
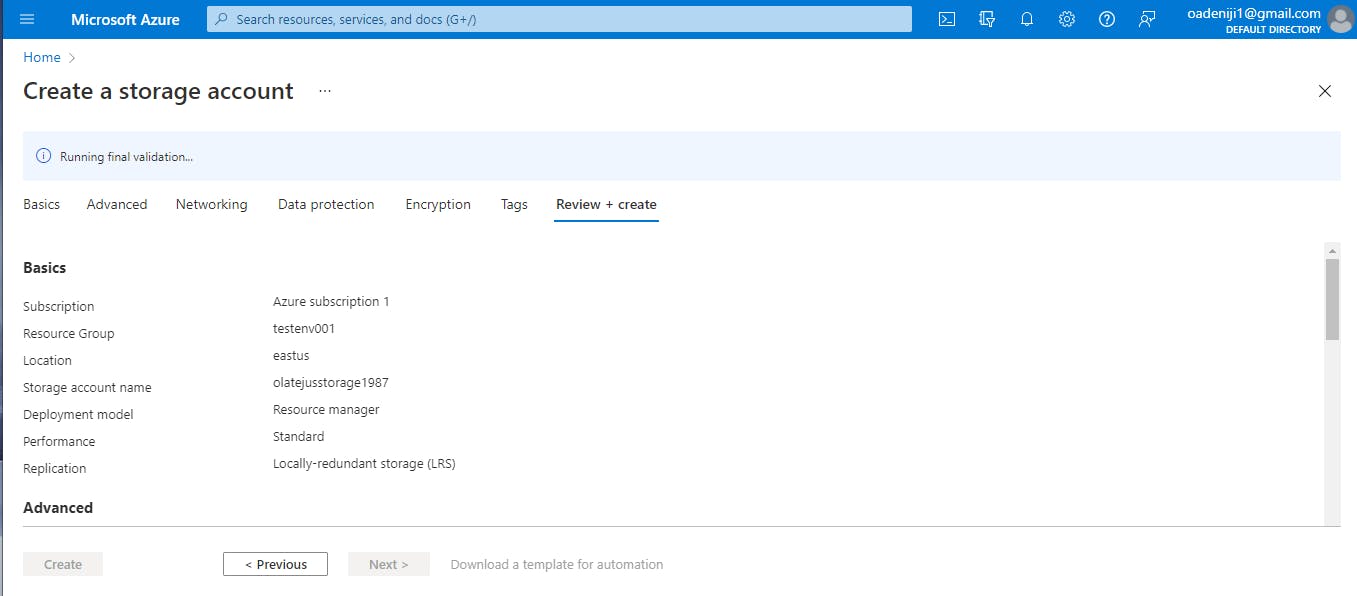
Click on review and create
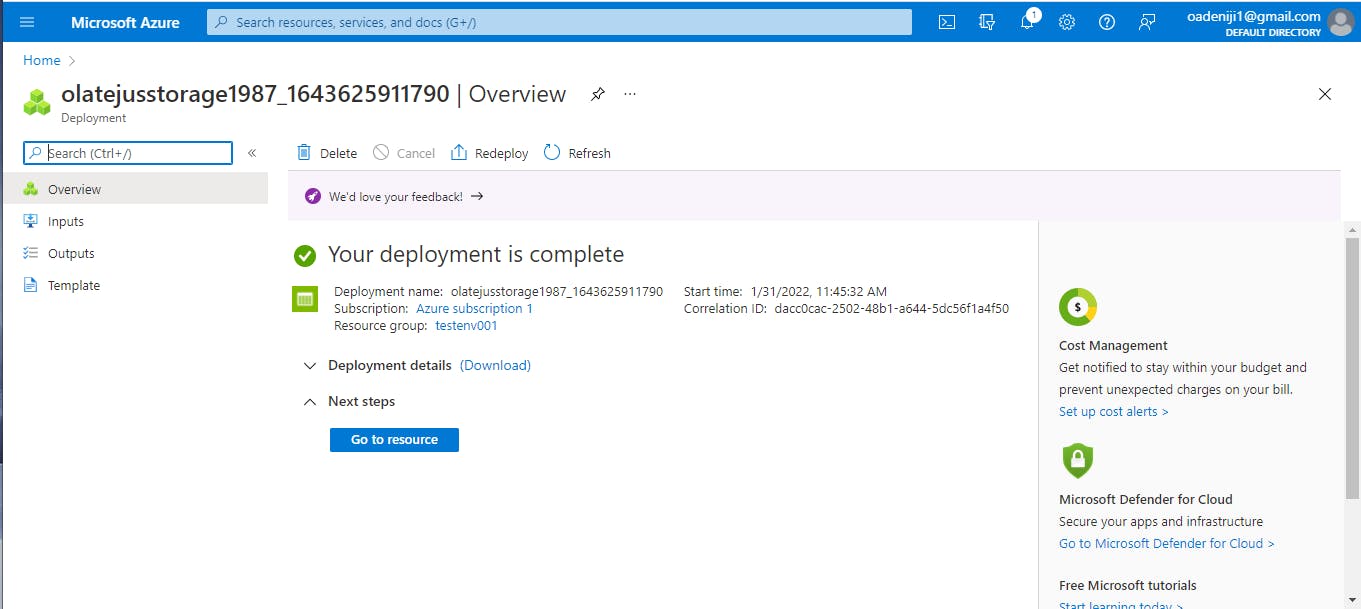
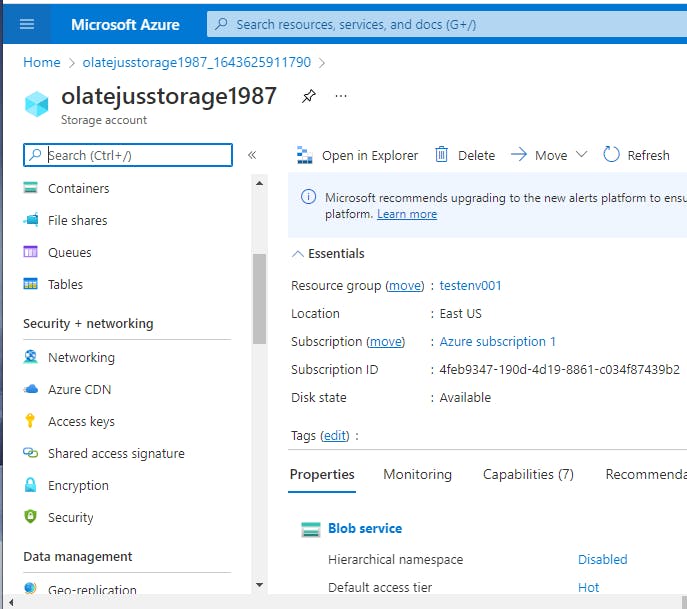
Once resource is created, click on go to resource
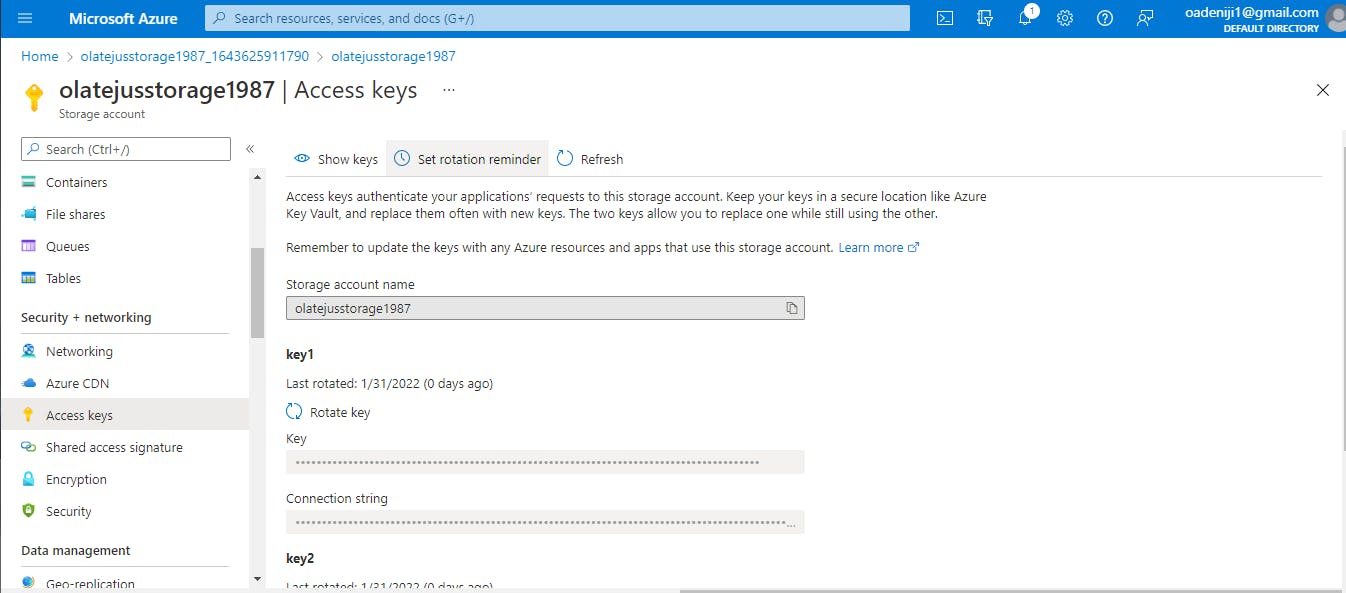
To the left of the page, scroll down to access keys and click on the blade.
Select show keys and copy the connection string for key 1
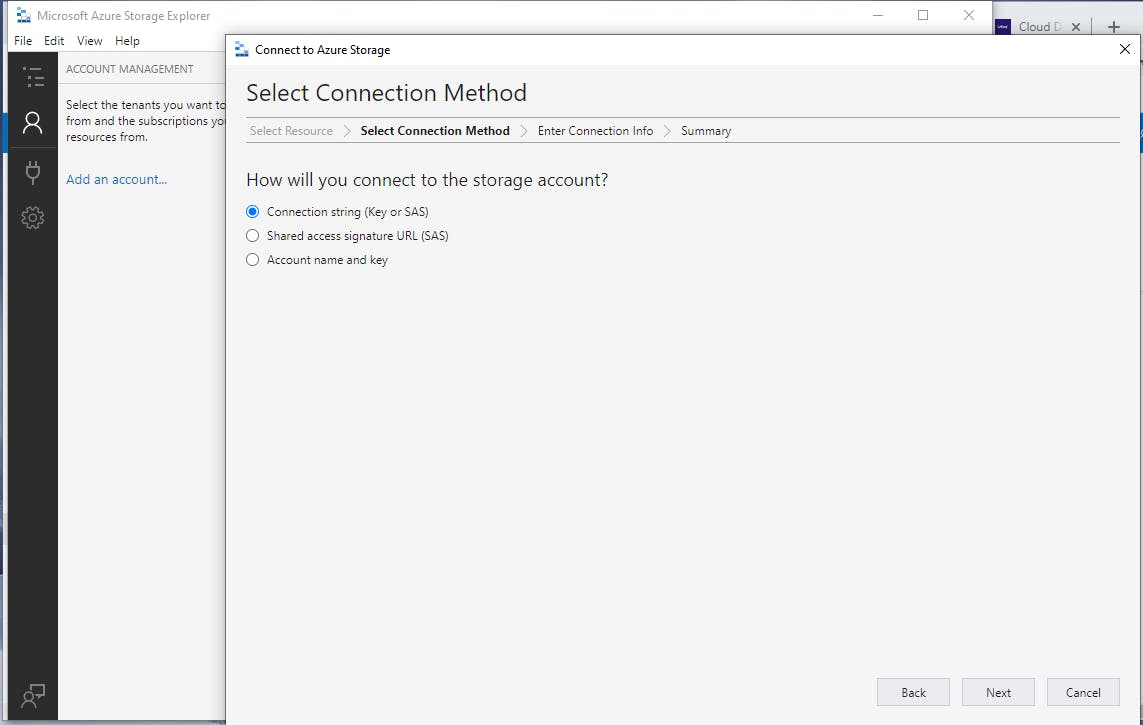
Now go back to the storage explorer application. To the left of the page there are four icons on a black tile, click on the second icon (account manager). This should pop up an additional window asking you for the kind of resource you want to connect to. Click on the storage account or service option

For connection method, choose connection string key or sas and click on next.
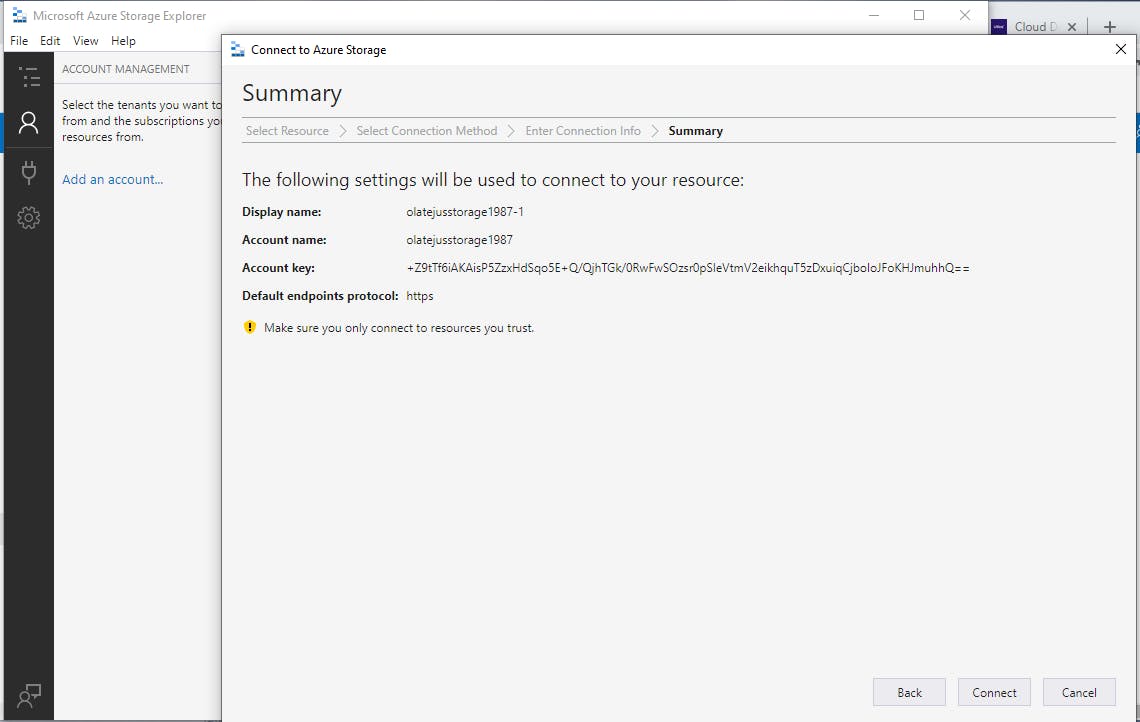
It would take you to the next page where you'll be asked to input the connection string you copied earlier. Paste it in the connection string space, and your storage account name would automatically pop up
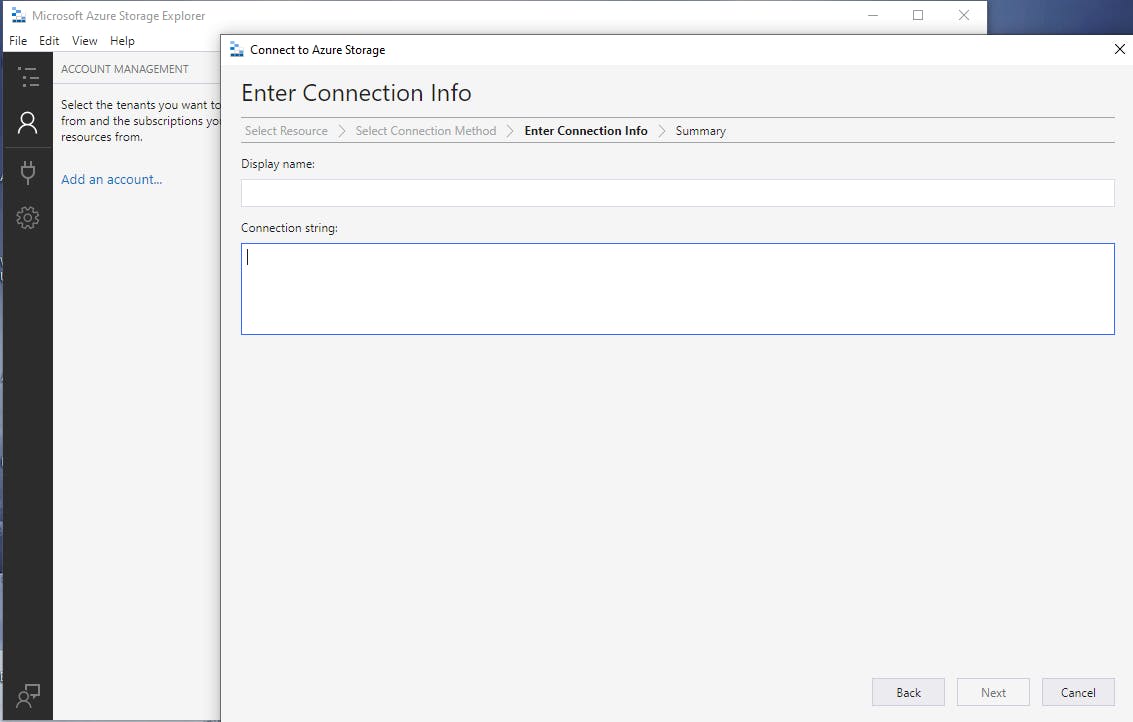
Click on next, it should populate your account storage name, then you can click connect (you would be warned about connecting only to resources you can trust)
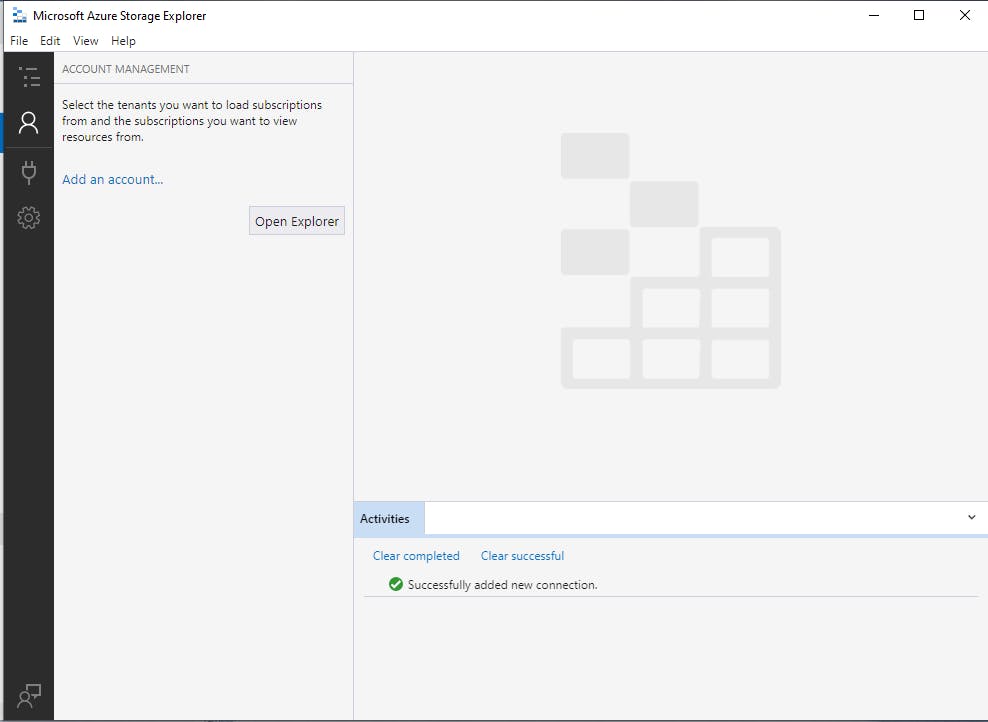
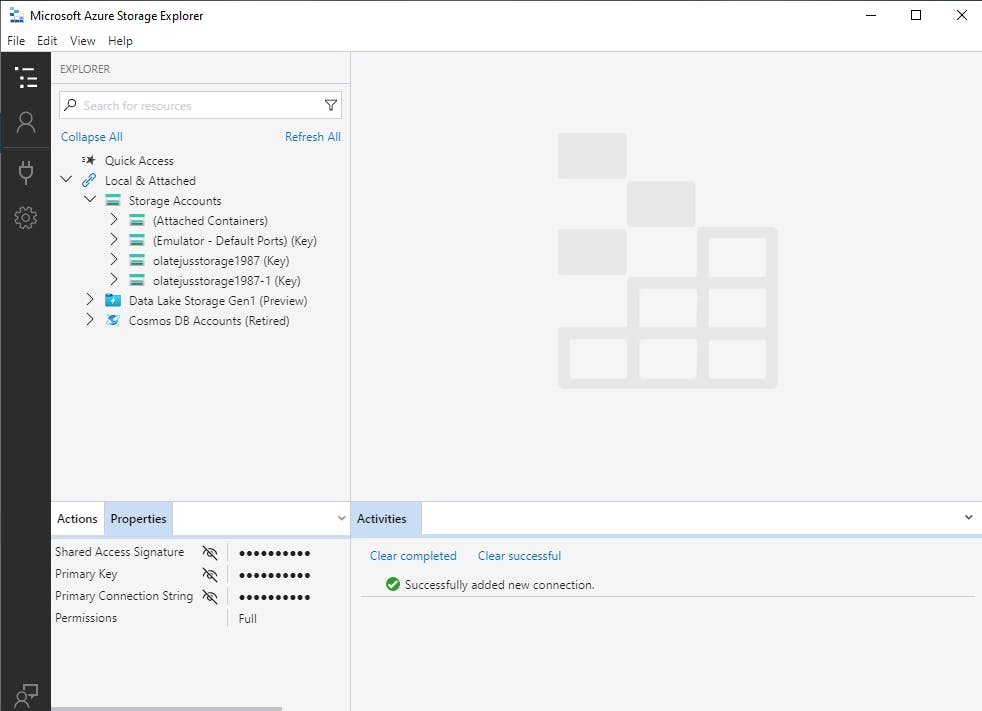
You should see a message about successfully connecting. Now click explorer to open up the page.
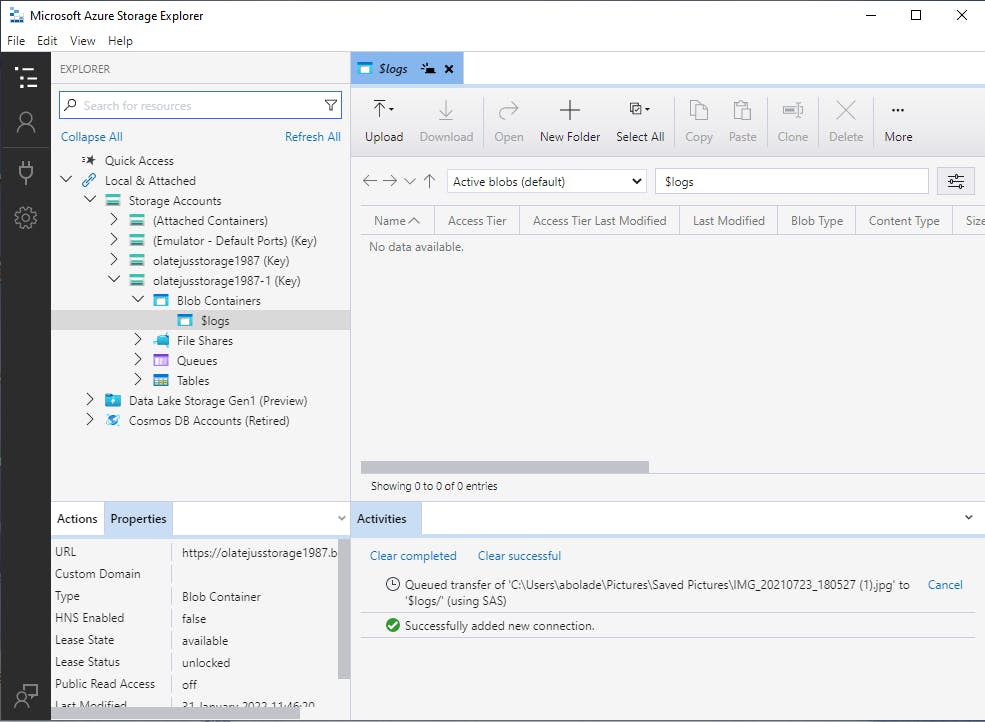
Under quick access, click on your storage account, and click on blob containers ($logs), lets upload something into our storage account.
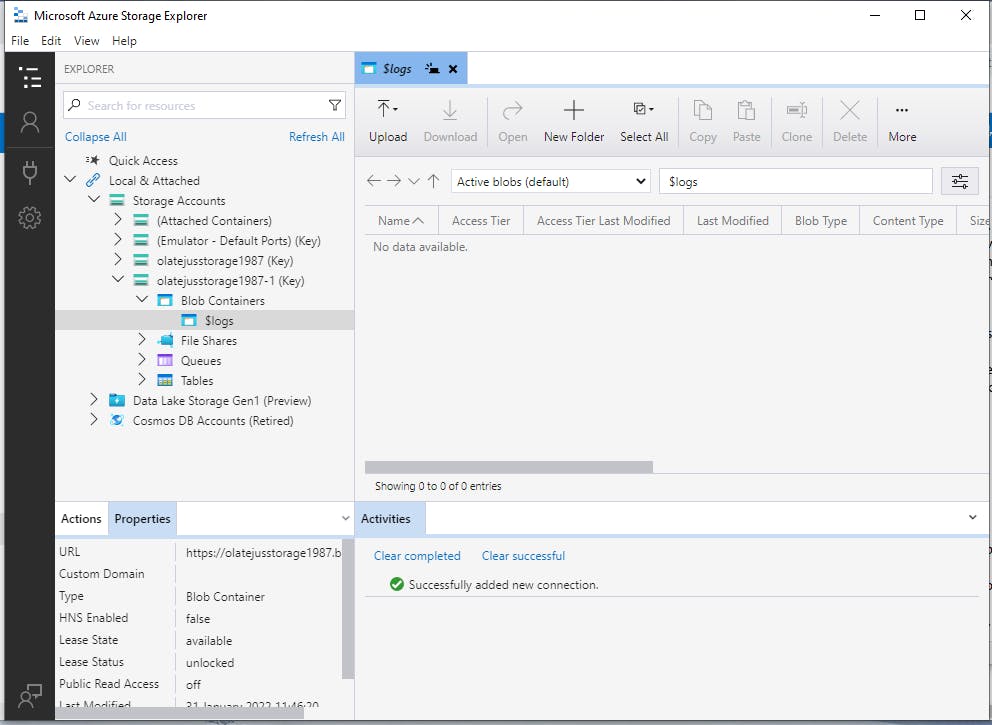
Click on upload and select either file or folder upload
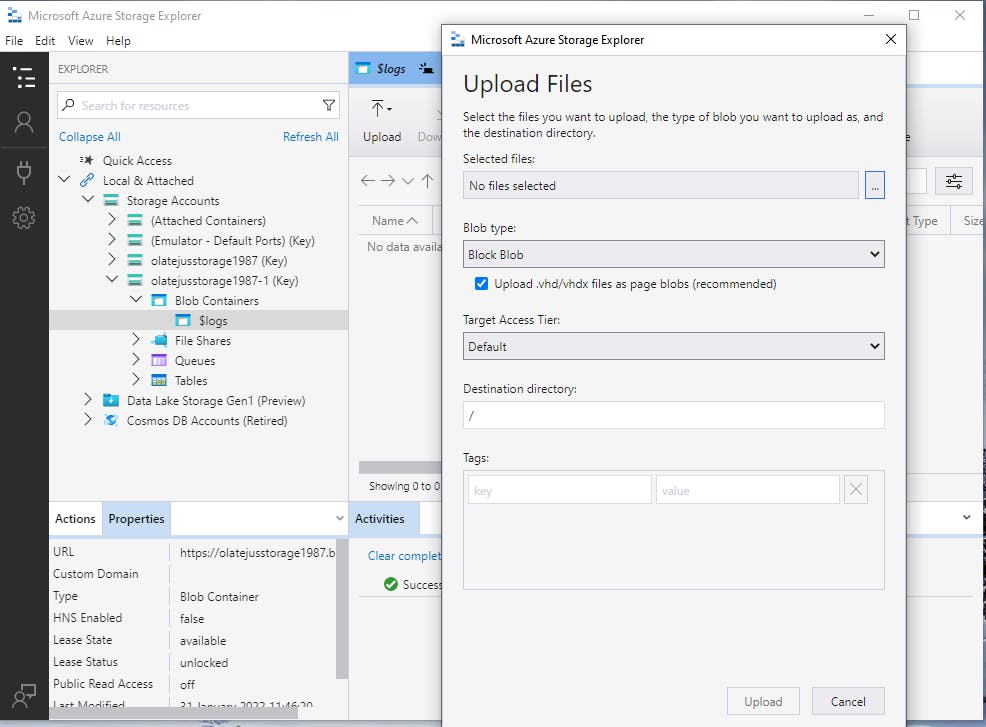
Select the image you want, the blob type (either block, page or append), the access tier either hot, cold or archive or default, and put a value to the tag, then, upload.

You'll get a message at the bottom of the page that says transfer of pictures to logs.
There you have it!