

Think about simulations when you hear the word ‘virtual’. It can also be better explained using the term ‘computer generated’.
All thanks to some certain processes, you no longer need to purchase hardware every time you need a different kind of operating system to for example, run a particular application. This is because a ‘computer generated’ computer, can now run on your laptop or desktop. This is possible because of the process known as virtualization.
Virtualization uses hypervisors (a layer of abstraction between the hardware, it’s OS and the guest OS) to accommodate other operating systems on your hardware itself. This means that more than 1 operating system can run on your computer device at the same time. The generated computer shares the disk space of the existing hardware and imitates the hardware’s functionality. Ultimately, through this technology, organizations can run multiple operating systems and applications on a single server. Of course, I do not need to mention the immediate advantages that it presents such as lesser operating costs, as opposed to actually buying hardware every time you need to run specific applications, with custom fit OS, and lesser purchasing and set up time for these hardware machines.
Hardware (host machine)----Host OS (optional) --- Hypervisor --- Guest OS libraries apps
Now, these hypervisors, mostly come in 2 types, Type 1 (also known as bare-metal hypervisor) are loaded directly on a hardware, just like an OS usually is. A good example would be ishyper-v. Type 2 (also known as hosted hypervisor) is loaded on an OS running on the hardware, just like running an application. A good example is Oracle VM (virtual box).
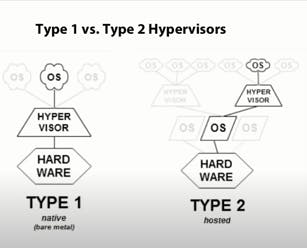 (Image not mine, retrieved from youtube.com/watch?v=UEk0CKoeUnA)
However, instead of installing hypervisors on your computer servers or OS, cloud computing makes it even easier to create virtual machines (kindly note that this is an Infrastructure as a Service, IaaS offering). This is because in this case, all you need to do is log into their portal, create a resource (this particular resource being a virtual machine), and follow the prompts to customize it to taste.
I will be logging onto Microsoft’s Azure portal and showing you how to create a virtual machine shortly. Stay with me please.
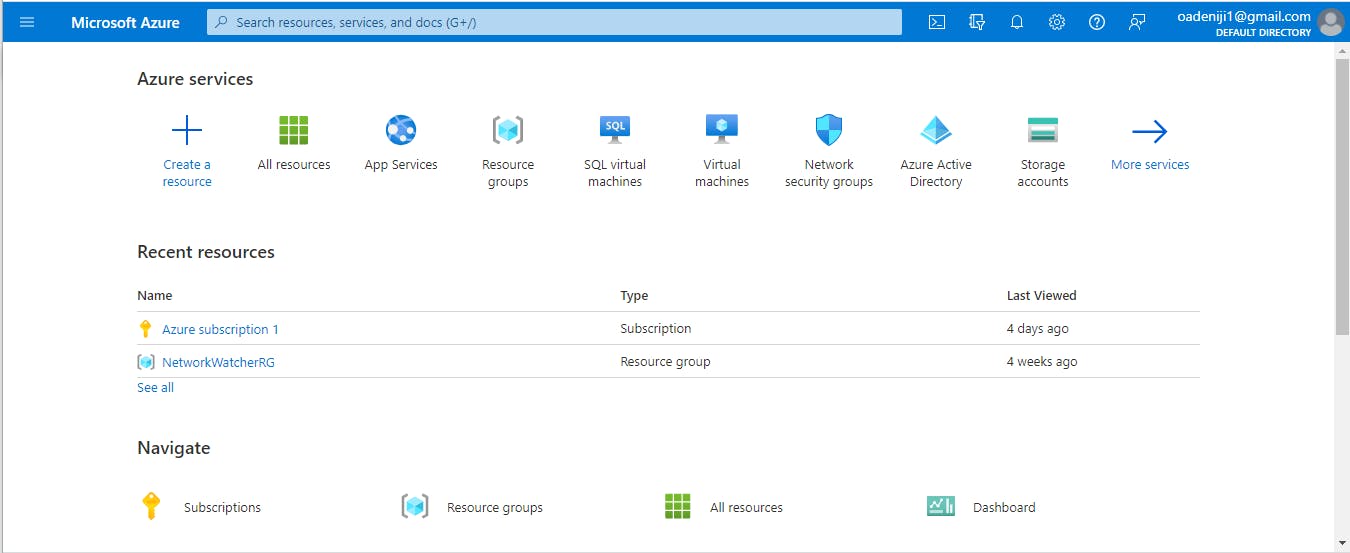
Firstly, login to the Azure Portal.
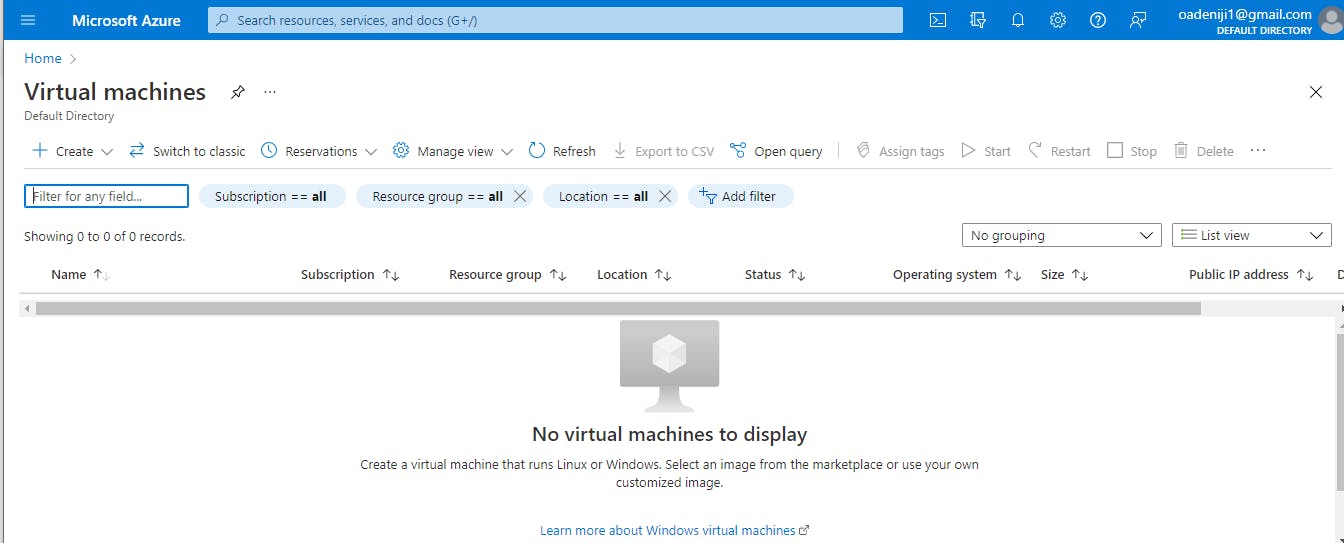
Click on Virtual Machines within the left navigation pane.
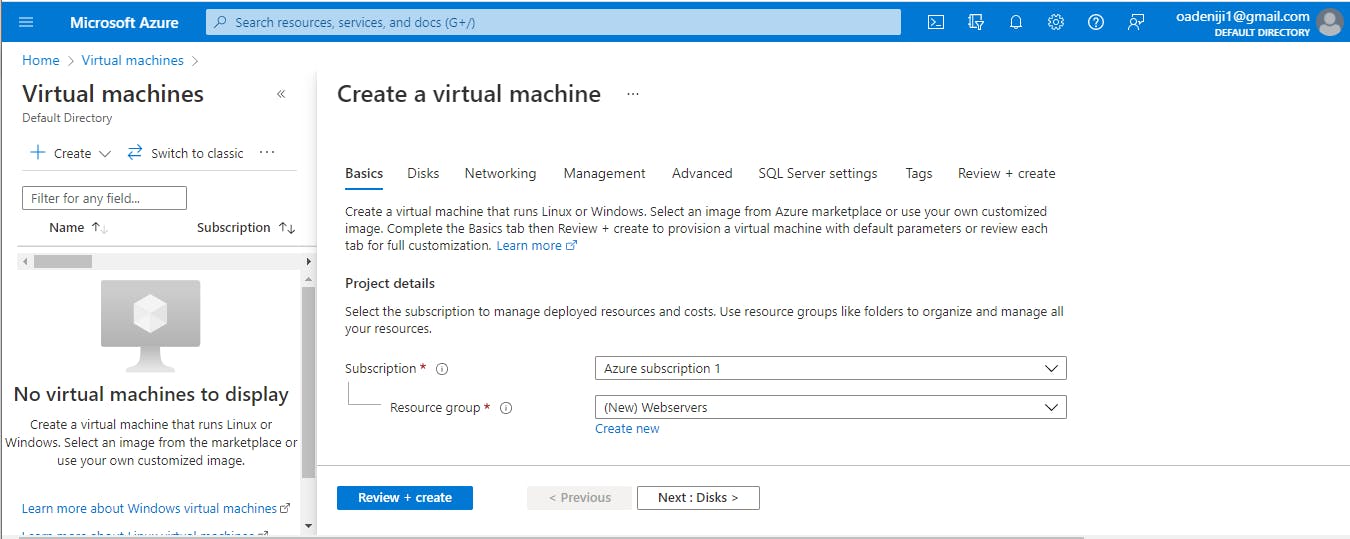
In virtual machines click on create.
At this point, you'll need to configure your settings of choice for the Virtual Machine
For subscription, choose your preferred subscription if you have more than one, or leave it as default if you have just one subscription.
For the resource group option, create a resource group called Webservers.
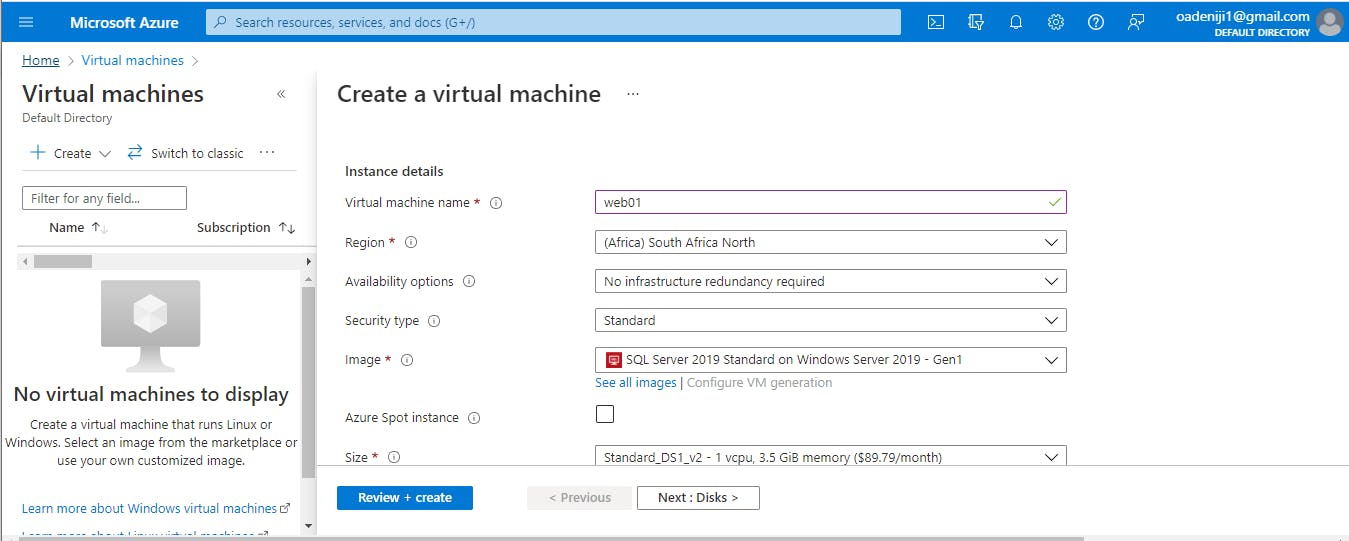
For virtual machine name, type in web01 as the name.
Region can be left as default but double check that it is the region that is closest to your location, basically for reasons of low latency, and data residency laws in countries.
In the Availability options bar, you can set it to no infrastructure redundancy required, as this is strictly for test purposes, high availability is not a priority.
For Image, use Windows Server 2019 Datacenter-Gen1
For Size, use Standard_DS1_v2 - 1 vcpu, 3.5 GiB memory (If you do not see this size, you can choose the size in the standard section with the closest specifications).
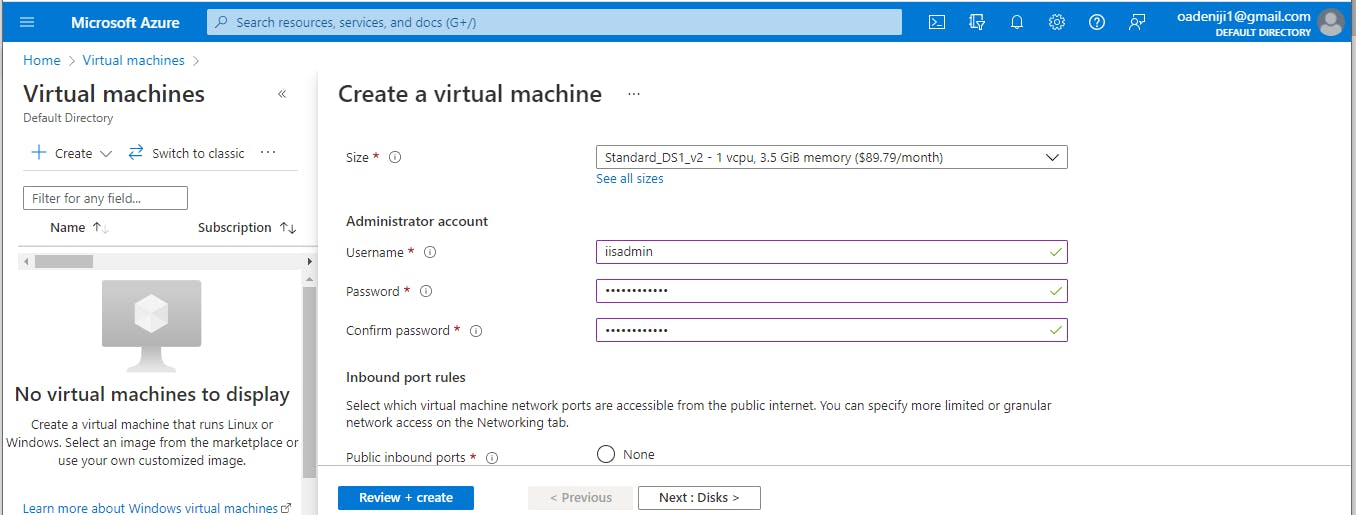
For Username, use iisadmin
For Password, use one that meets the displayed password requirements.
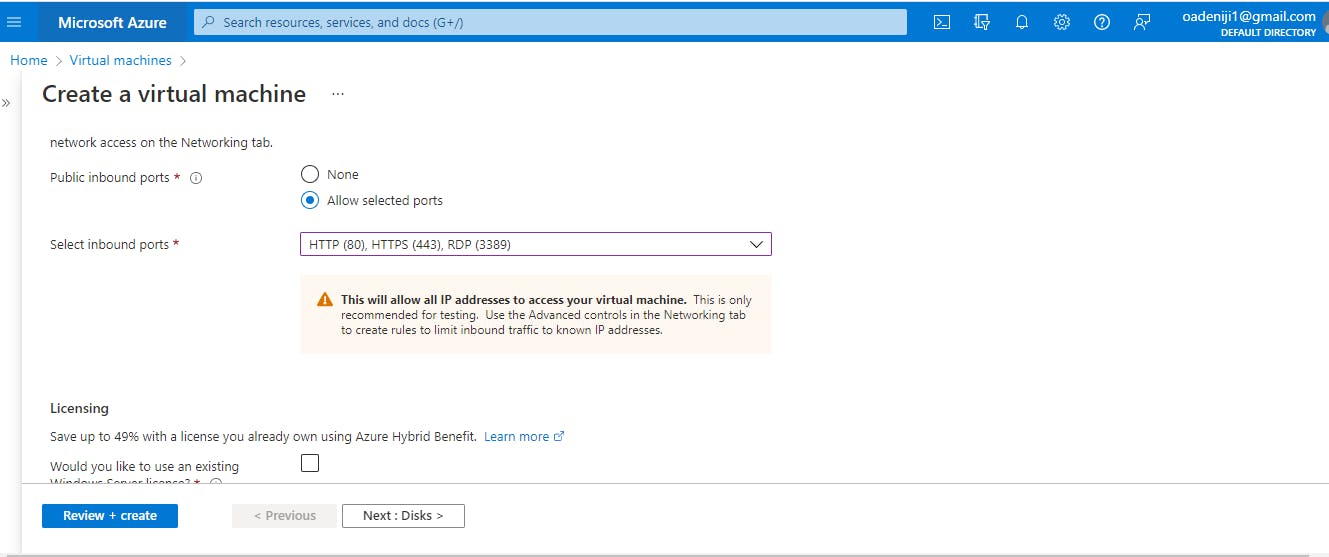
Select inbound ports HTTP (80), HTTPS (443), RDP (3389)
No need to change options for licensing
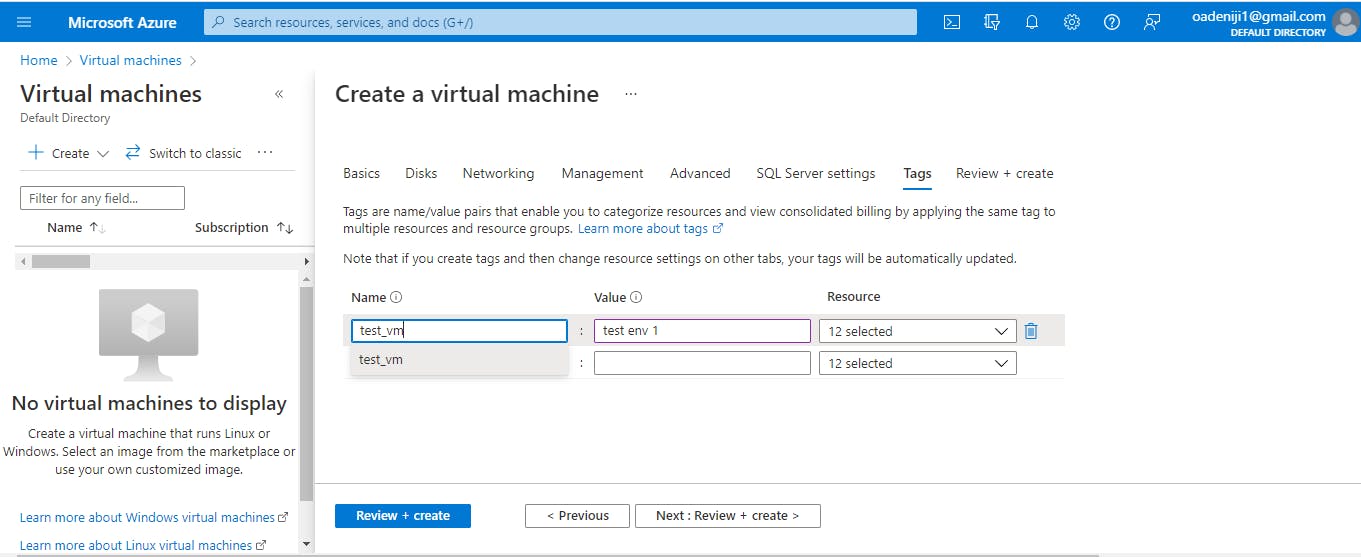
Go to tags, and give it a name (preferably a name that can easily identify the resource and set it apart). Tags are really, really useful for identification purposes, especially in situations where you are deploying resources for varying sets of people and you want to know who is using what resource, and how much cost they might have incurred from using that resource.
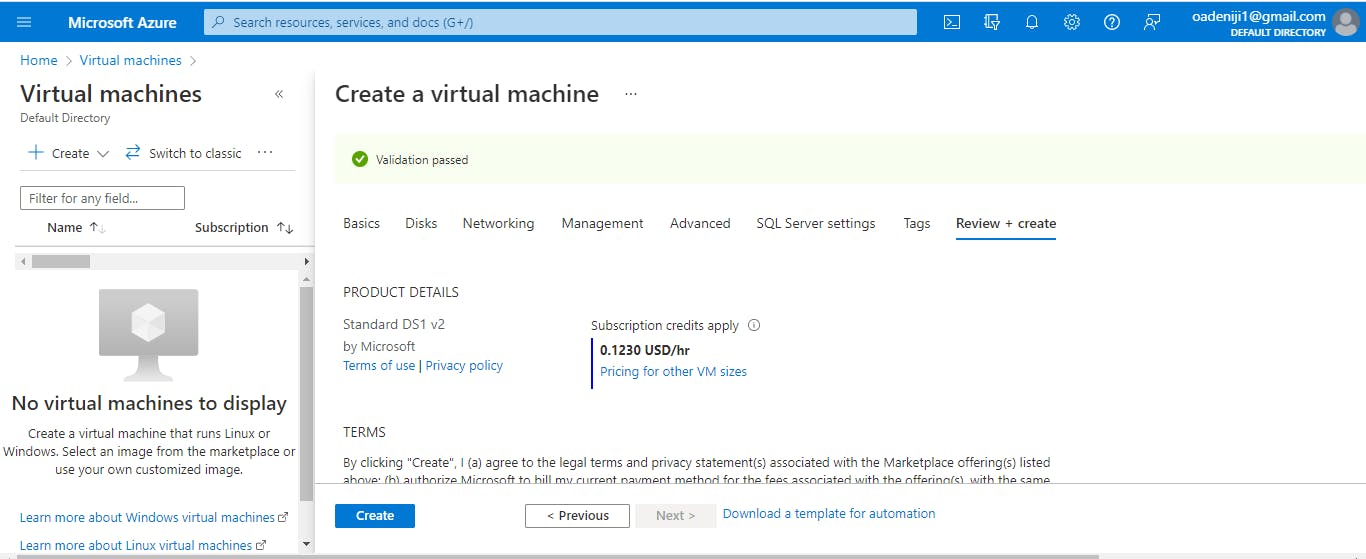
Now you can Click on the Review + create button.
Click on Create.
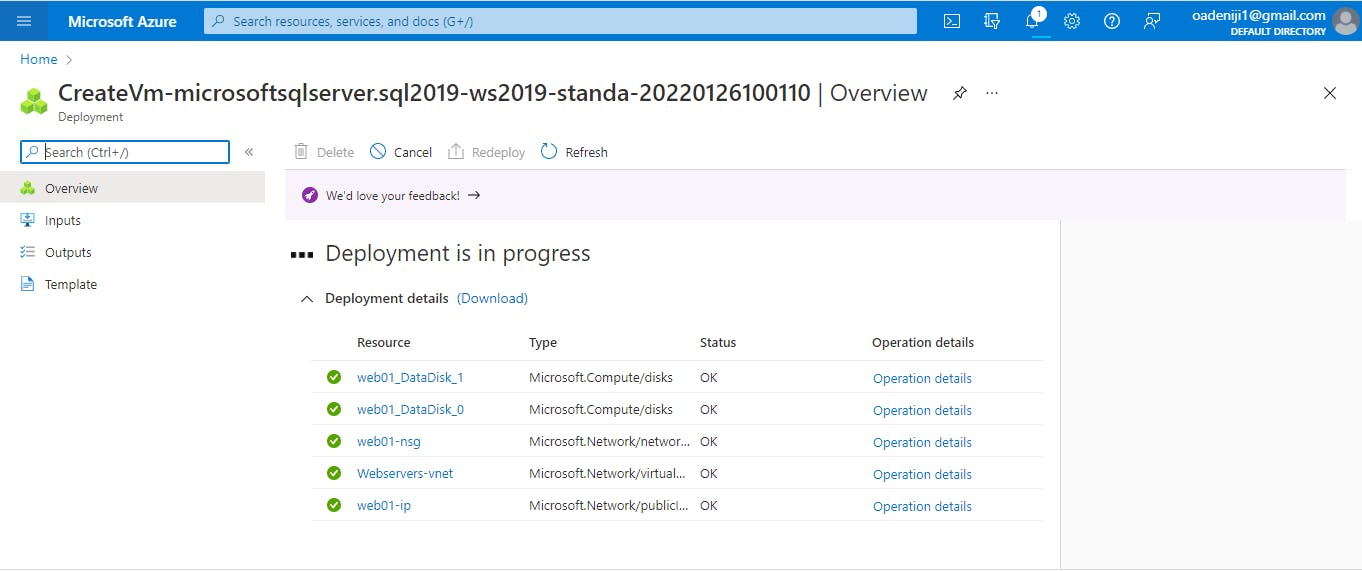
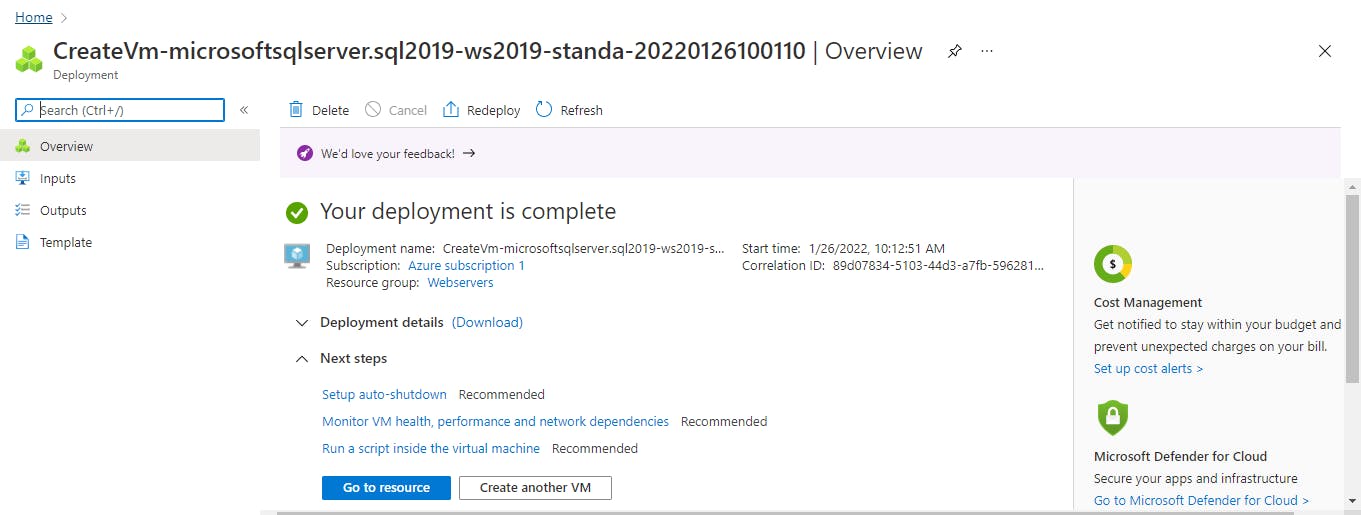
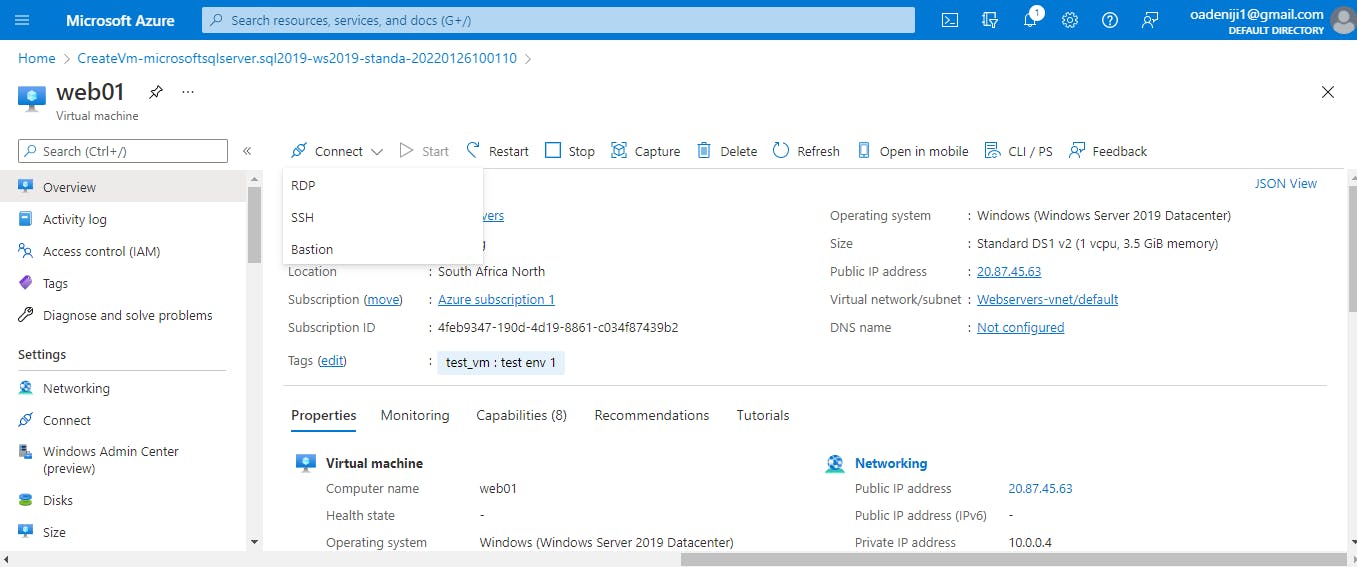
Next thing you want to do is click on the go to resource button.
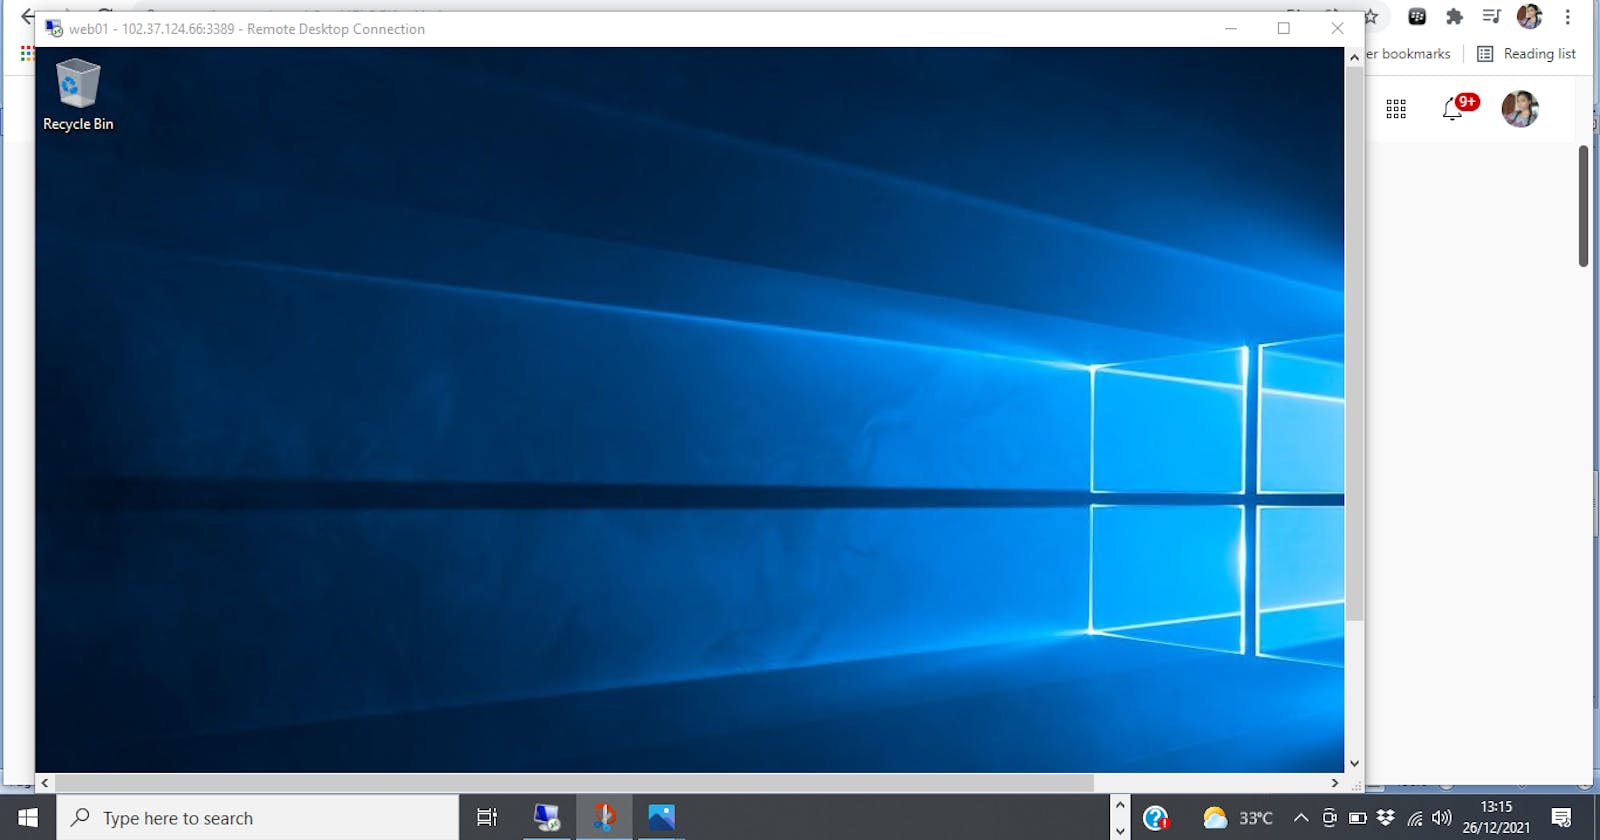
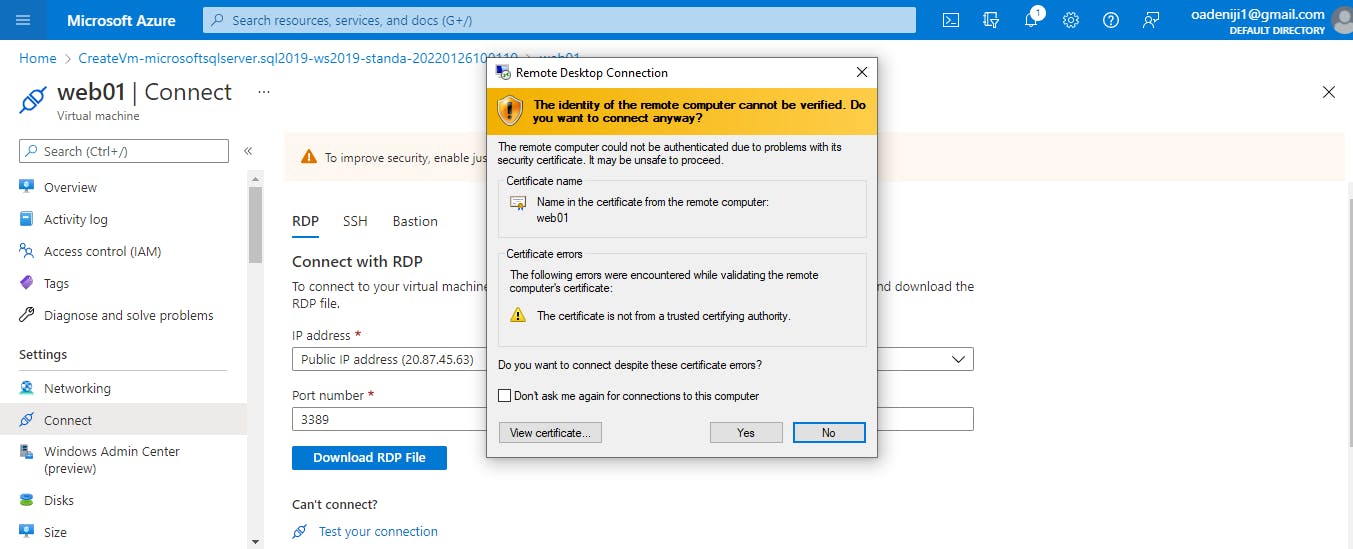
On the top left click Connect and select RDP
When you click Connect with RDP, your IP address and port number are displayed. Mine were: Public IP address (20.87.45.63), and Port number 3389
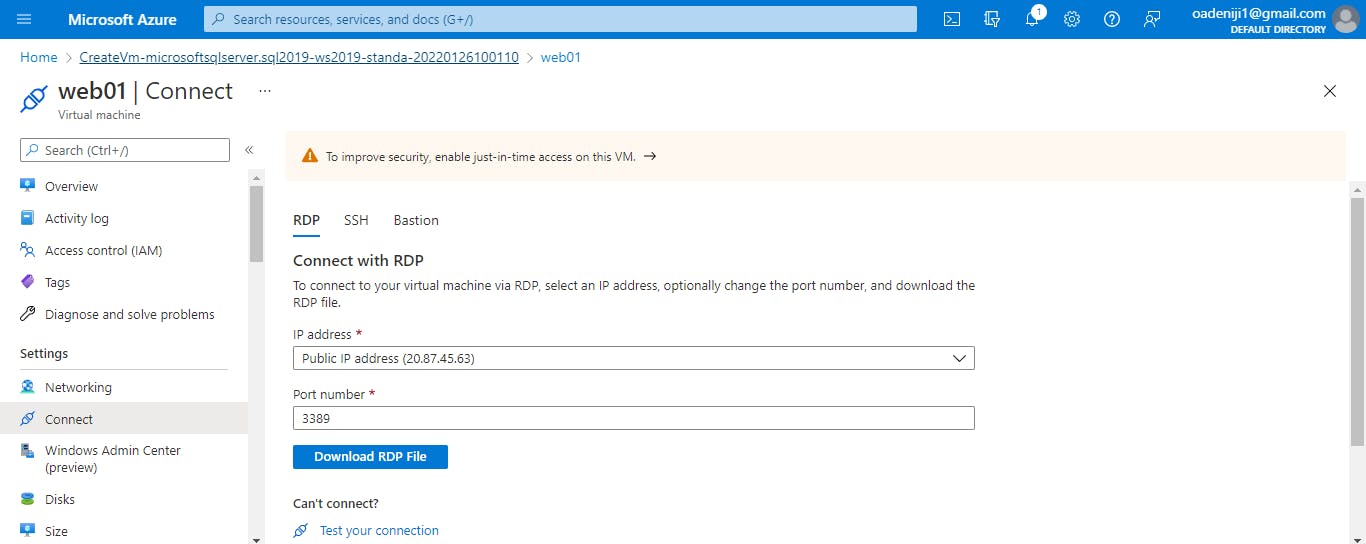
Next, you should click on Download RDP file and open the file
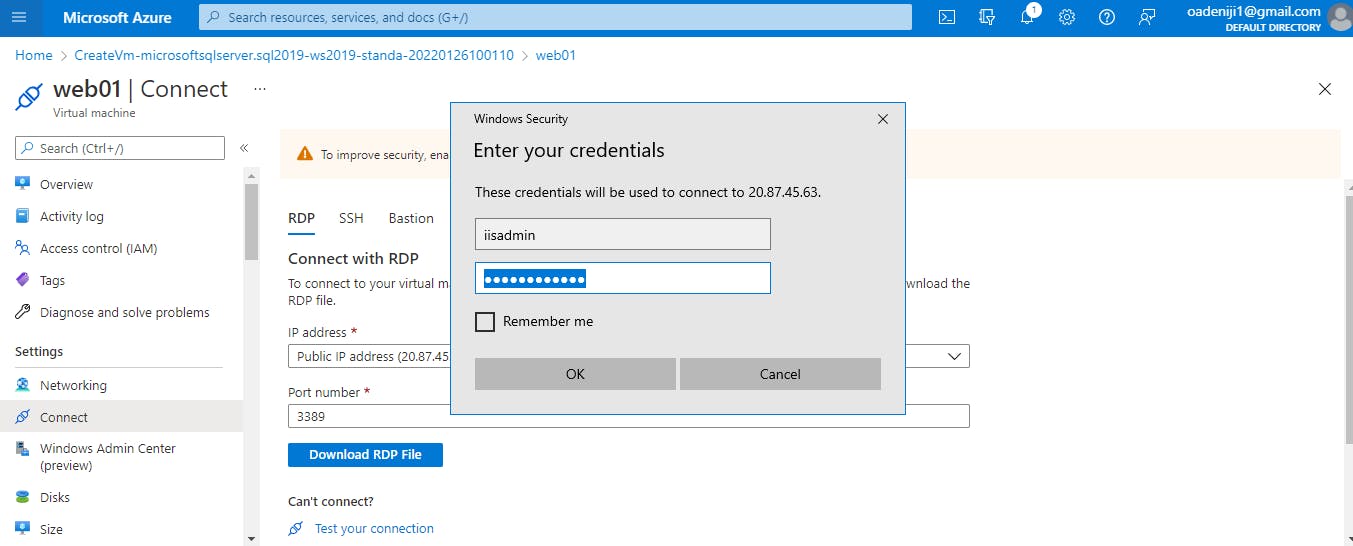
Enter the login credentials that you created within the Azure Portal for the username and password of the virtual machine
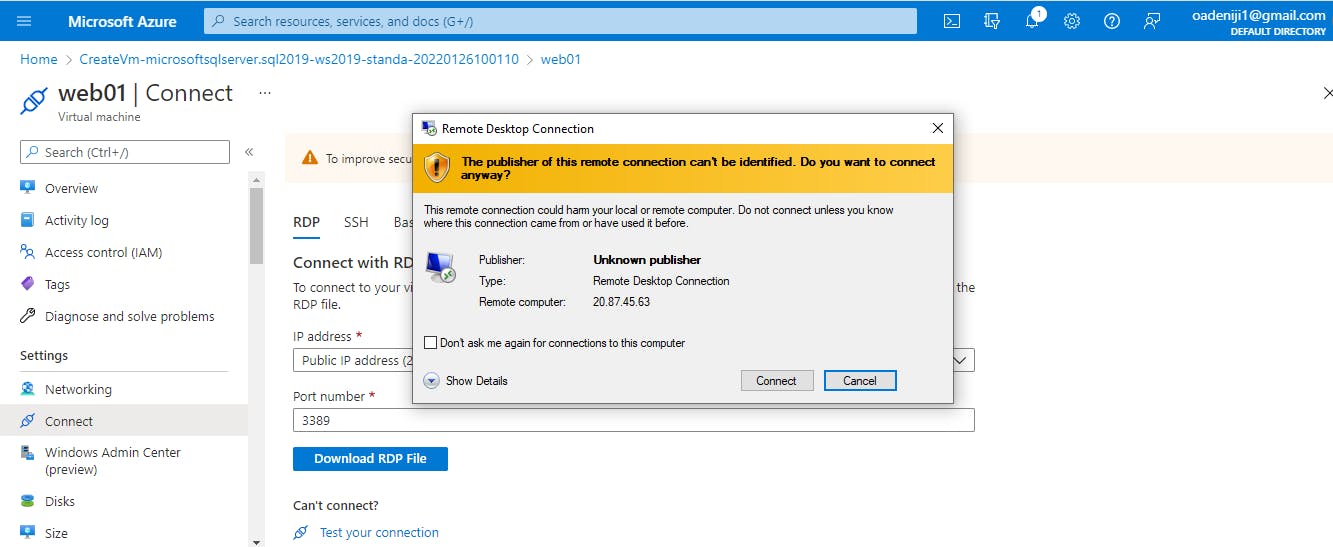
Click 'connect' and 'yes' to accept the certificate
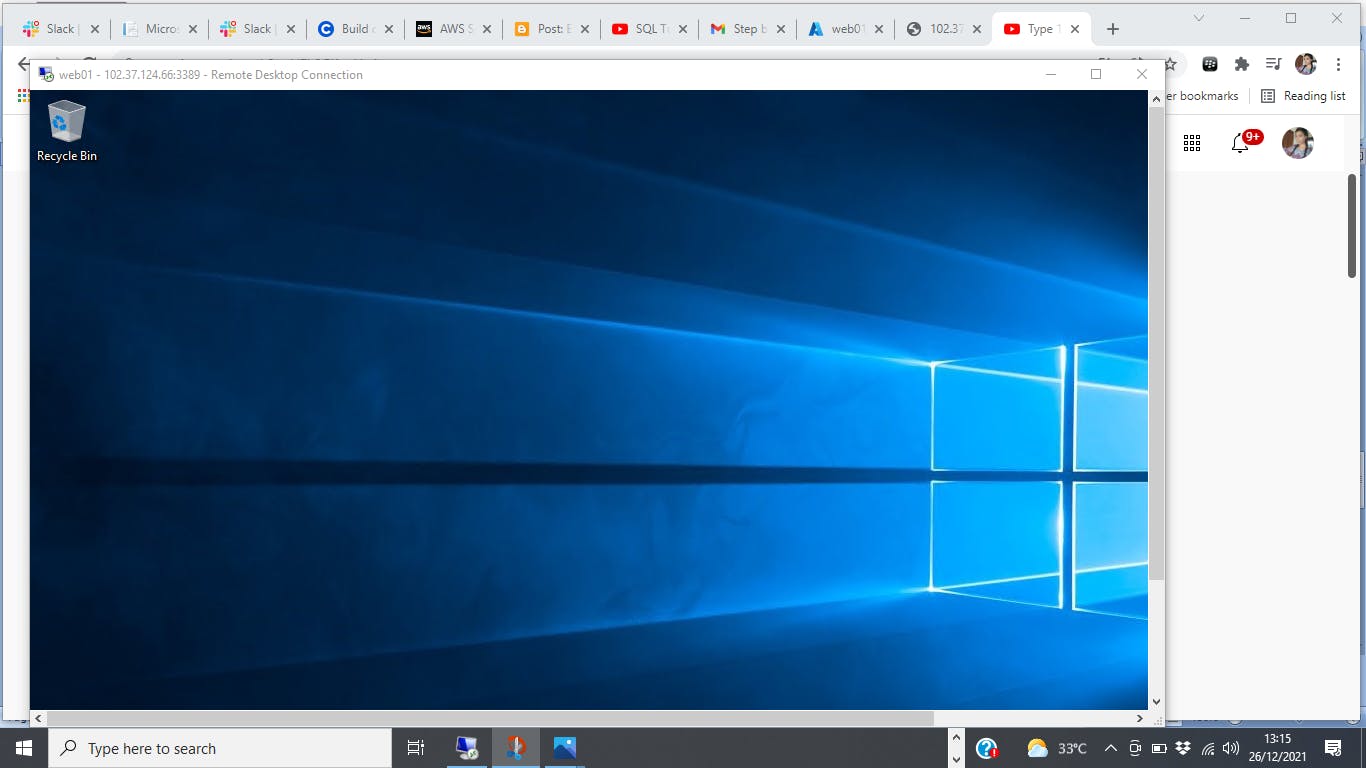
Voila! You have your virtual machine, as easy as that! Yet another reason to embrace cloud computing for your business and other concerns…
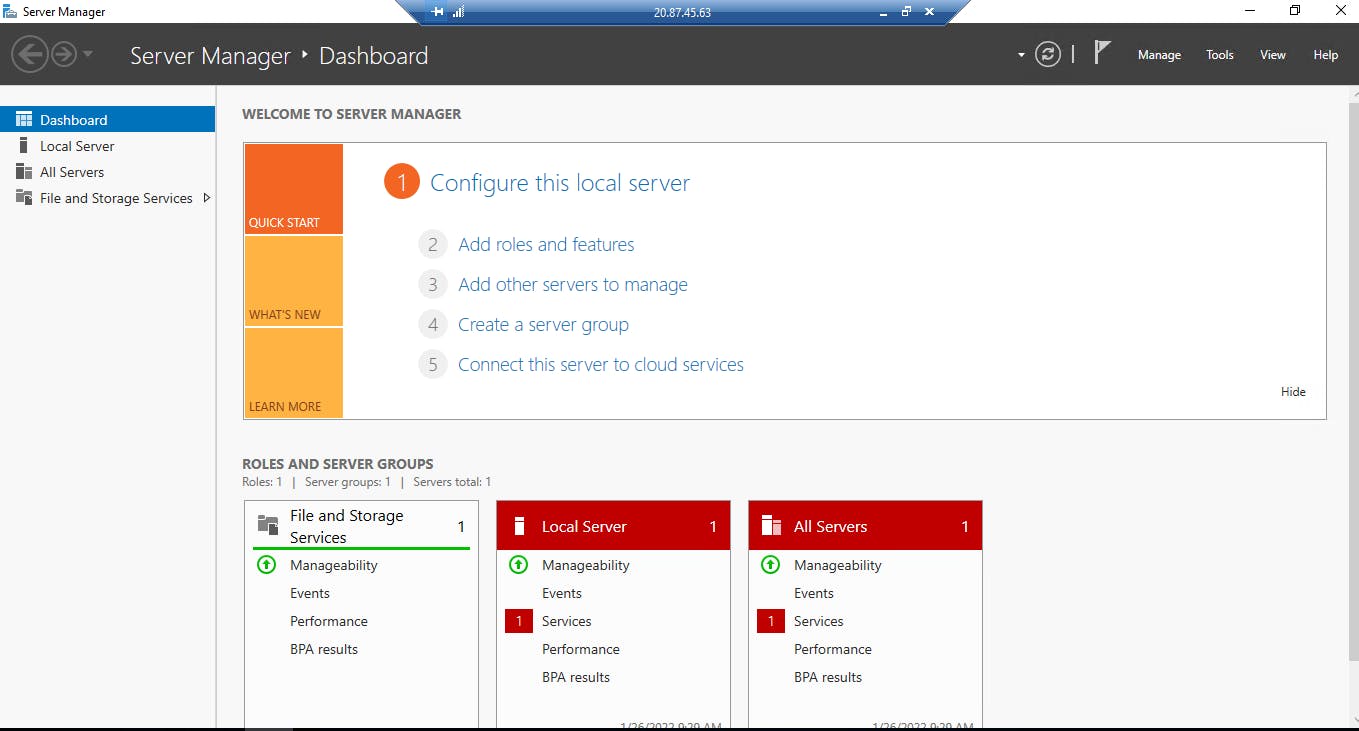
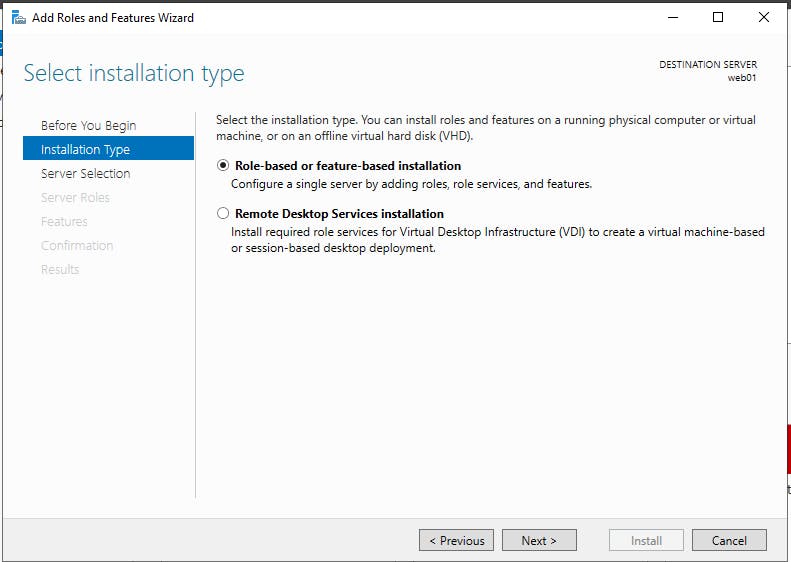
But why stop here? Why not take it a notch higher? Let's create a web page! Once you login, the Server Manager should be open. Then you can click on 'Add roles and features'
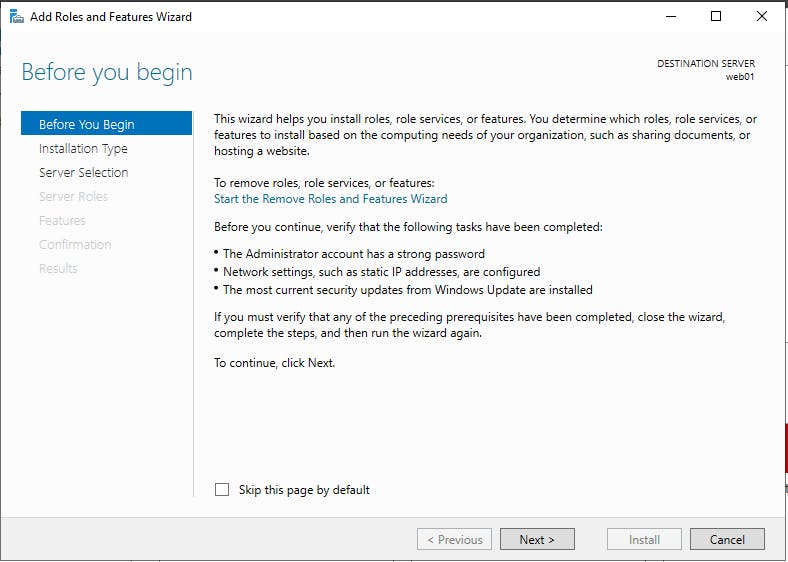
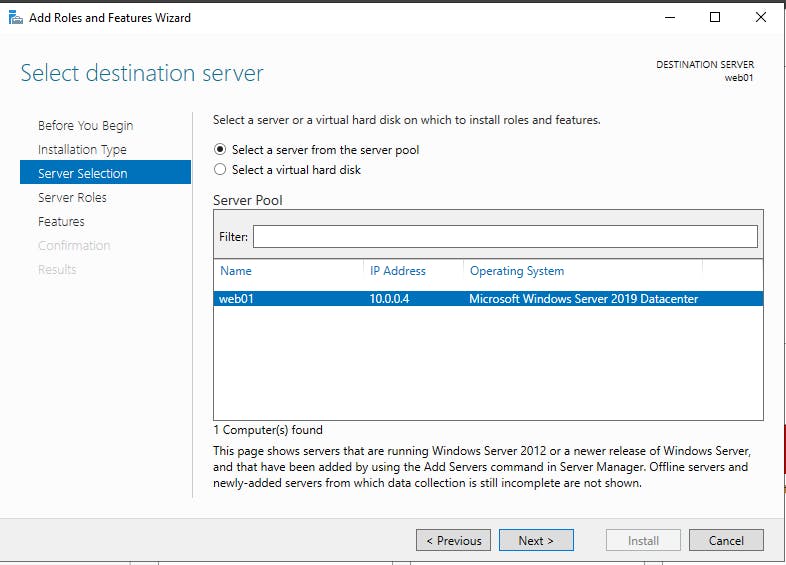
 Follow the wizard and leave all the settings in the default settings, keep clicking next until you get to Server Roles.
Under Server Roles, select Web Server (IIS)
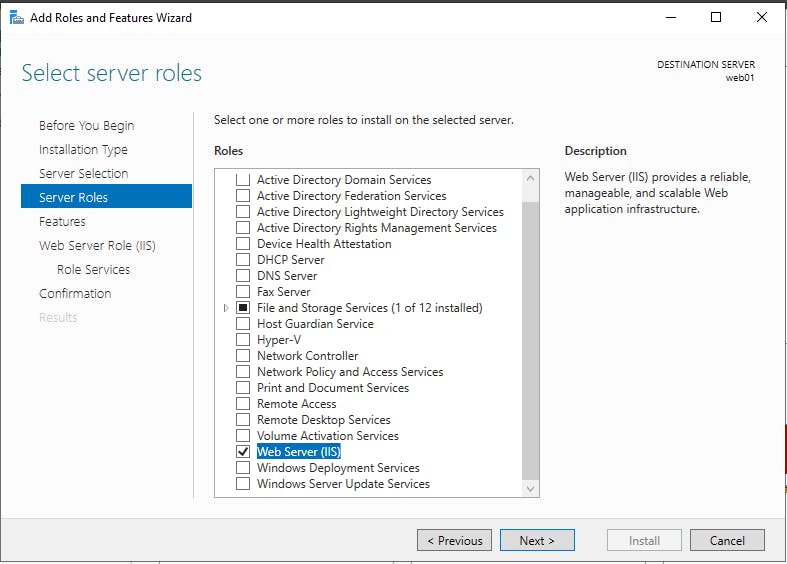
Select Include management tools (if applicable) and Click Add features . Click Next (the minimal features should already be selected and adequate). Once again, Click 'Next', then scroll down, select 'IIS Management Console' in 'Management Tools', then click 'Next'.

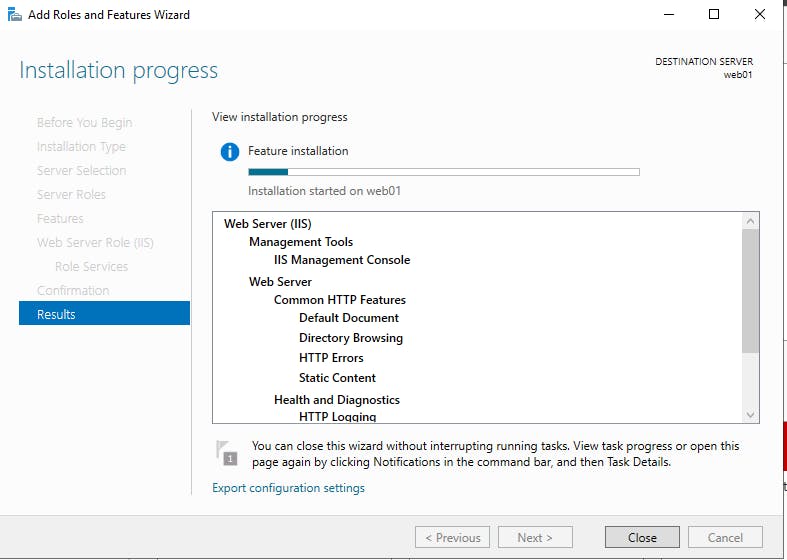
The next thing to do, is to select Restart the destination server automatically if required, then click Install.
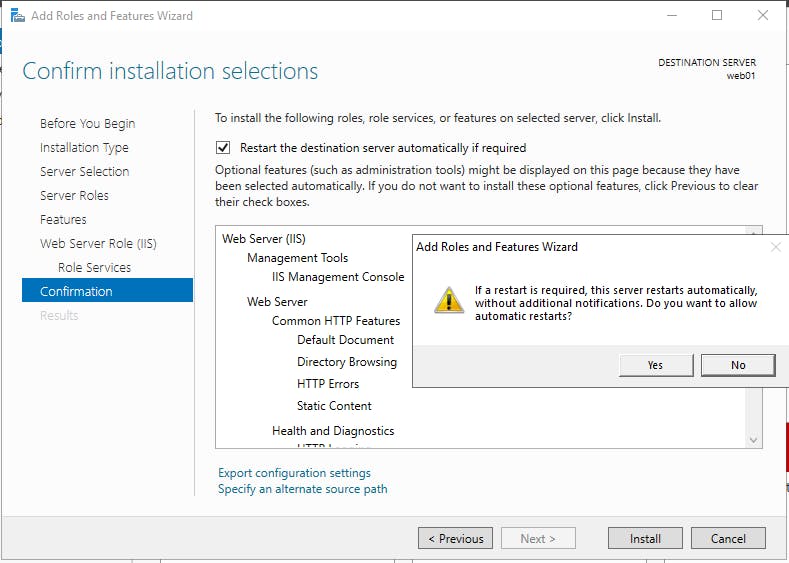
Once the installation has completed, click Close.
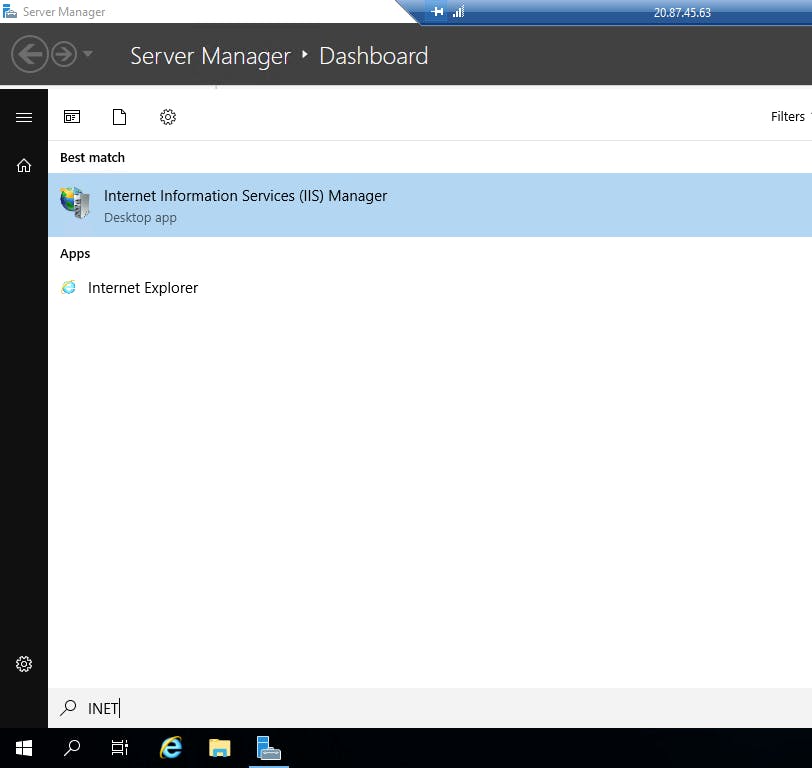
Go to the main menu for you computer and search for 'inetmgr' and open Internet Information Services (IIS) Manager
Click the > to the left of web01 (web01/iisadim) to open up the pane and click the arrow next to sites to access the default website
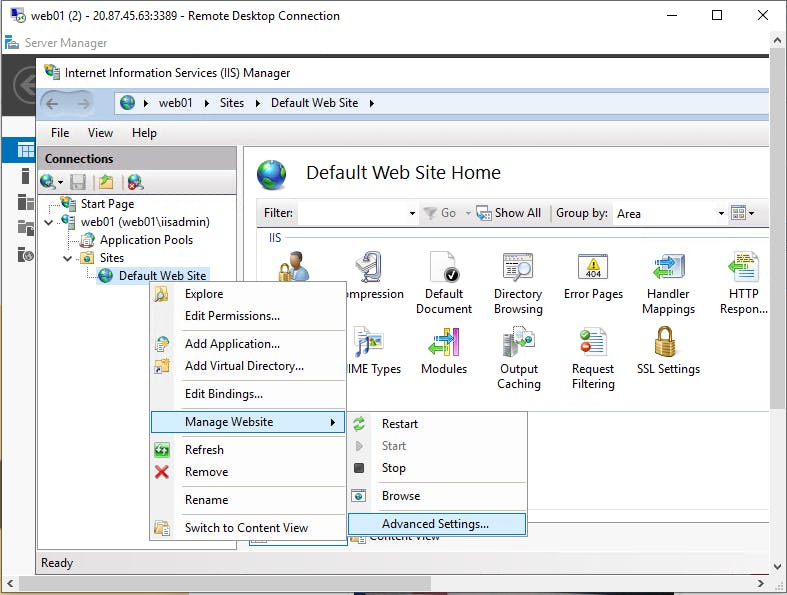
Right click on the default website, select manage website. Select advanced settings (Look for and copy the physical path which should be something like %SystemDrive%\inetpub\wwwroot).
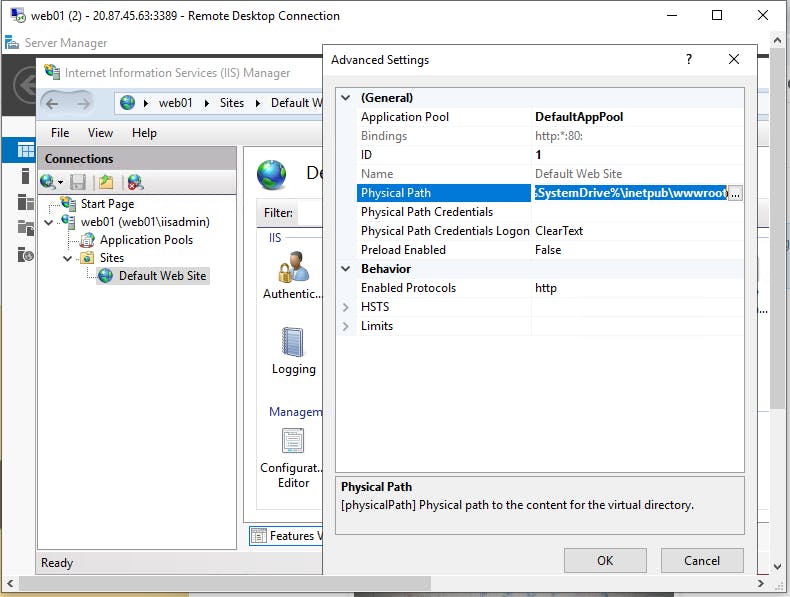
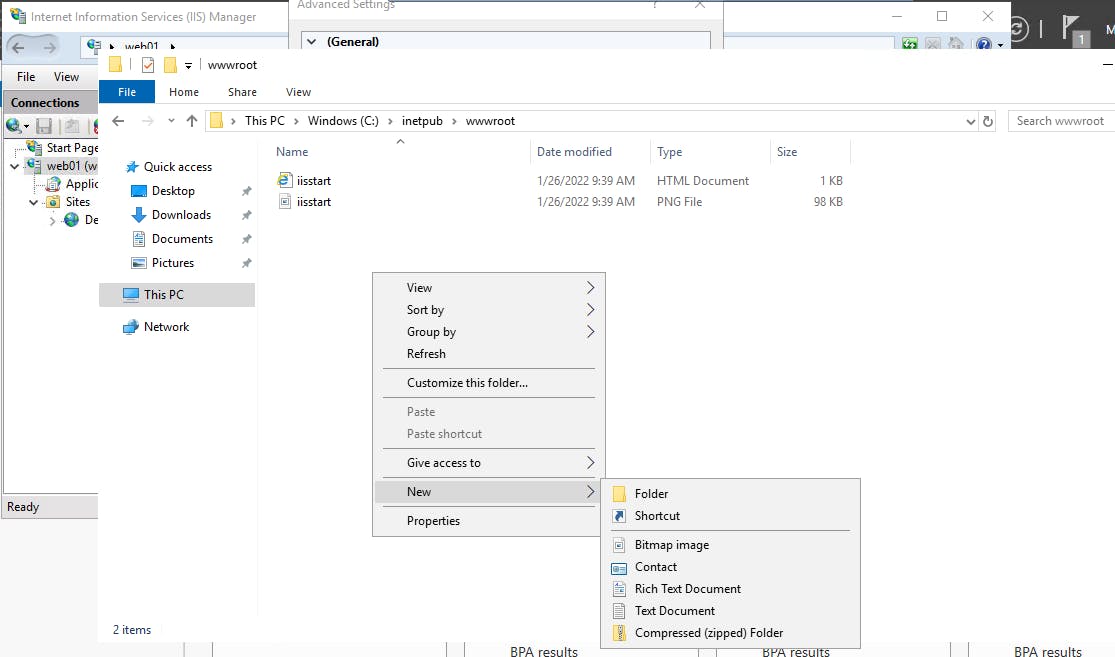
Open File Explorer and enter the physical path into the search bar at the top %SystemDrive%\inetpub\wwwroot


Right click on the empty space and select New Text Document and then open the text document
Enter the following text with no markup into the text document. Welcome to my initial web page
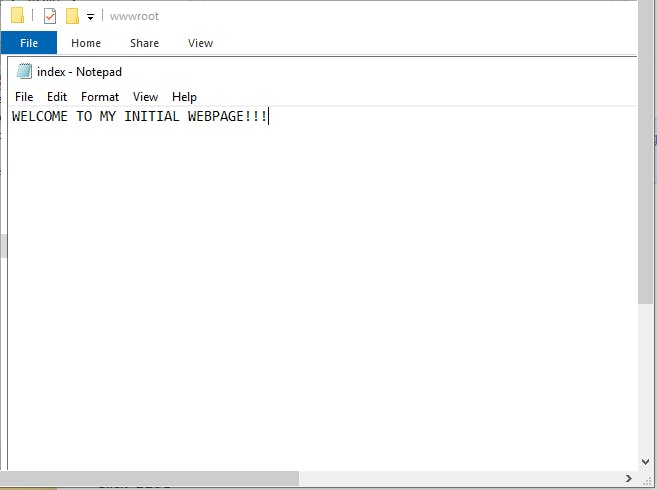
Click File and save as index.html, change the Save as type as All Files, click Save
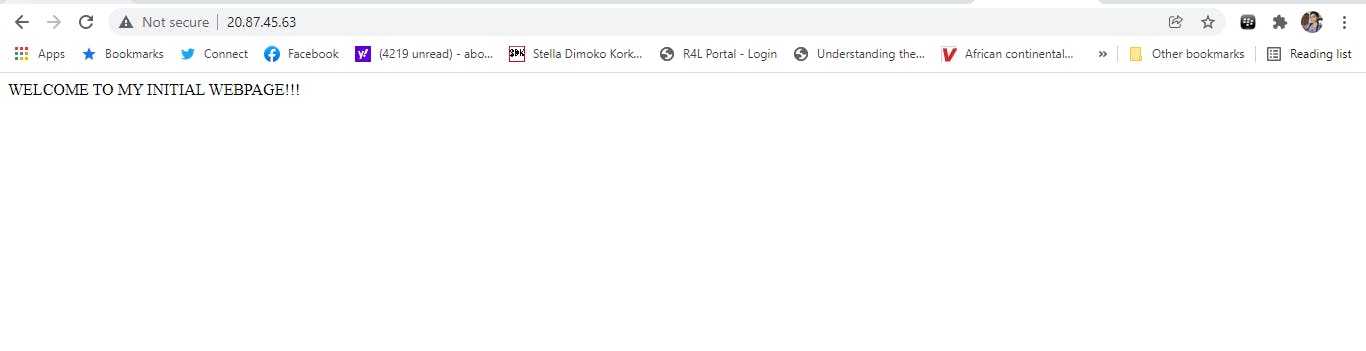
Wow! This was really something right?! We not only created a virtual machine, but we also ran a very basic iis web server, using the VM's pubic IP address.